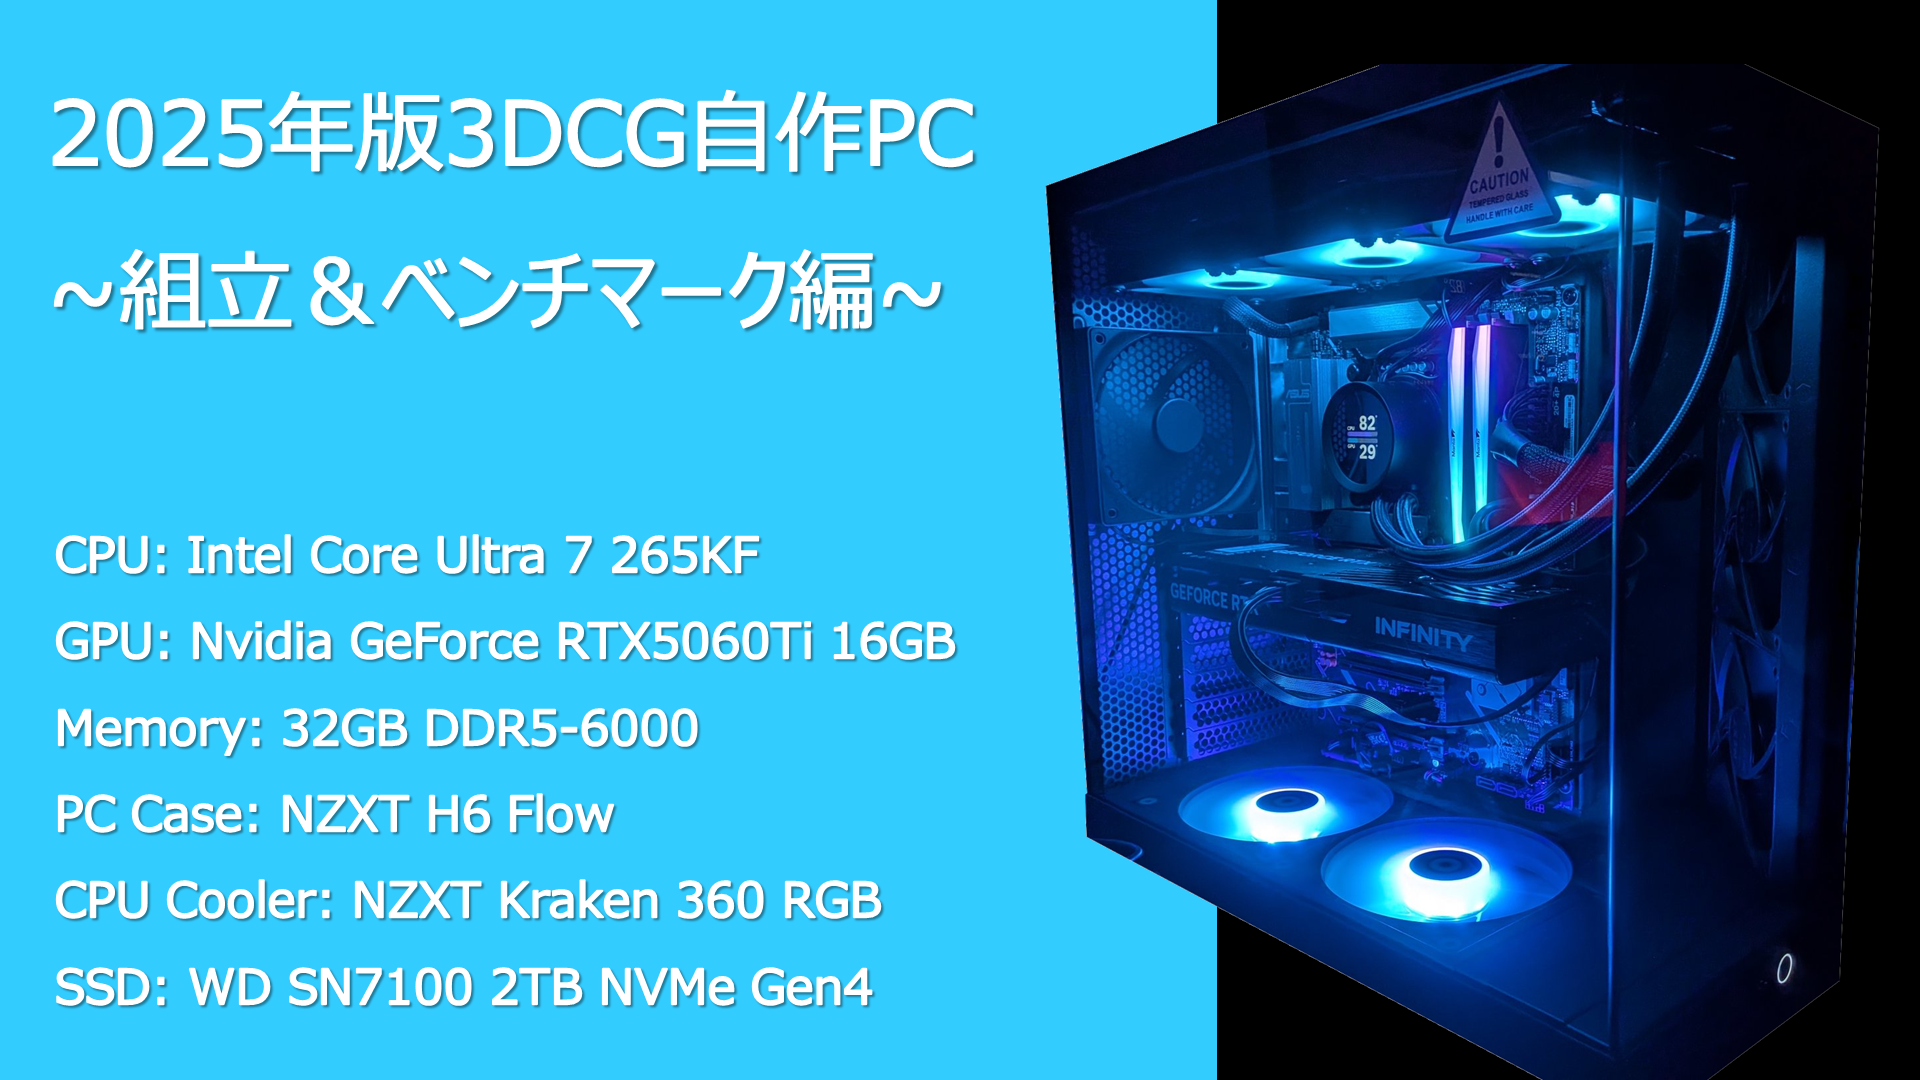
[2025 Edition 3DCG Custom PC Build] Assembly & Benchmark [Core Ultra 7 265KF & RTX 5060 Ti]
Hello!
Recently, I built a new custom PC for 3DCG work for the first time in a while.
NZXT H6 Flow & Kraken 360 RGBで組んだ自作PCです🖥️
— クララ/Klala (@klala_lab) July 17, 2025
部屋の明かりを消すとライティングが映えますね✨ pic.twitter.com/uef8itN3Ry
The intended use is creative production using 3DCG software such as Blender and game engines such as Unreal Engine.
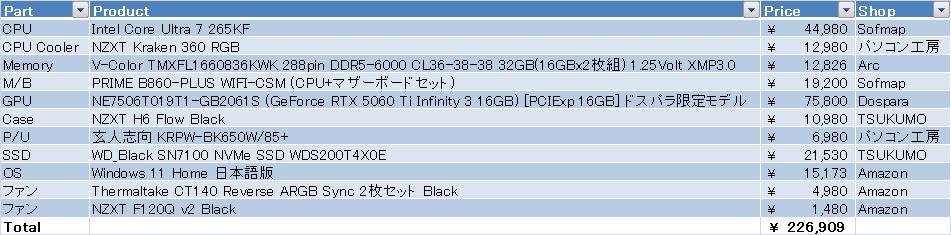
The parts used in this build are listed below.
I summarized the background behind the component selection in my previous article, so please refer to that for details:
In this article, I will show the assembly process of the purchased parts, with a particular focus on how to install an AIO liquid CPU cooler and the precautions to keep in mind.
I will also evaluate the performance of each component—such as the CPU and GPU—using benchmark software, as well as real-world testing with Blender and Unreal Engine.
If you have any comments or questions, please feel free to contact Clara on Twitter (https://twitter.com/klala_lab) (^^)/
広告/AD
- 1. PC Assembly
- 1.1. What You Need
- 1.2. Removing the PC Case Panels
- 1.3. Installing the CPU, Memory, and SSD
- 1.4. Installing the CPU Cooler Backplate
- 1.5. Installing the Motherboard into the PC Case
- 1.6. Installing the Power Supply Unit
- 1.7. Installing the AIO Liquid CPU Cooler
- 1.8. Installing the Graphics Card
- 1.9. Adding Additional Fans
- 2. Benchmark
- 3. Summary
- 4. Reference Site
PC Assembly
I will introduce the PC assembly process while showing photos!
What You Need
First, here are the tools you should prepare before starting the PC assembly.
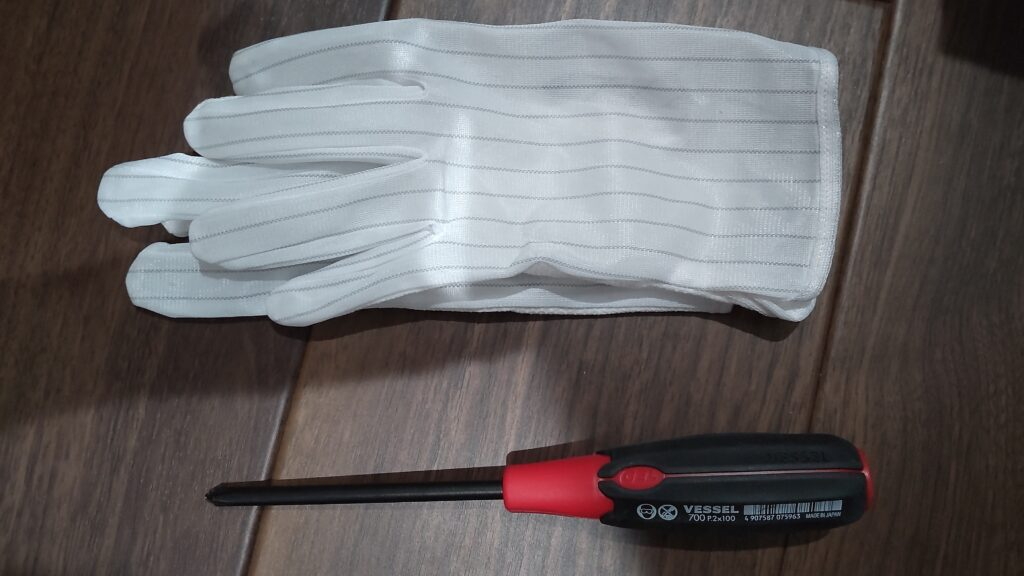
Phillips Screwdriver
Used for tightening and removing screws in the PC case.
As shown below, I recommend a #2 size Phillips screwdriver with an easy-to-grip handle.

You will also need a #1 size screwdriver when installing an M.2 SSD, so make sure to prepare one separately.

Anti-Static Gloves
PC components are precision devices and are vulnerable to static electricity.
Static electricity is especially common during winter, so I strongly recommend using anti-static gloves.

Time and Mental Margin
When connecting case cables to the motherboard, it may be difficult at first if you are not used to it.
If you rush and try to force connectors in or out, you may damage the terminals.
Make sure to work at a time when you have enough time and can proceed calmly without rushing.
Removing the PC Case Panels
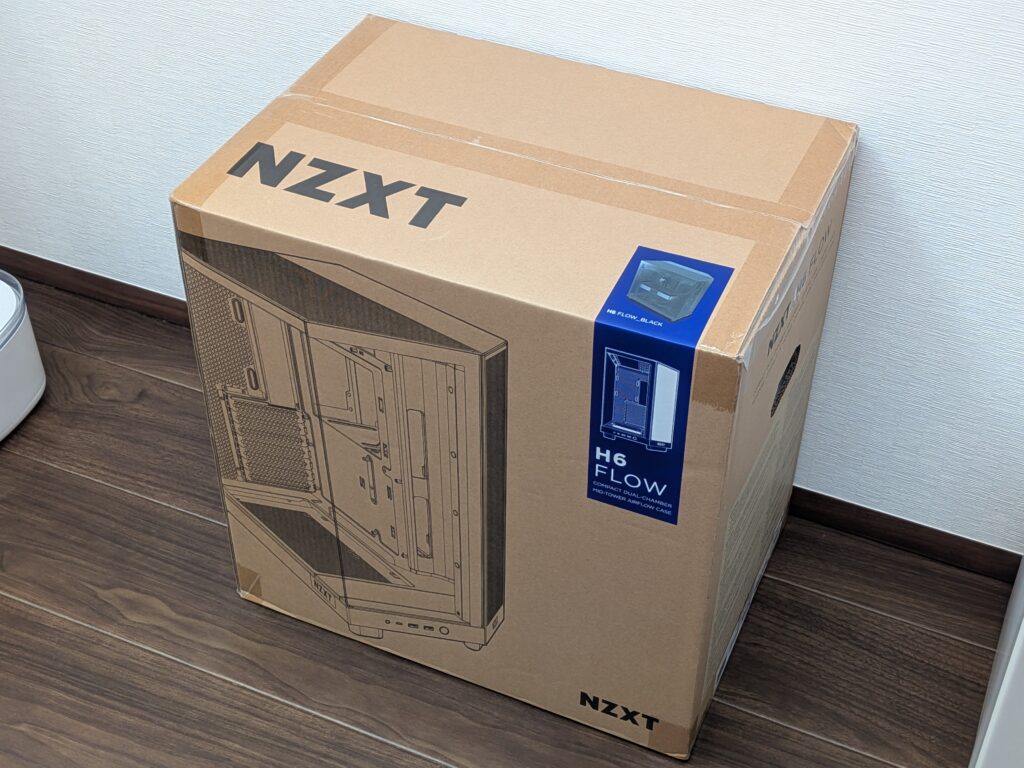
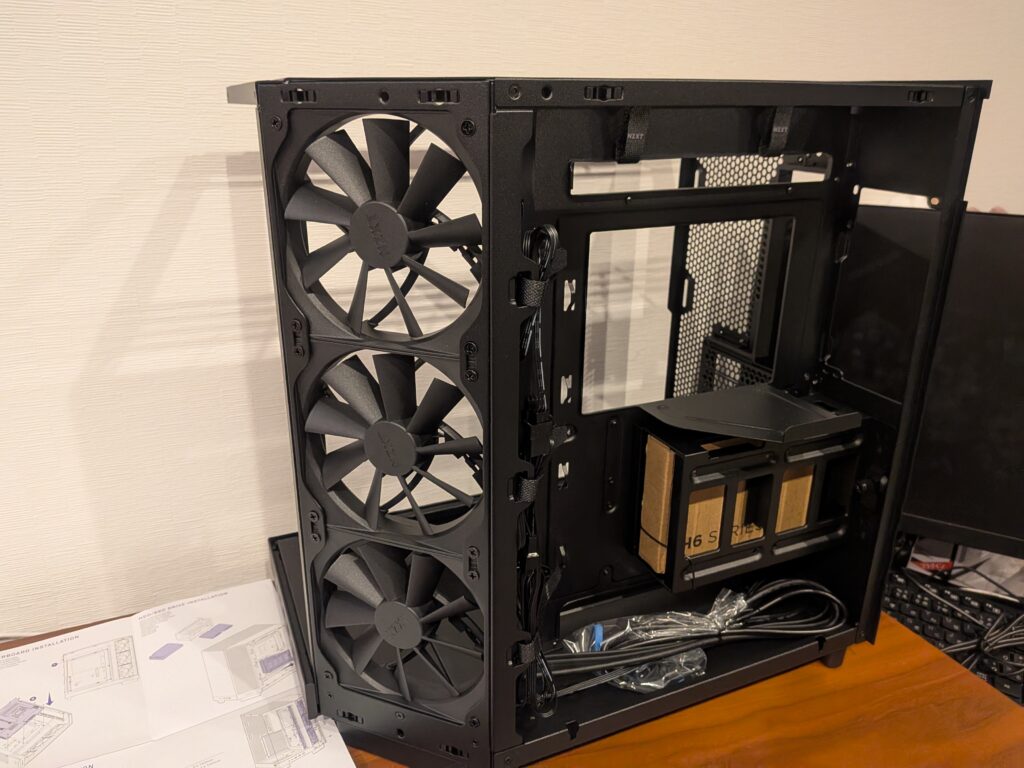
The PC case used this time is the NZXT H6 Flow.

NZXT H6 Flow Black Mid-Tower Case CC-H61FB-01 CS8789
I purchased it online, and it arrived packaged in a sturdy cardboard box like this.
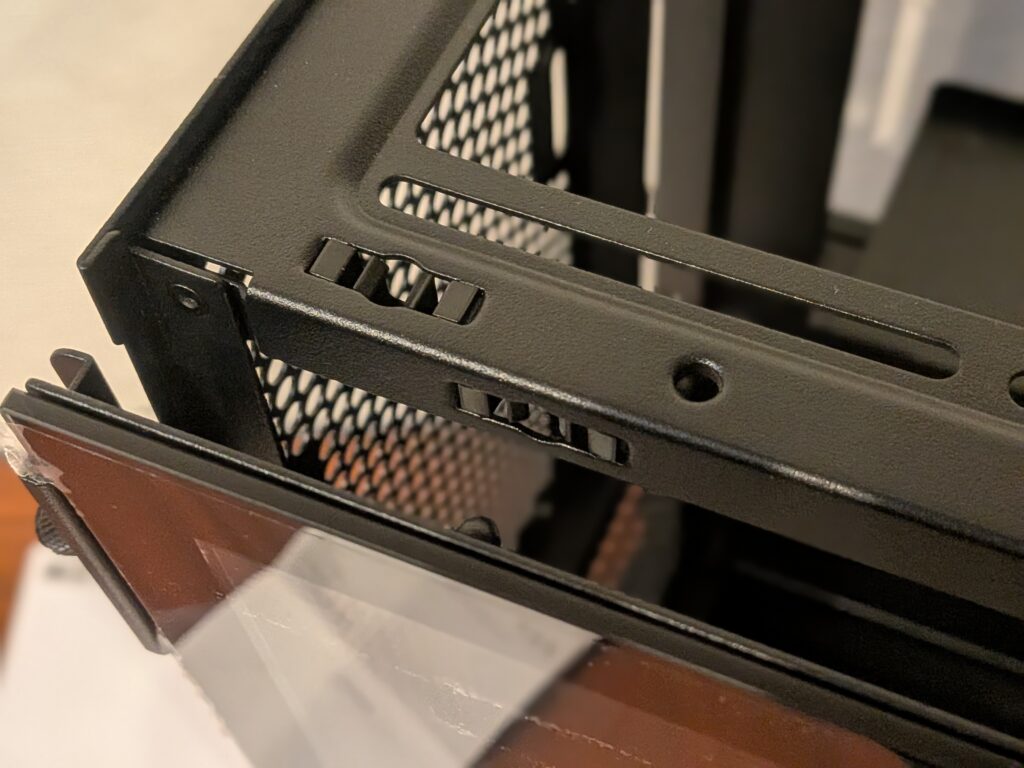
After taking it out of the box, first lift the handle on the rear side to remove the top panel.
The top panel is secured to the frame using ball joints, so it can be opened without using a screwdriver.

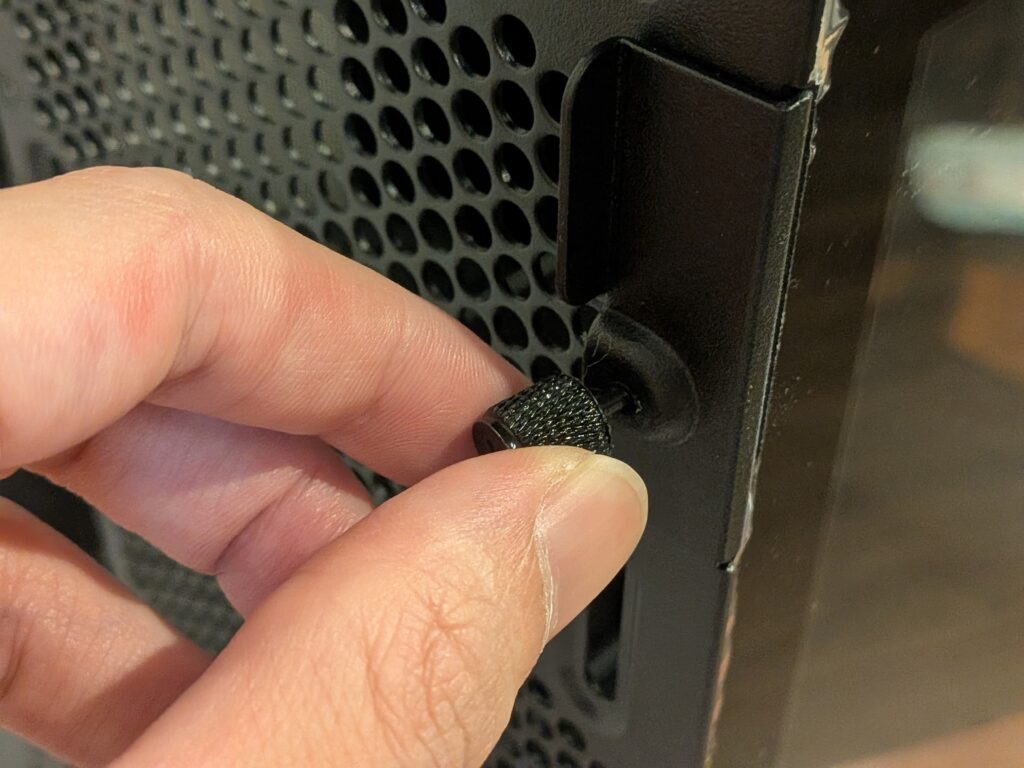
For the left-side glass panel, loosen the screws by hand, then gently pull the upper edge of the panel outward to release the ball joints. This allows you to remove it easily.
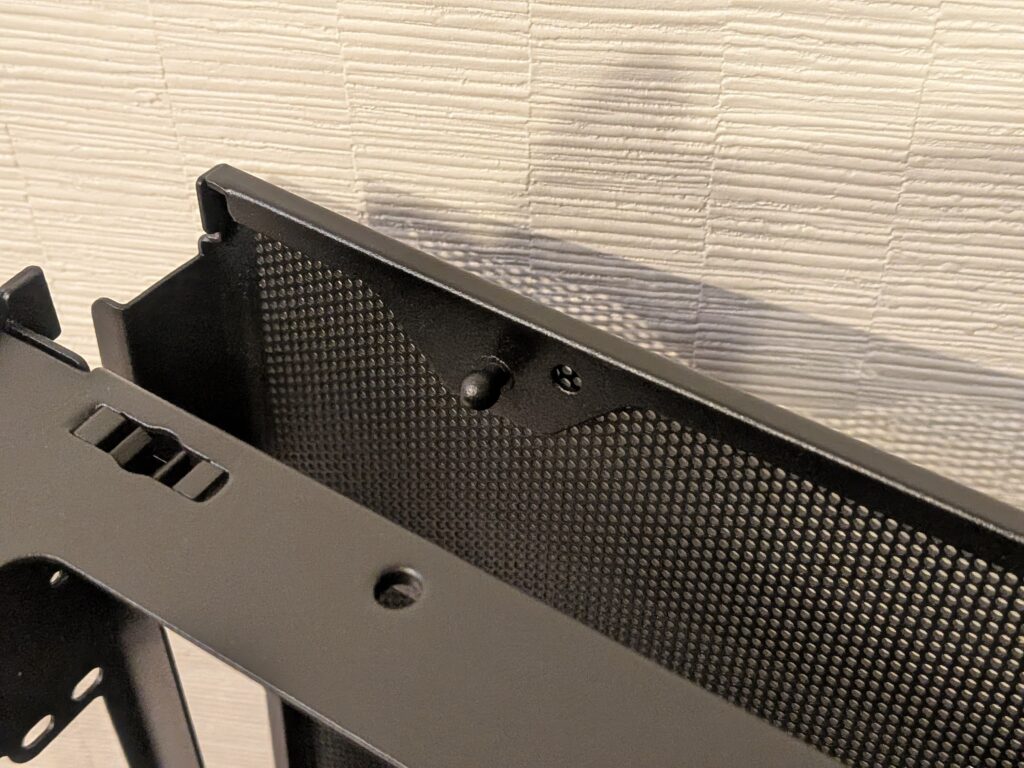
The two mesh panels on the right side can be removed in the same way.
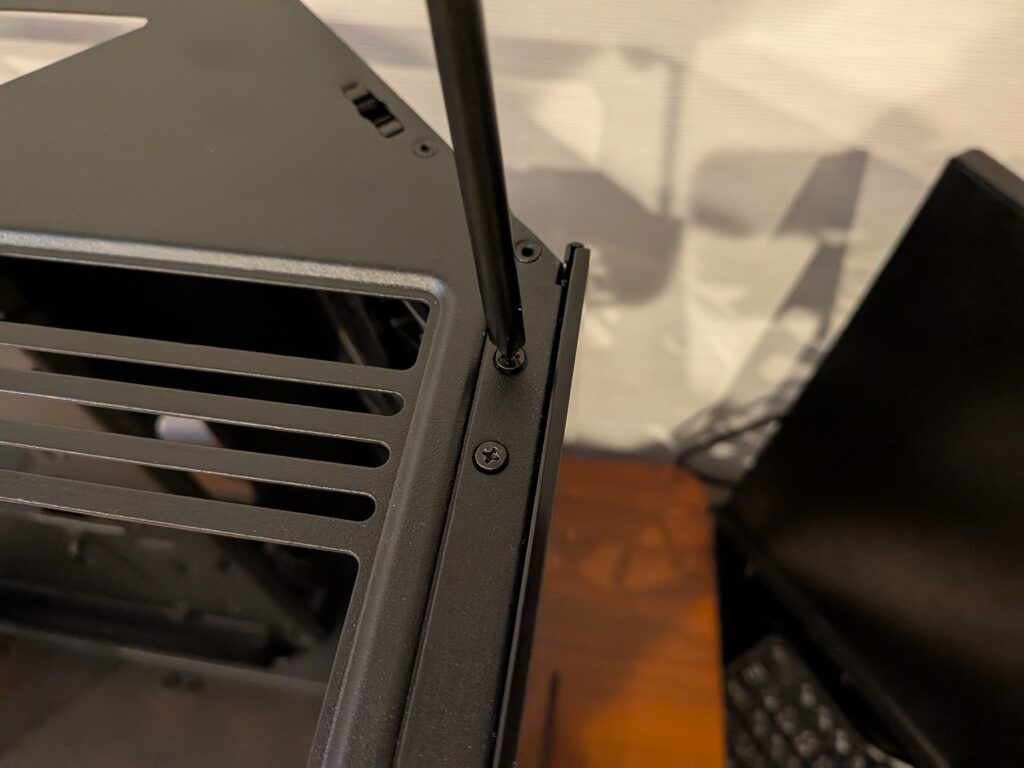
Only the front glass panel is fixed to the frame with screws, so you will need to remove them using a Phillips screwdriver.
Once all panels are removed, the case will look like this.
The triple fan unit is pre-installed in the case and is already connected in a daisy-chain configuration.
広告/AD
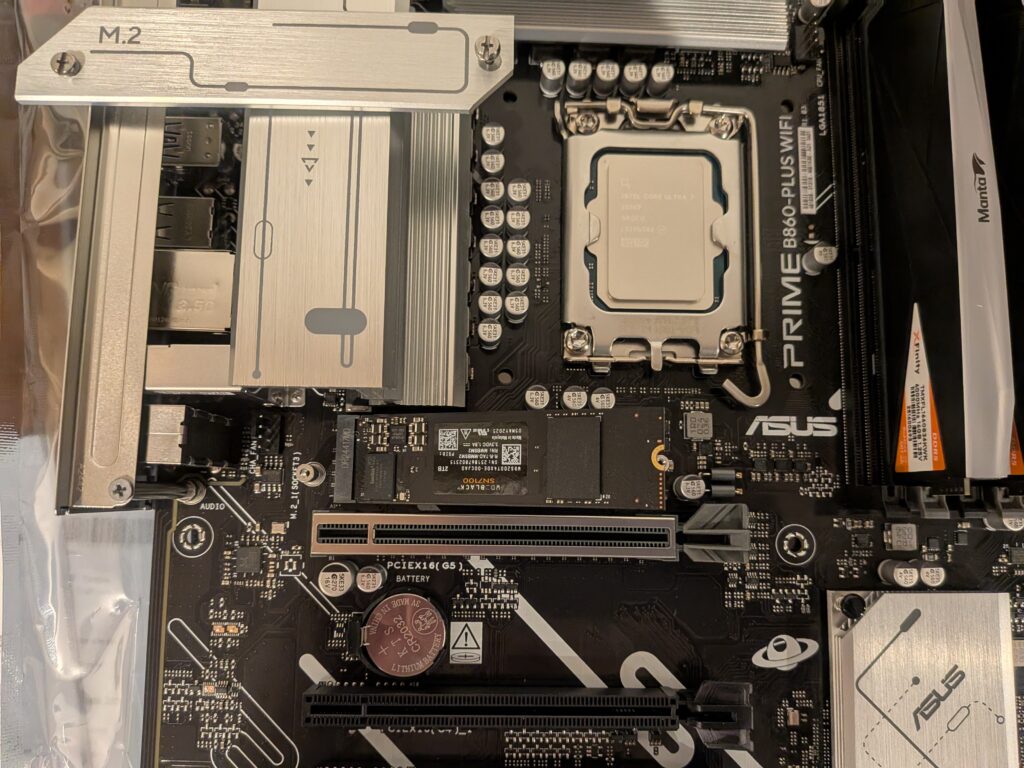
Installing the CPU, Memory, and SSD
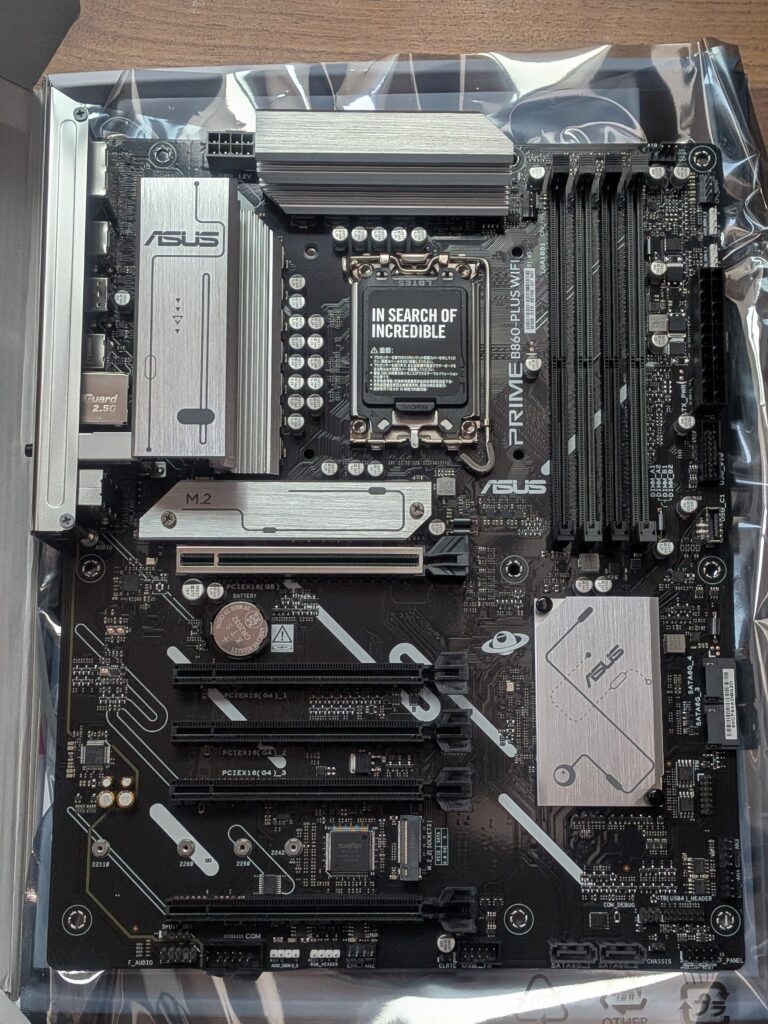
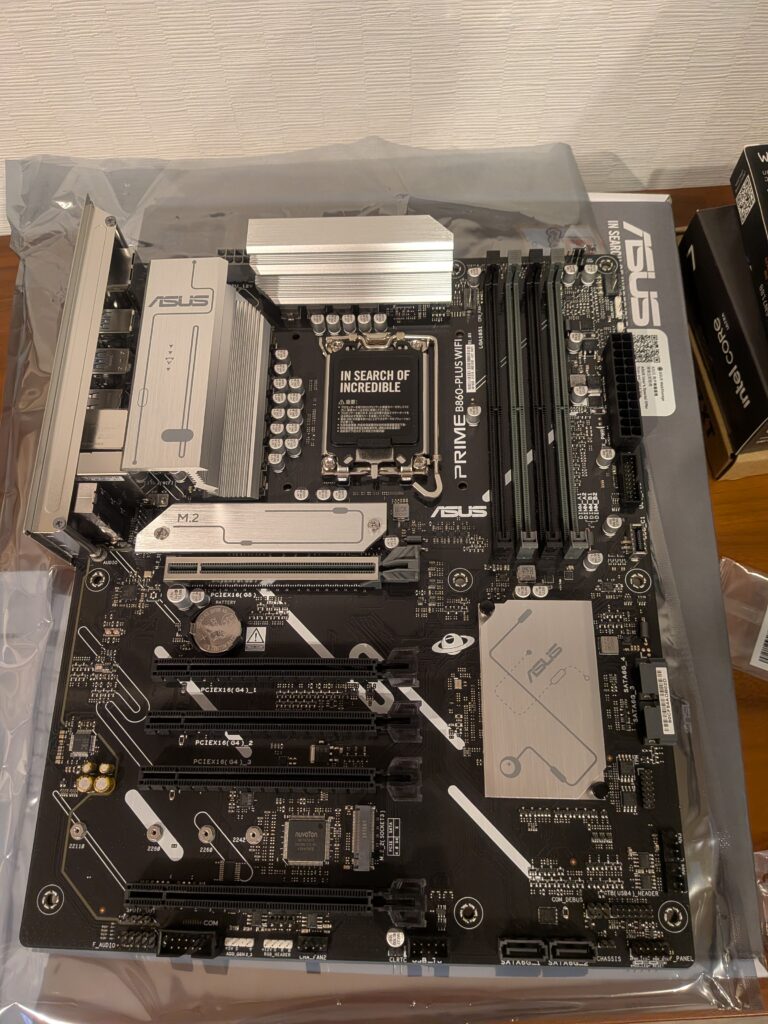
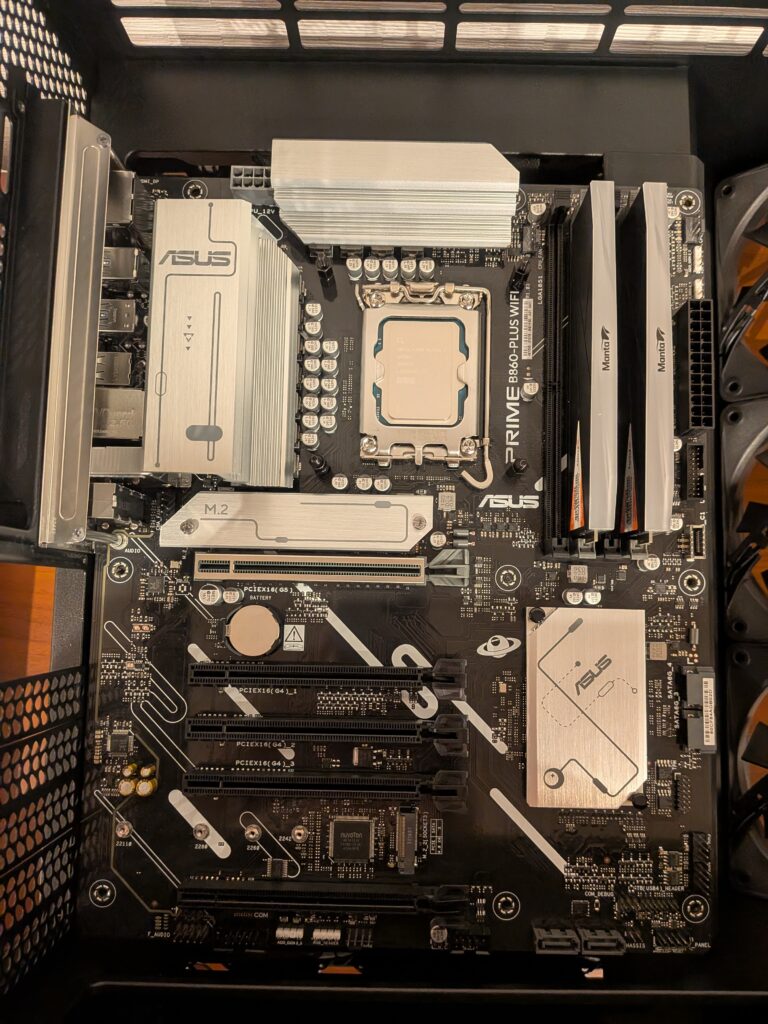
Next, unpack the motherboard and install the CPU and memory.
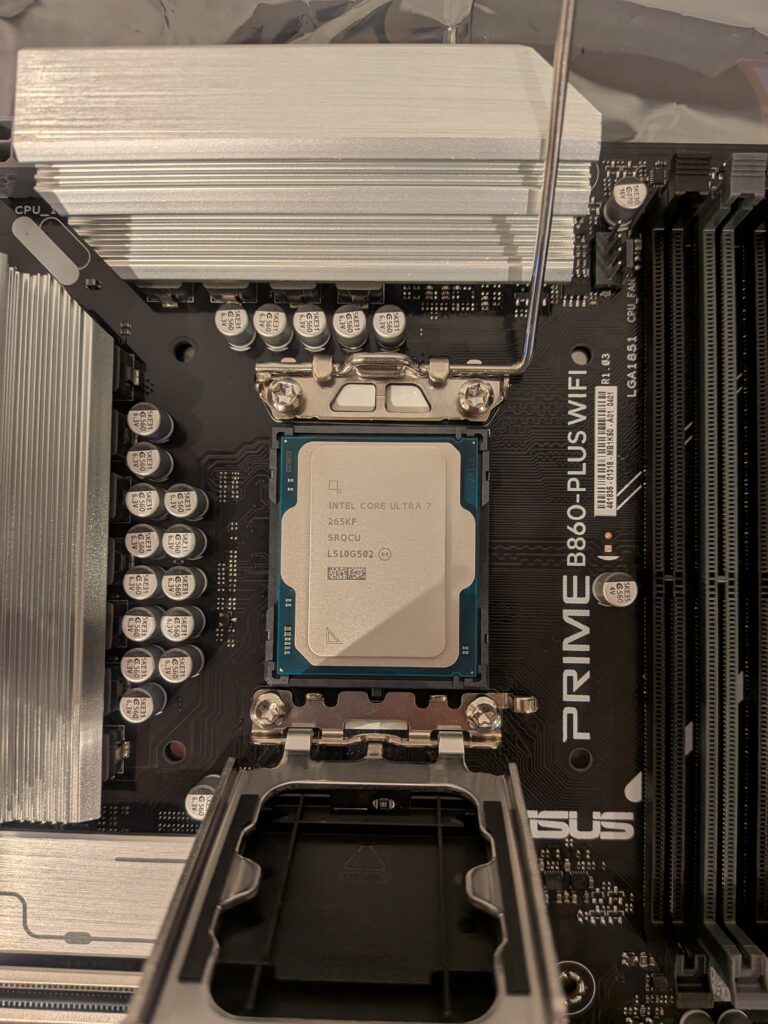
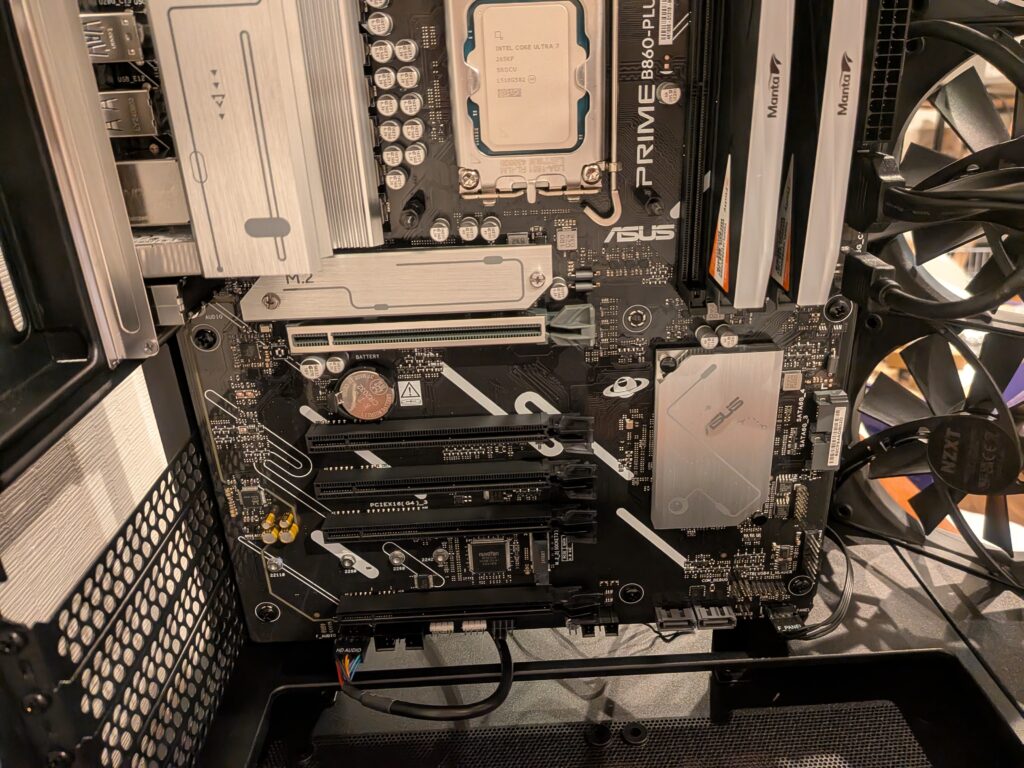
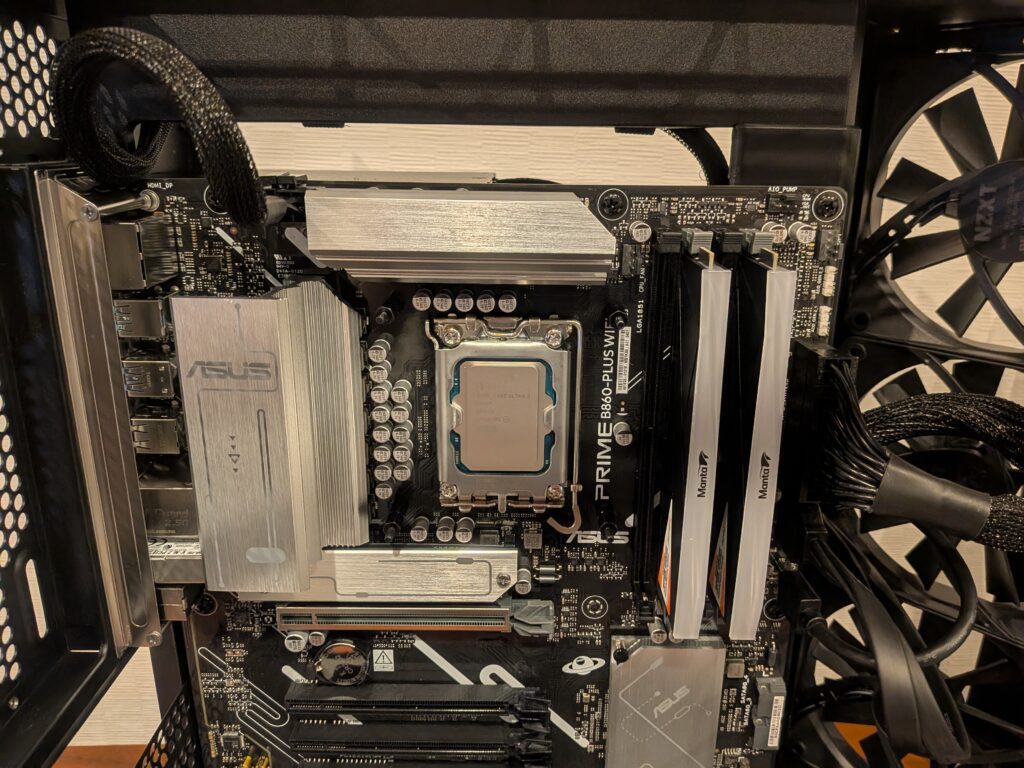
The motherboard used this time is the ASUS Prime B860-Plus WiFi-CSM.
The black PCB combined with the machined aluminum heatsinks gives it a really nice look.
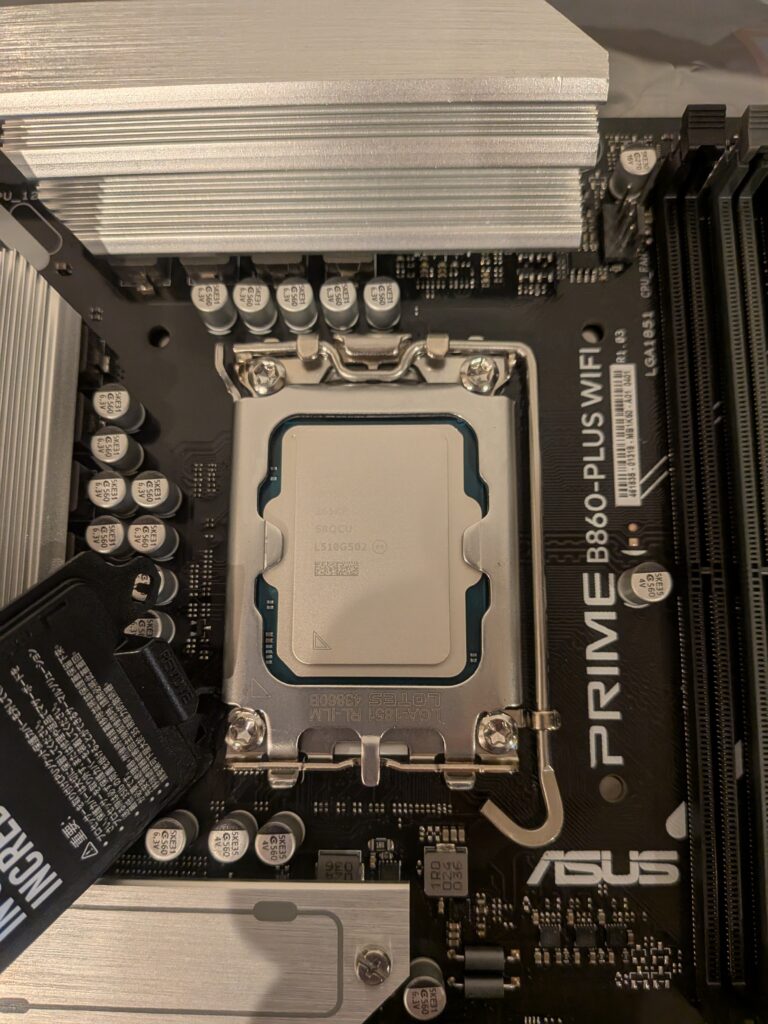
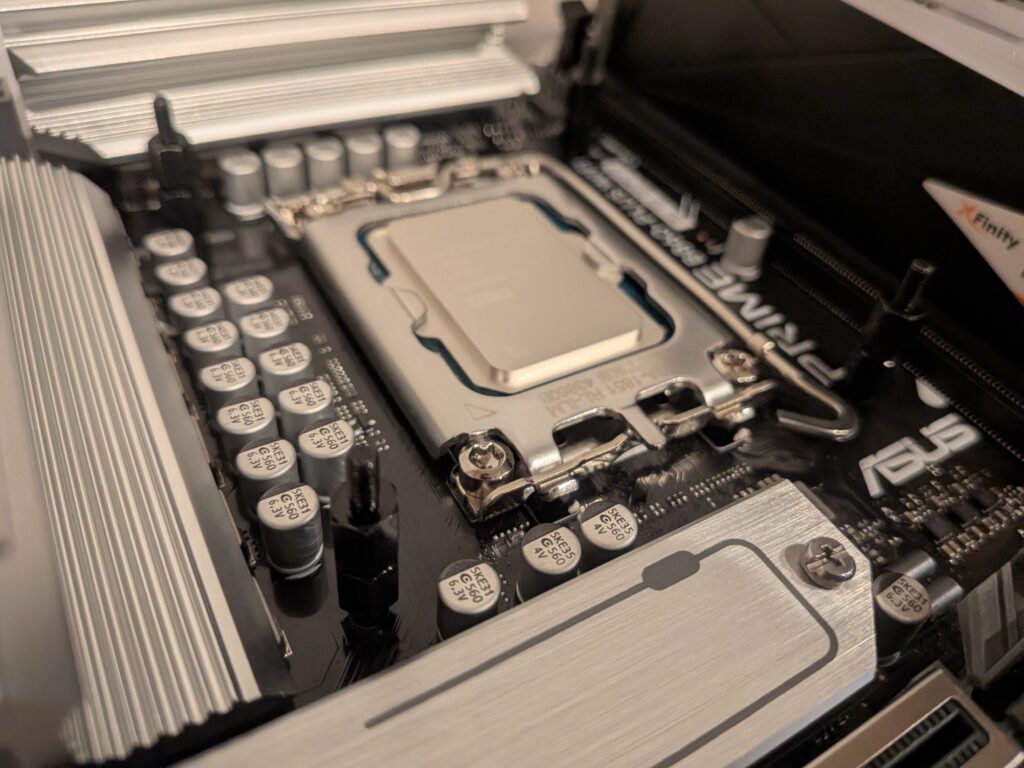
Place the motherboard on a flat surface, open the CPU socket, and place the CPU into position (be careful with the orientation).
Lower the lever to secure the CPU into the socket.
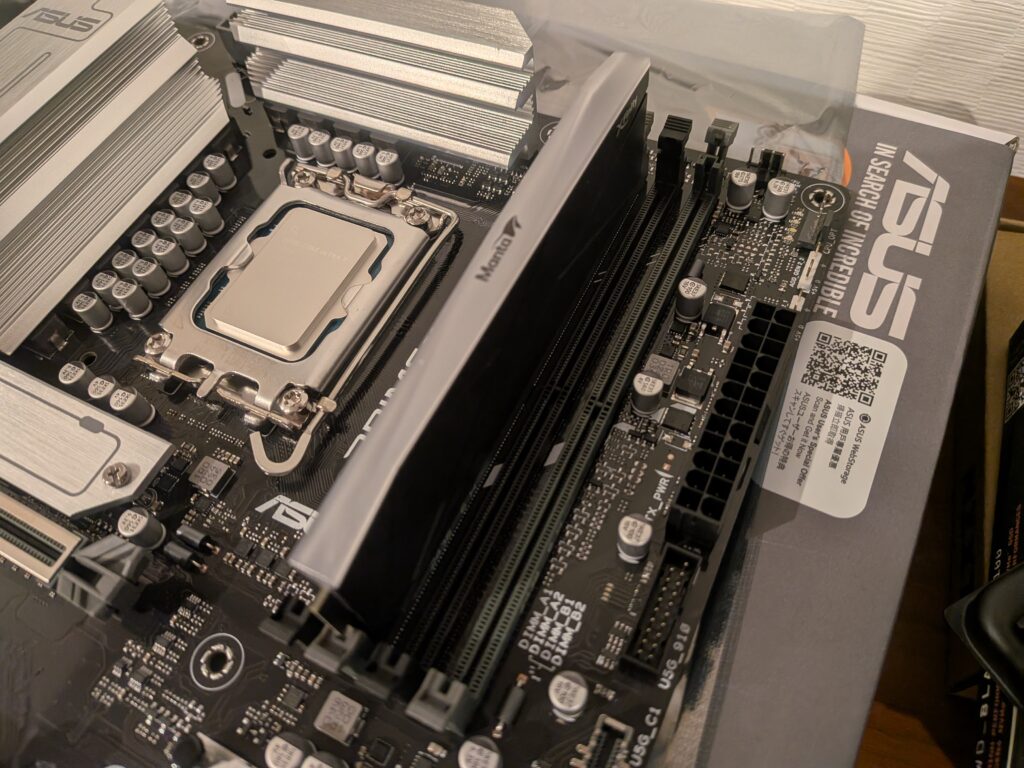
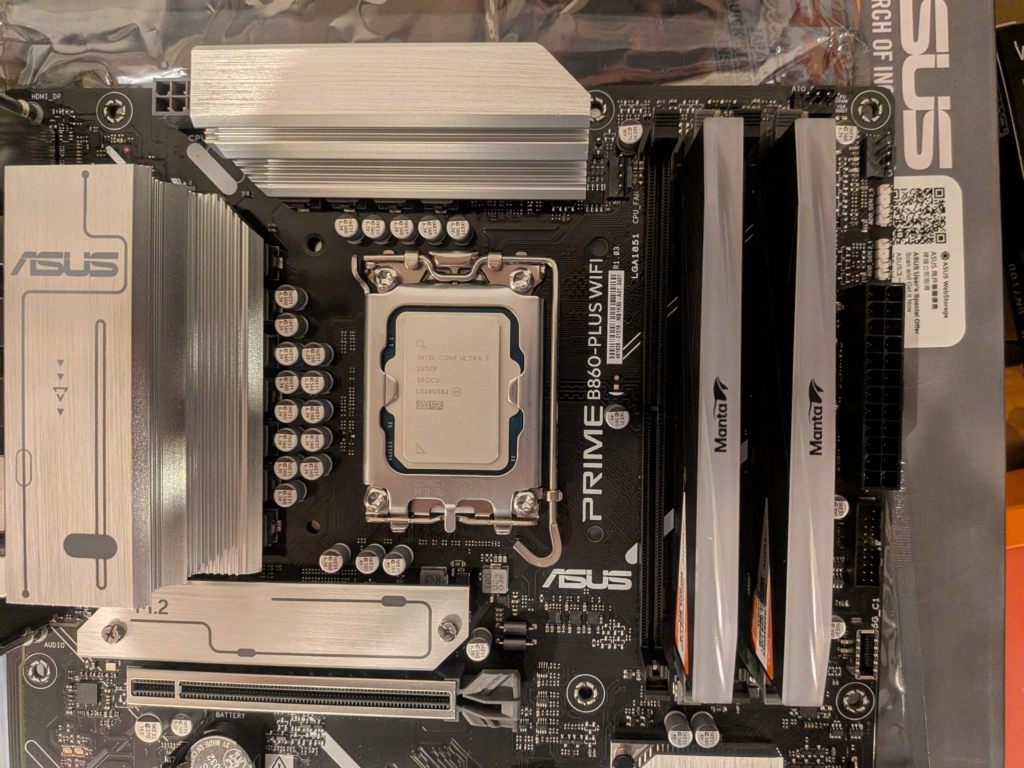
Insert the two memory sticks into the second and fourth memory slots from the CPU out of the four available slots.
(For detailed installation instructions, please refer to the manual included with the motherboard.)
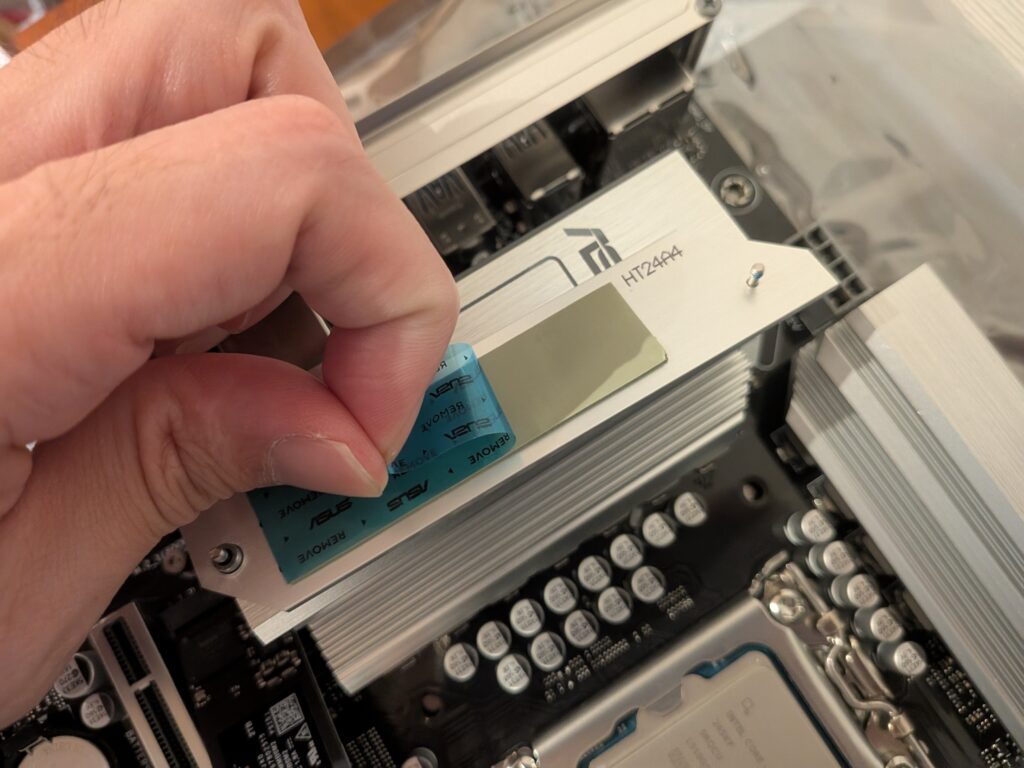
Use a Phillips (+) screwdriver to install the M.2 SSD.
Do not remove the paper label on the surface of the SSD, as doing so may void the warranty.
Be sure to peel off the protective plastic film from the adhesive sheet on the back of the heatsink.
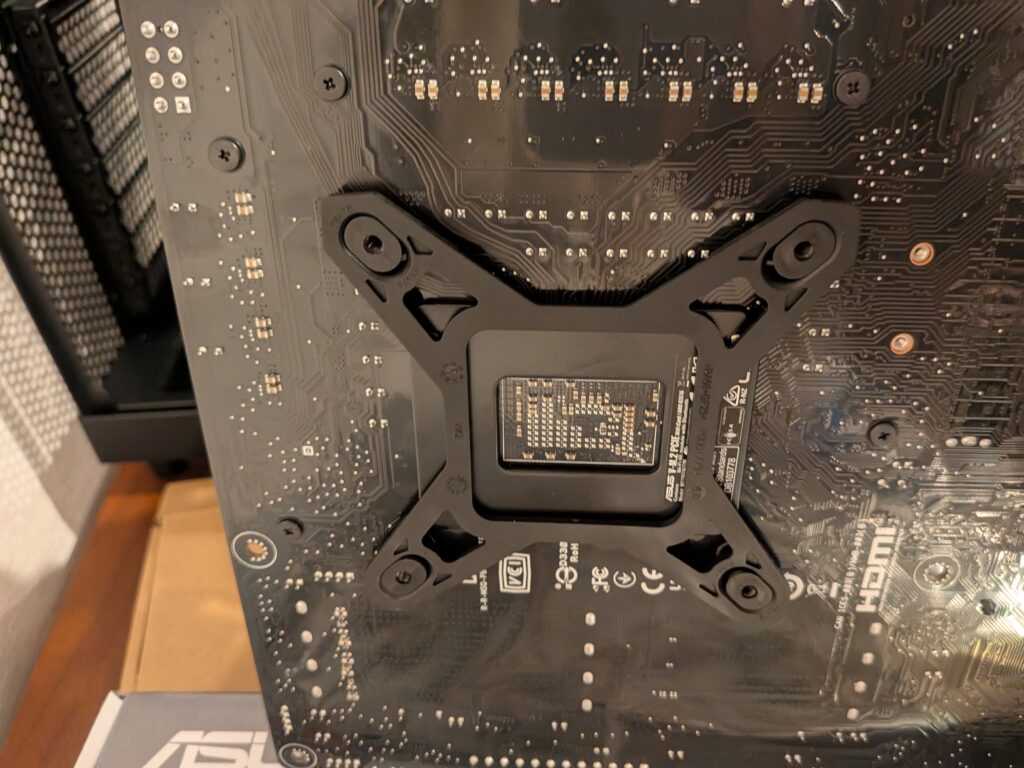
Installing the CPU Cooler Backplate
This build uses the liquid CPU cooler NZXT Kraken 360 RGB.
Before installing the motherboard into the case, attach the backplate to the rear side of the motherboard.
Insert the stud bolts from the front side of the motherboard and secure the backplate in place.
Installing the Motherboard into the PC Case
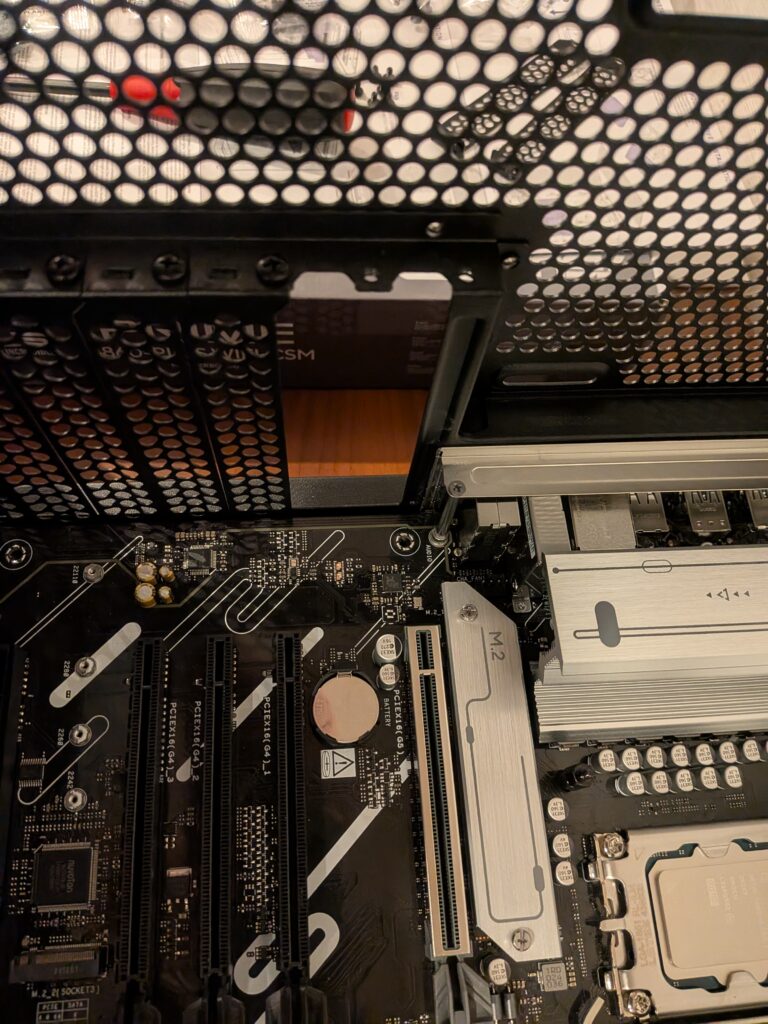
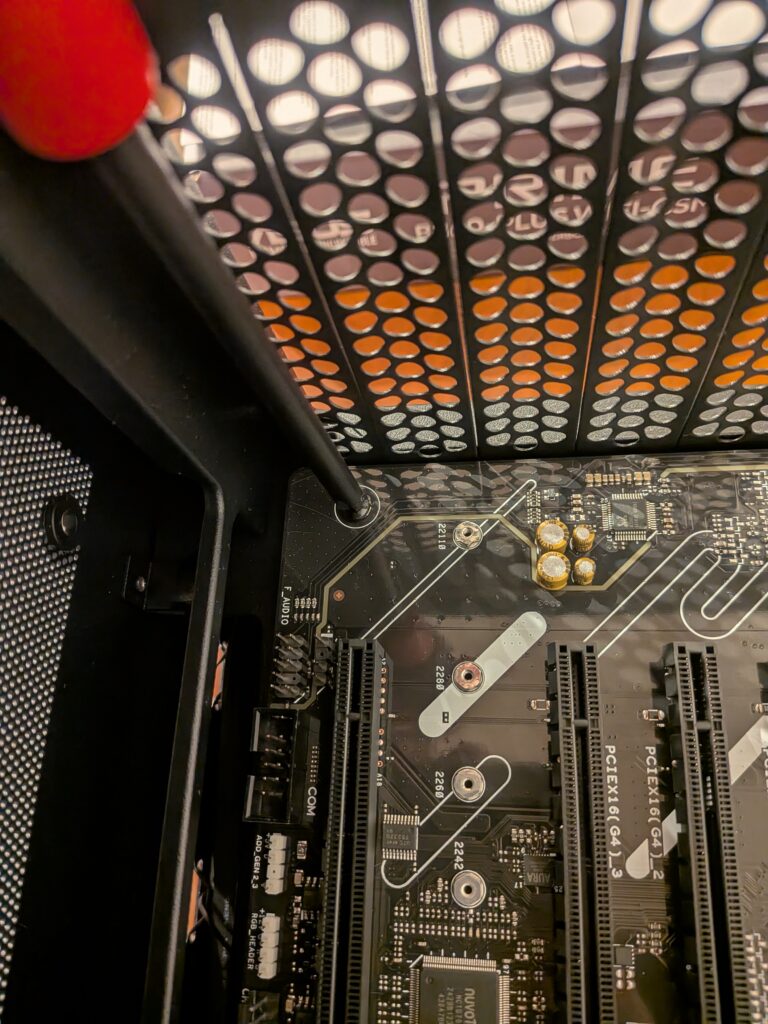
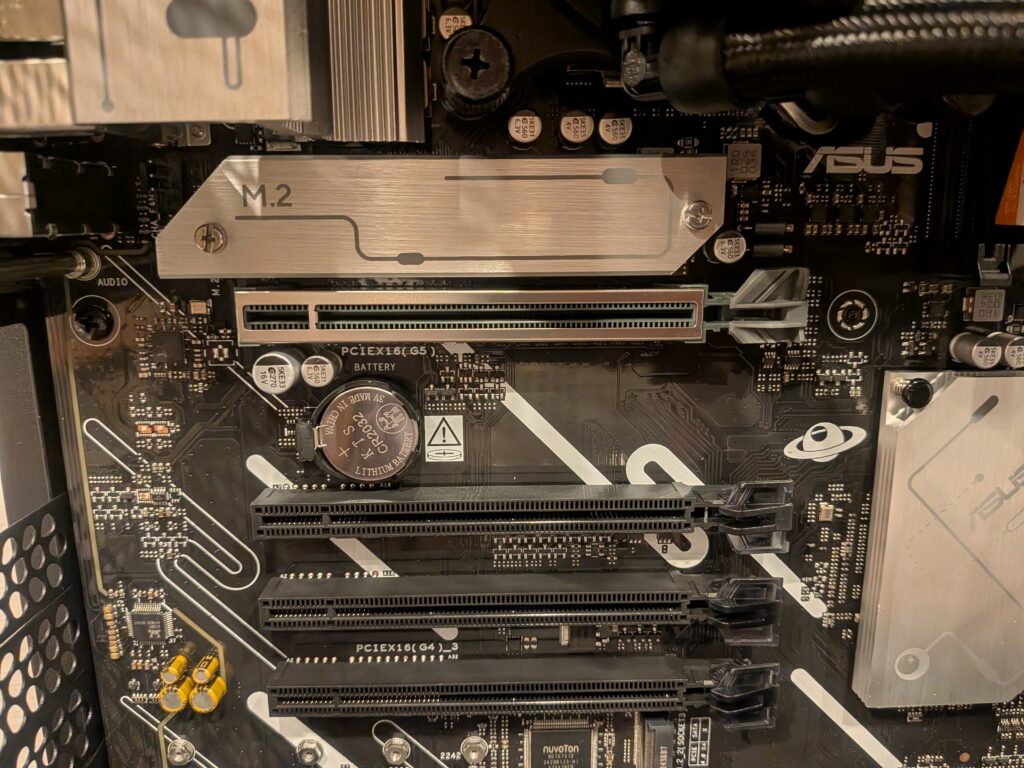
Before installing the motherboard, remove two PCIe slot covers where the graphics card will be installed.
Use the screws included with the PC case to secure the motherboard in place.
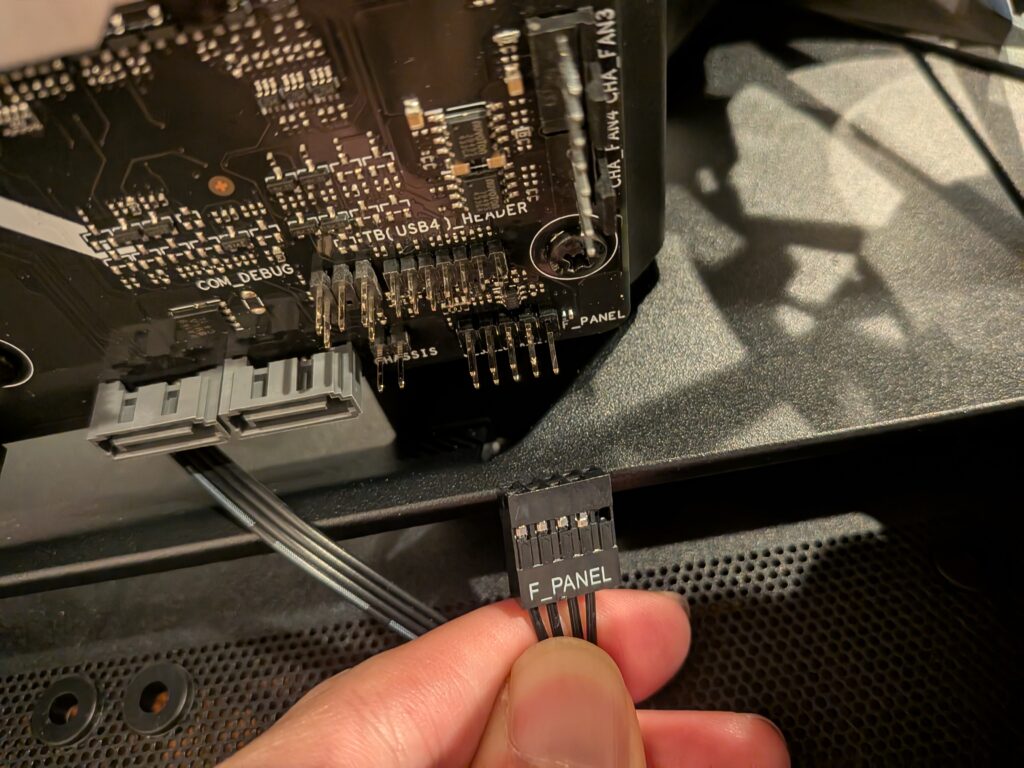
After fixing the motherboard, connect the PC case I/O cables and two USB 3.0 cables.
In many PC cases, the I/O connectors (Power LED, Power Switch, Reset, etc.) are separated, which can be challenging for first-time PC builders. However, the H6 Flow uses an integrated connector like the one shown in the photo, making installation easier.
広告/AD
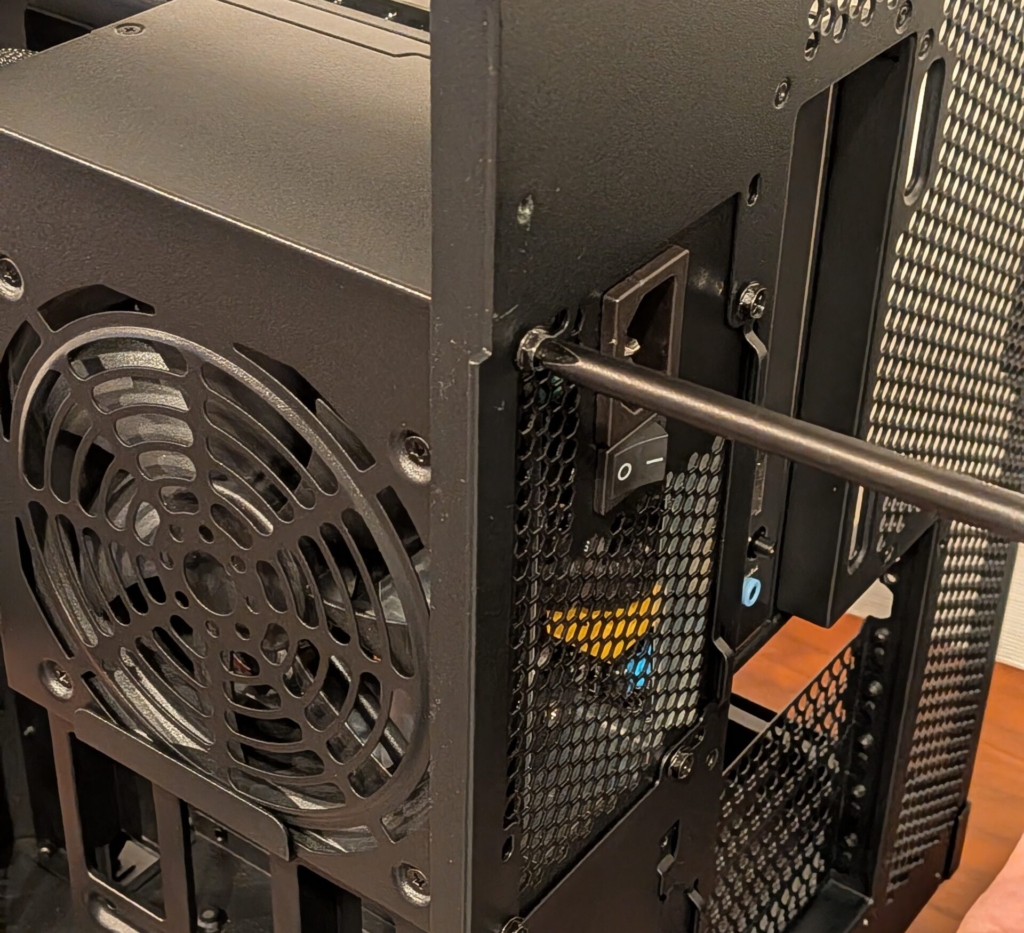
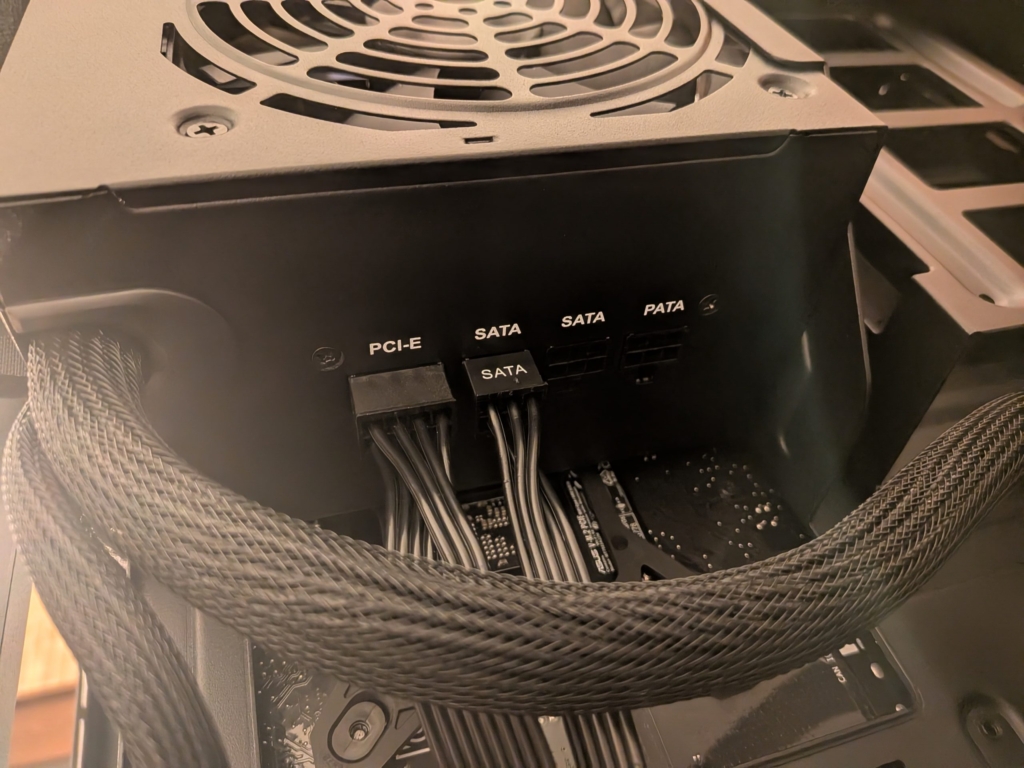
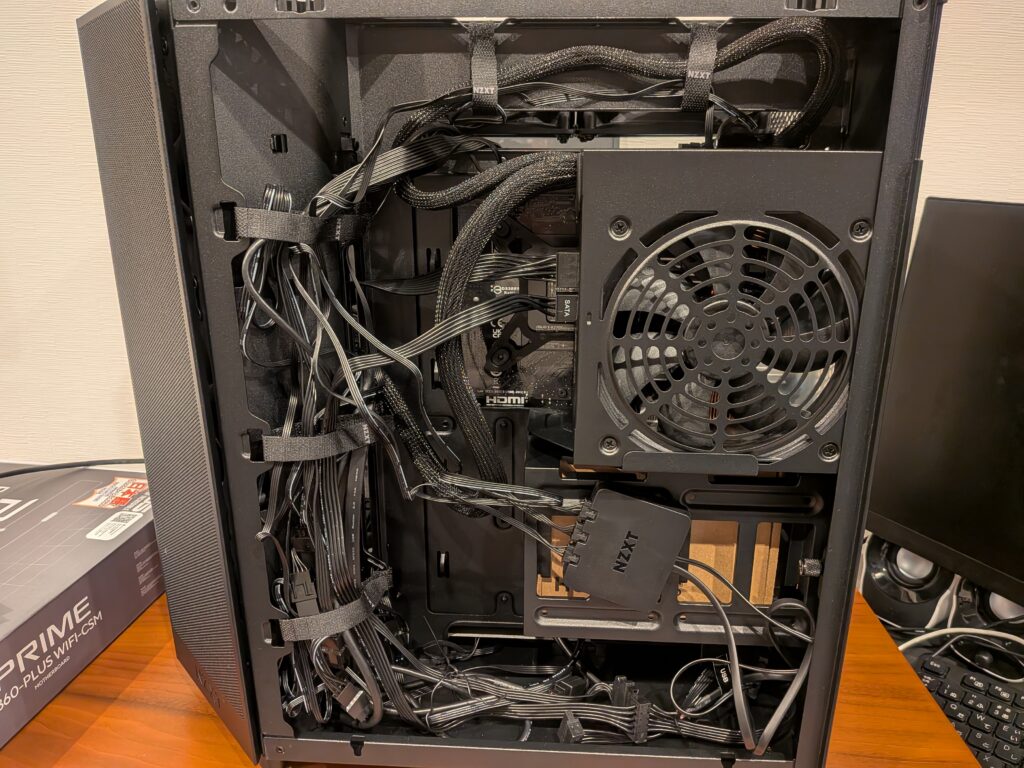
Installing the Power Supply Unit
Install the power supply unit “Kurotoshikou KRPW-BK650W/85+” to the rear of the case.
Connect the PCIe cables and SATA cables to the power supply in advance.
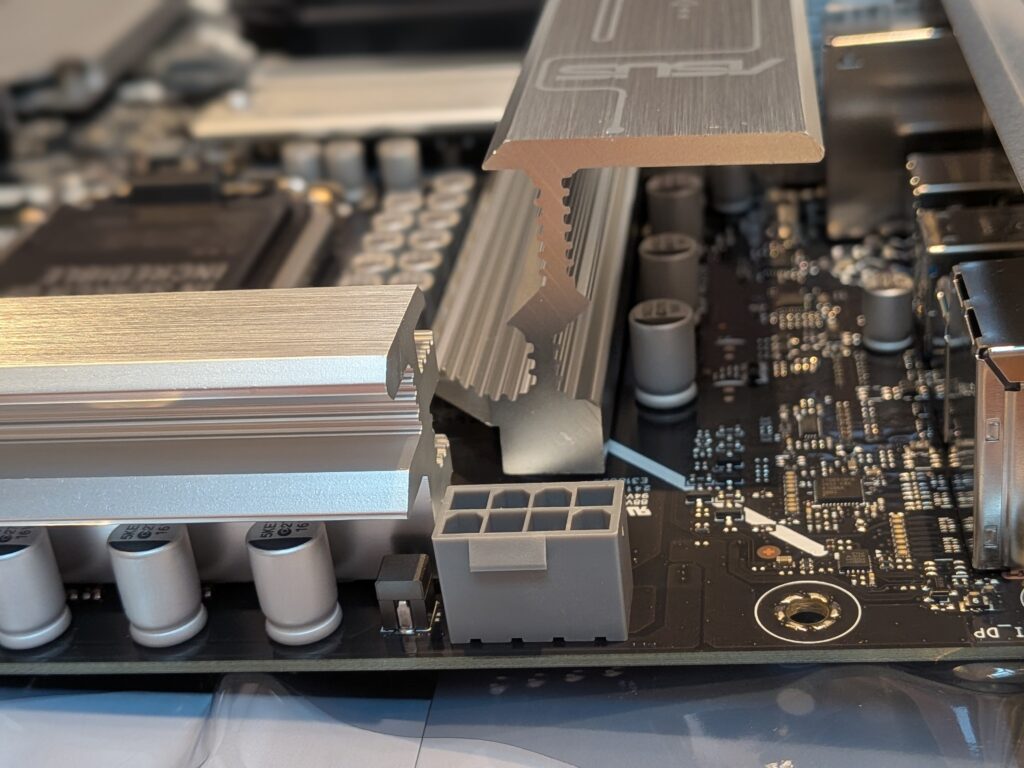
Insert the motherboard and CPU power cables (the thick cables) into the corresponding connectors on the motherboard.
Installing the AIO Liquid CPU Cooler
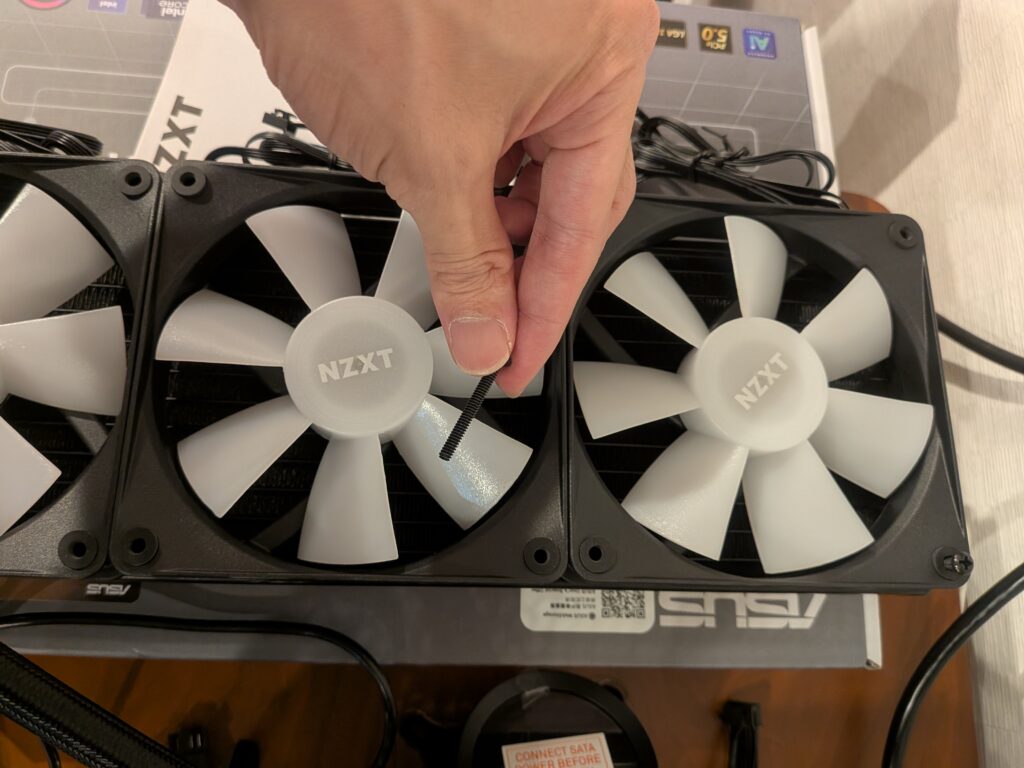
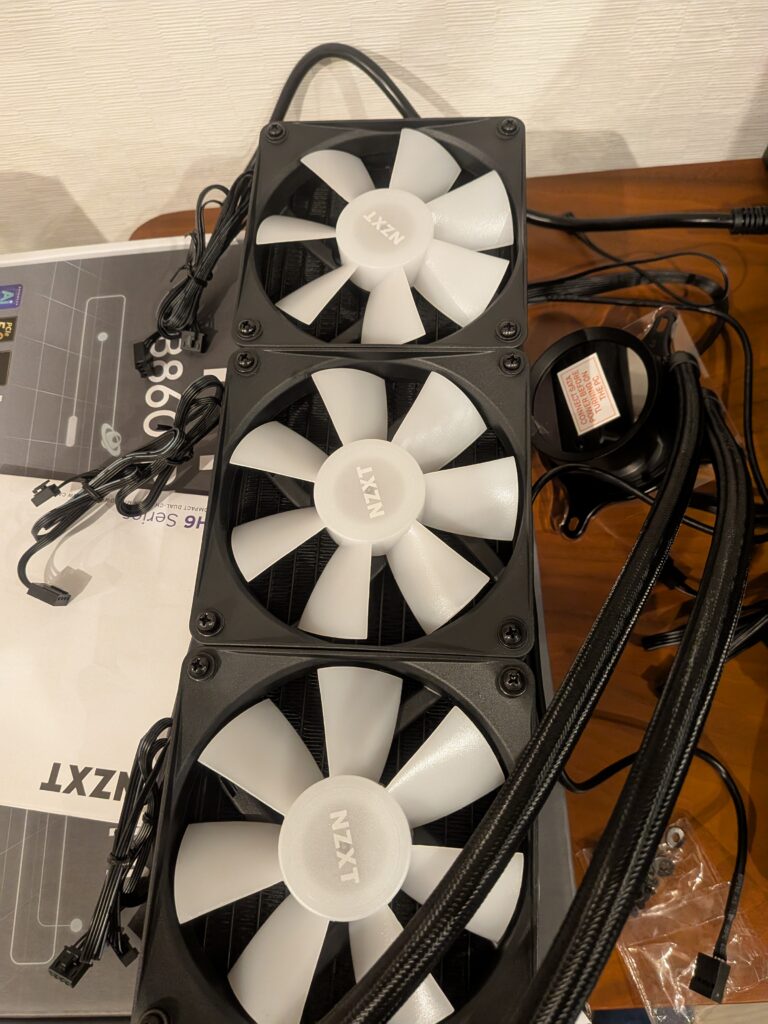
Finally, install the CPU cooler “NZXT KRAKEN RGB 360.”
This was the most time-consuming and difficult step in this build.

NZXT KRAKEN RGB 360 Black AIO Liquid CPU Cooler RL-KR360-B1 FN1875
First, use the 12 included long screws to attach the RGB fans to the radiator.
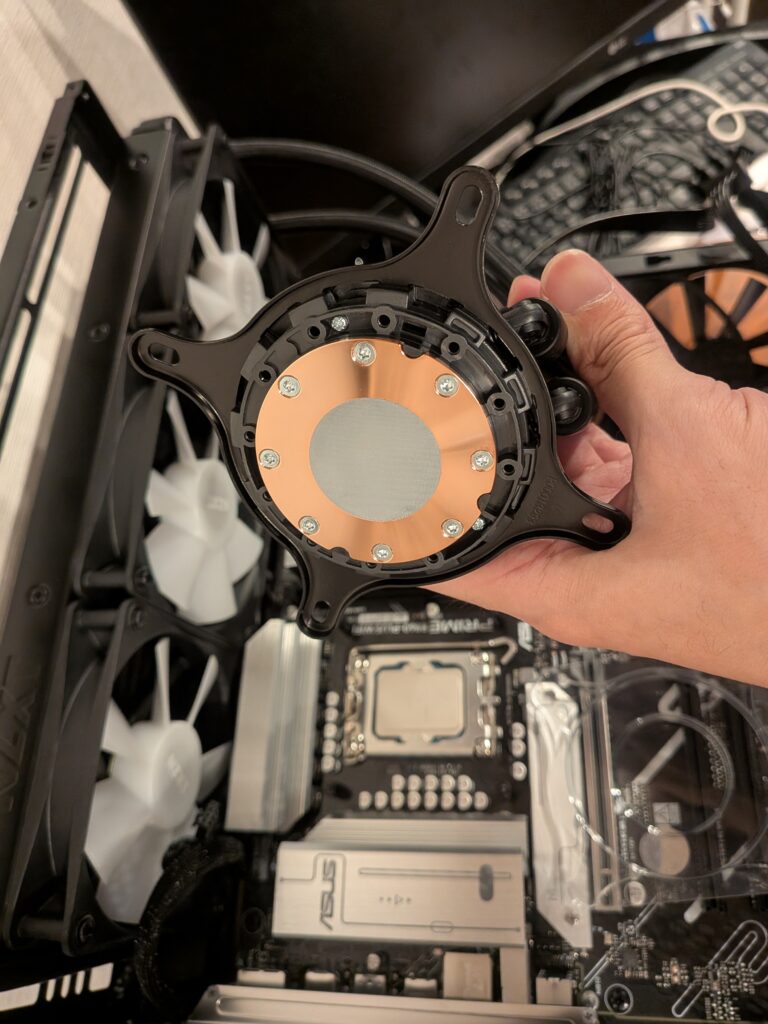
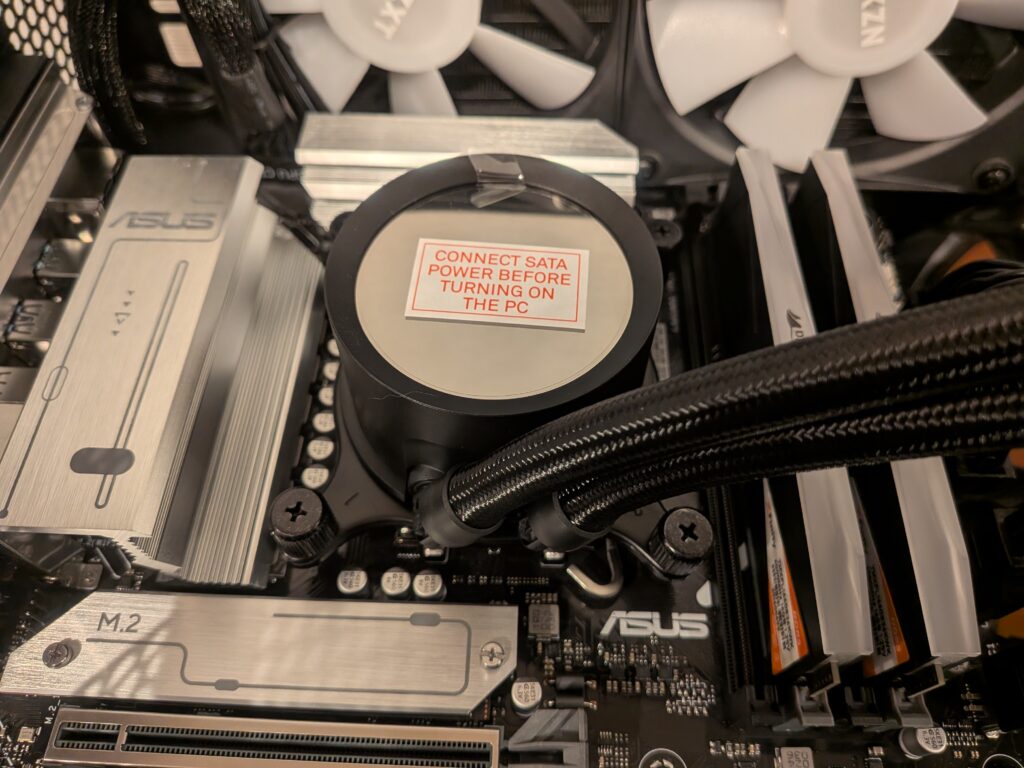
Attach the pump head to the motherboard.
The CPU cooler used this time already has thermal paste pre-applied, so you do not need to apply additional paste.
Place the pump head firmly onto the CPU and secure it using the included nuts.
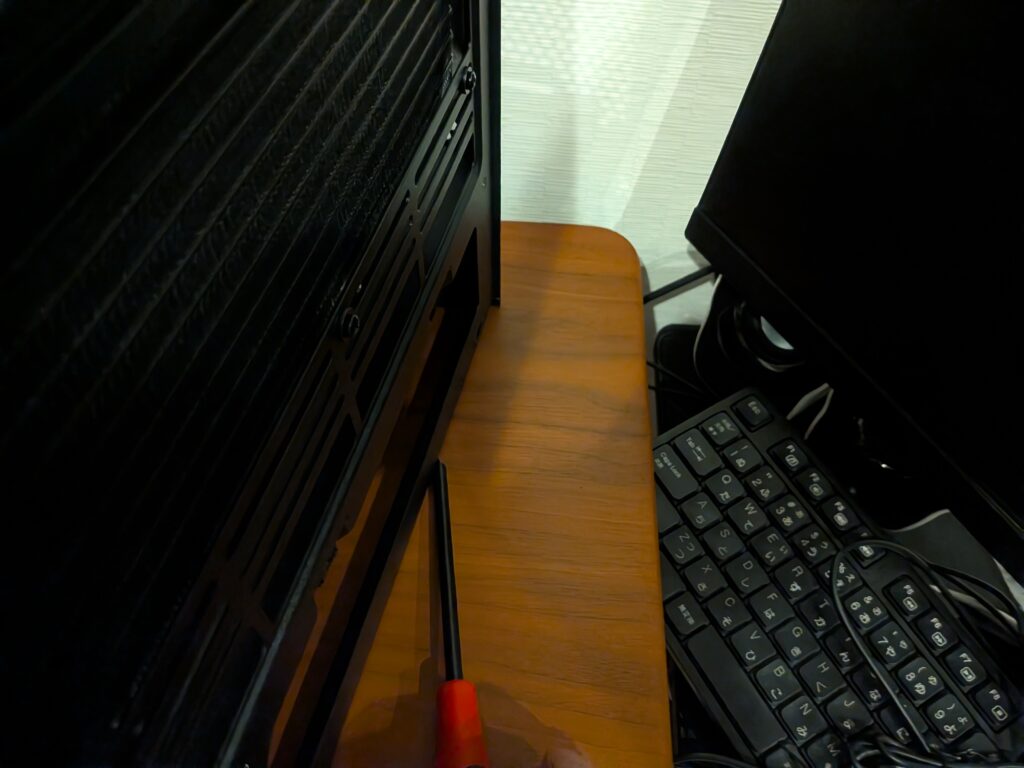
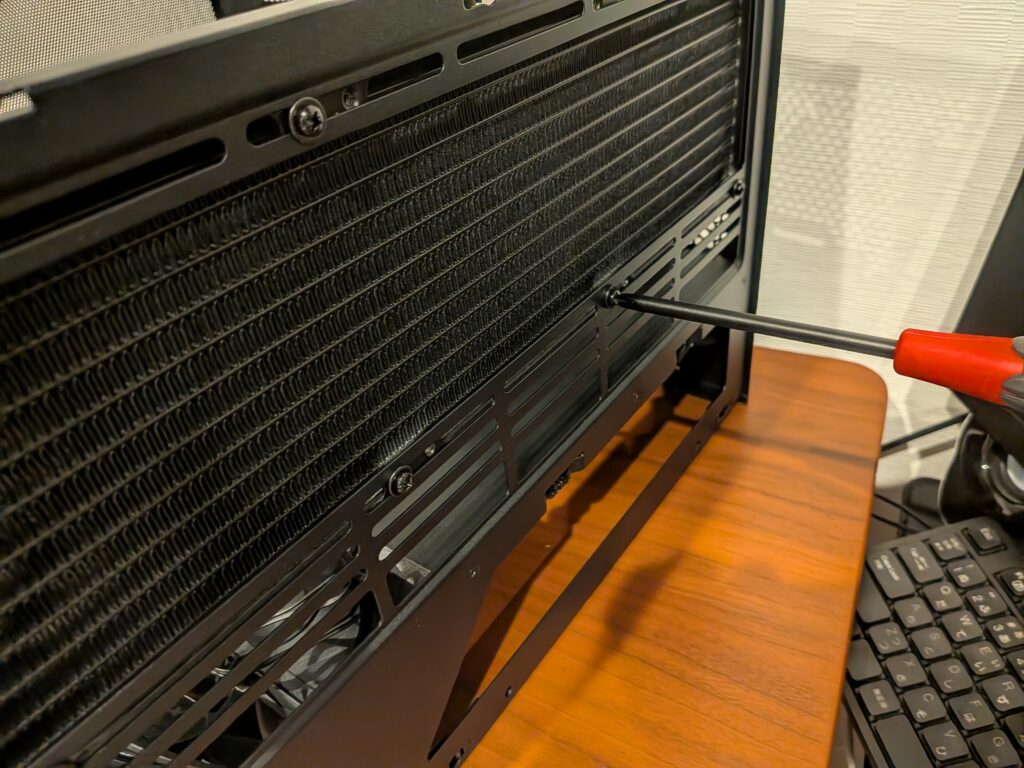
Secure the radiator to the case using the screws included with the CPU cooler.
Do not forget to install the washers.
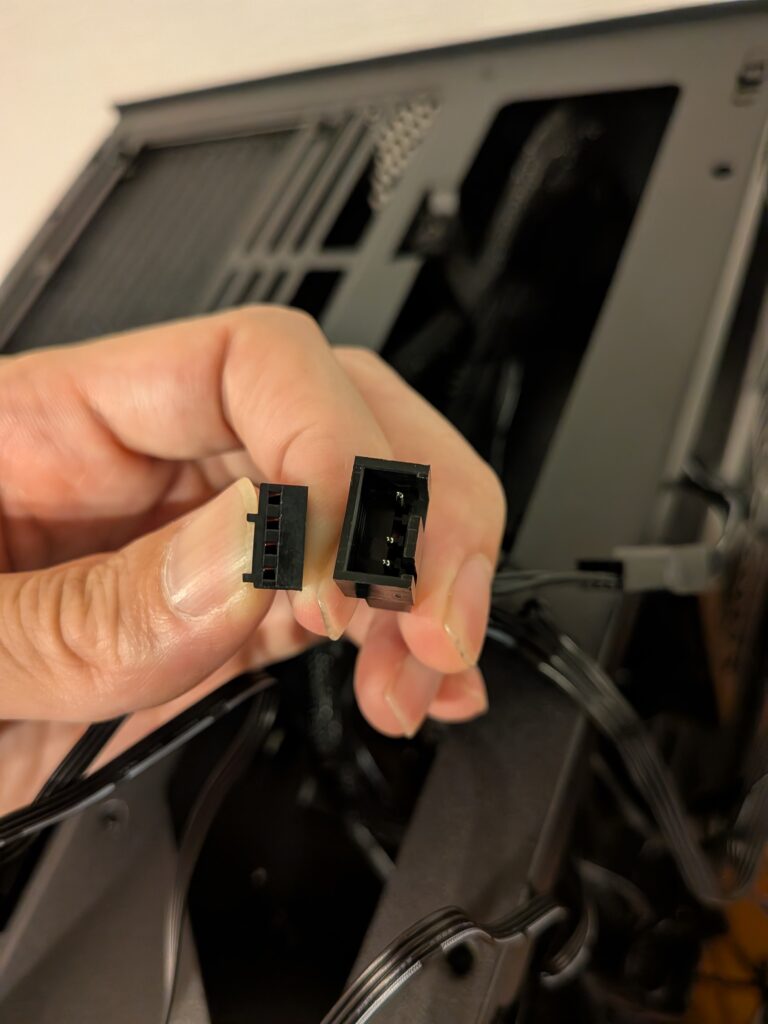
Next, connect the cables.
First, connect the PWM fans (4-pin) to the splitter cable that connects to the CPU cooler.
Connect the SATA cable to provide power to the CPU cooler.
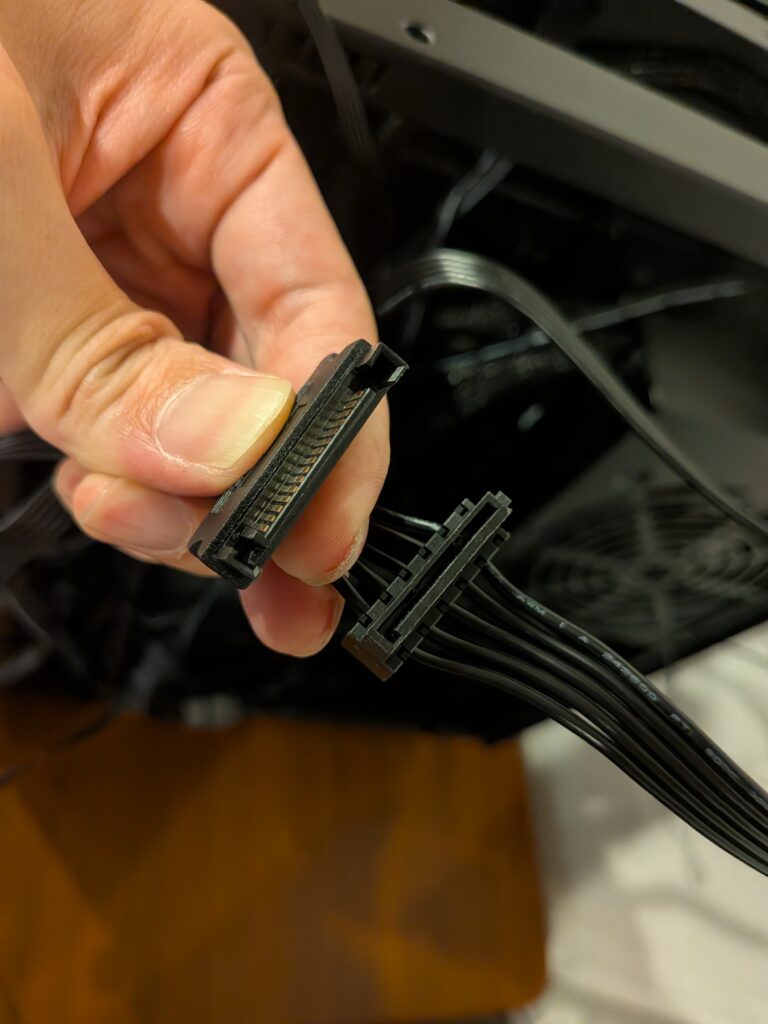
Connect the RGB cables from each fan to the included RGB controller.
Please note that NZXT fan RGB connectors use a proprietary standard and cannot be directly connected to the motherboard’s RGB pin header.
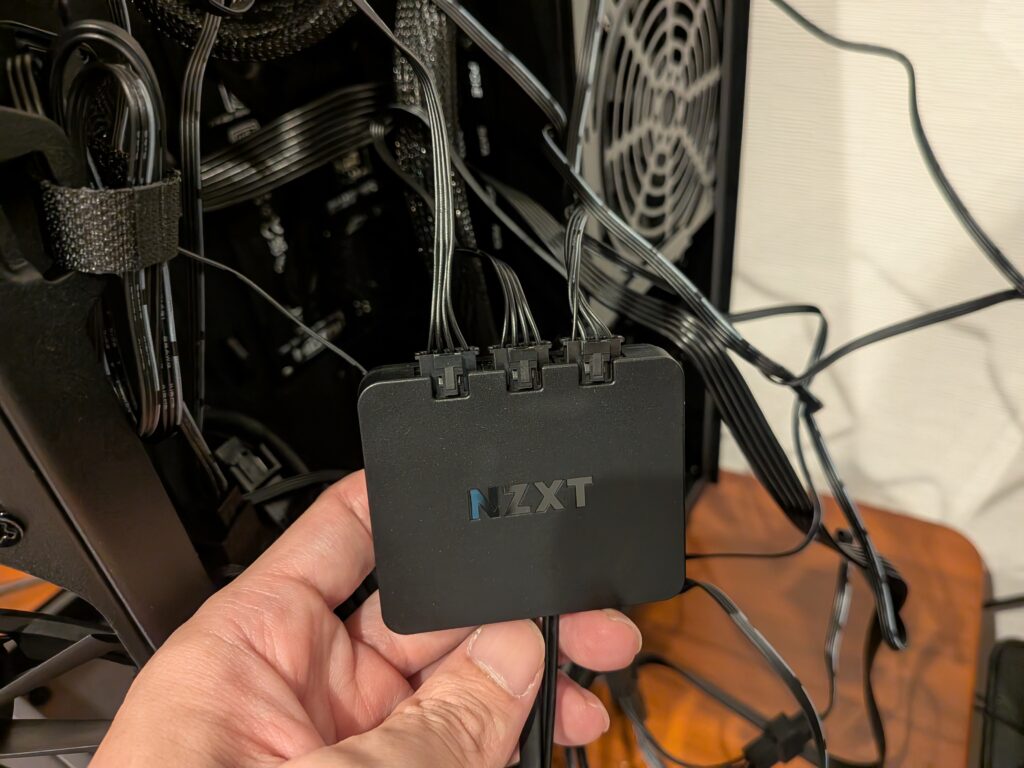
Both the RGB controller and the CPU cooler unit need to be connected to USB 2.0 headers. Since the motherboard used this time only has one USB 2.0 header, use the included splitter cable to connect them.
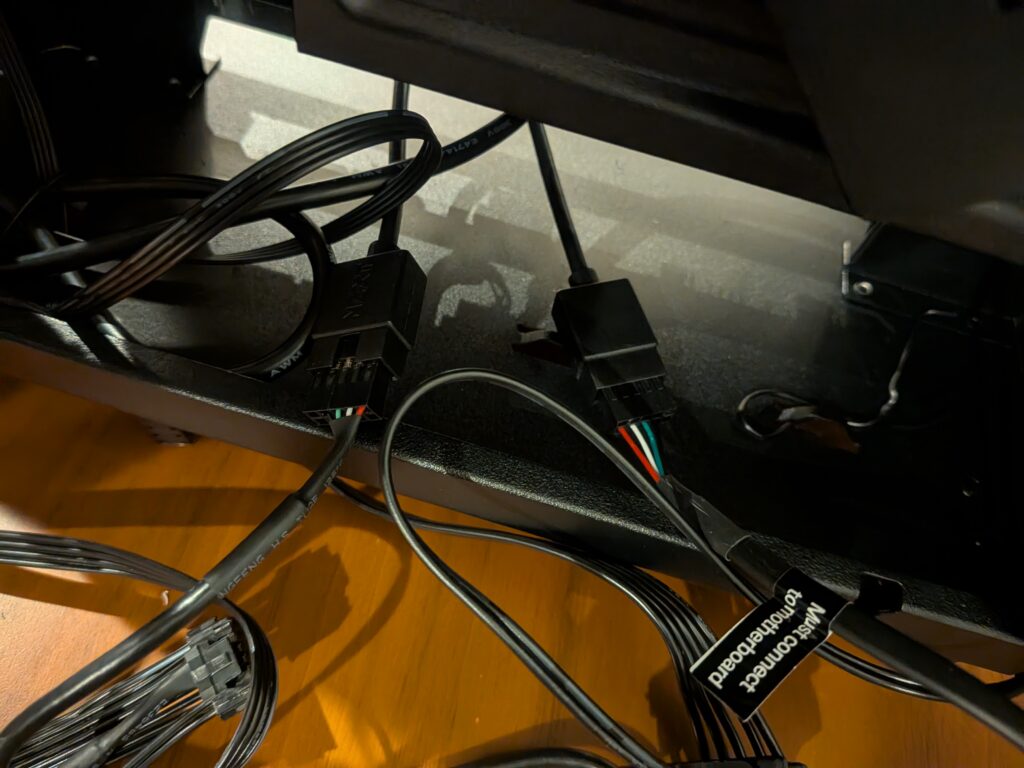
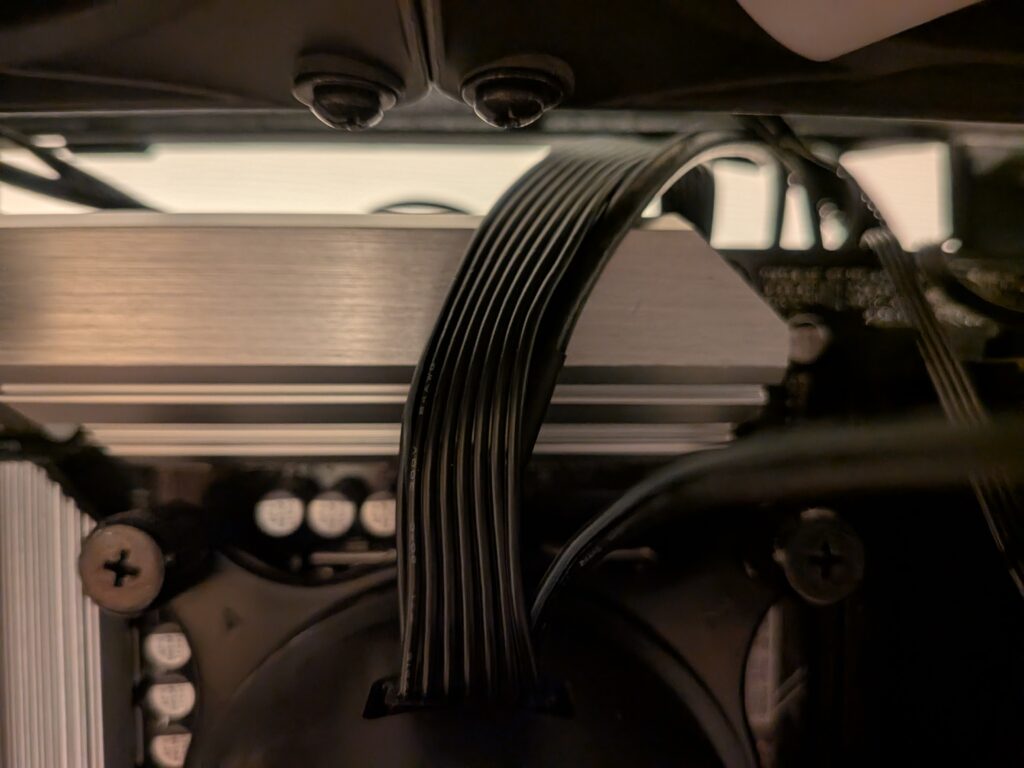
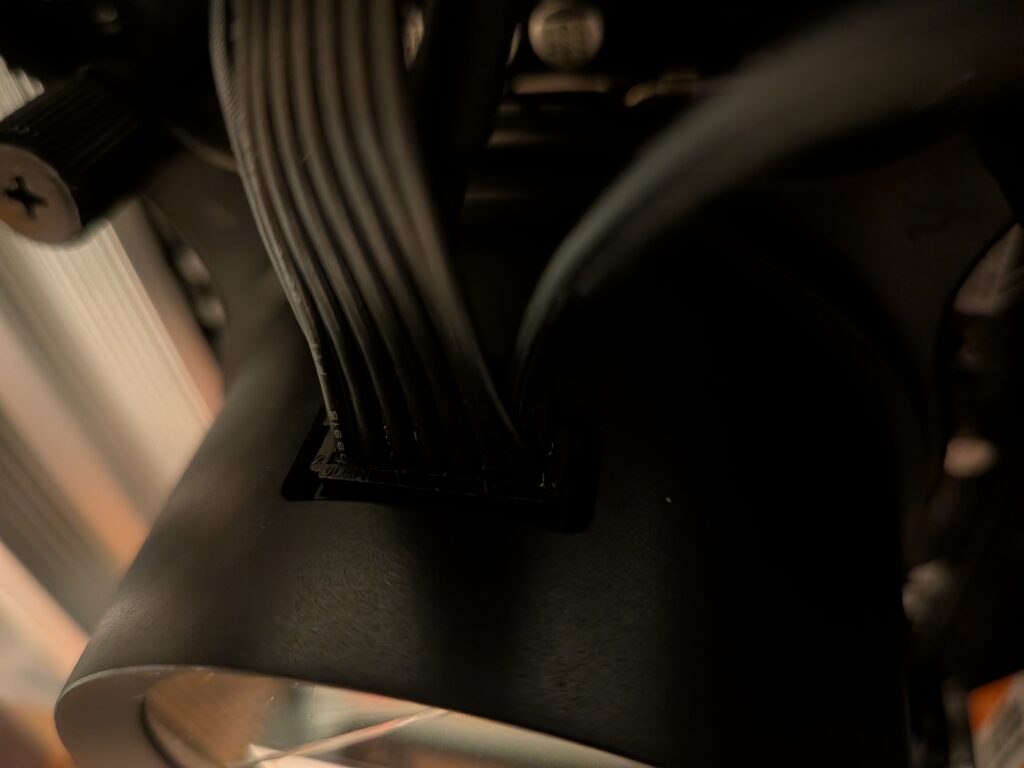
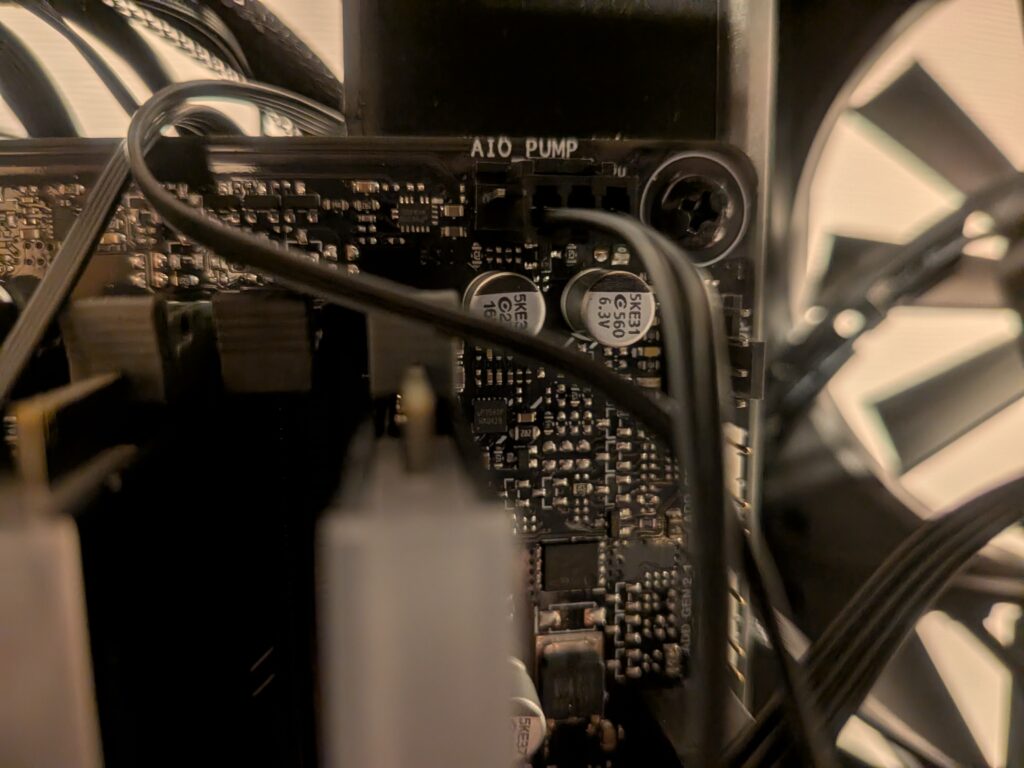
Finally, connect the cable from the top of the pump head and the cable to the AIO_PUMP pin header to complete the wiring.
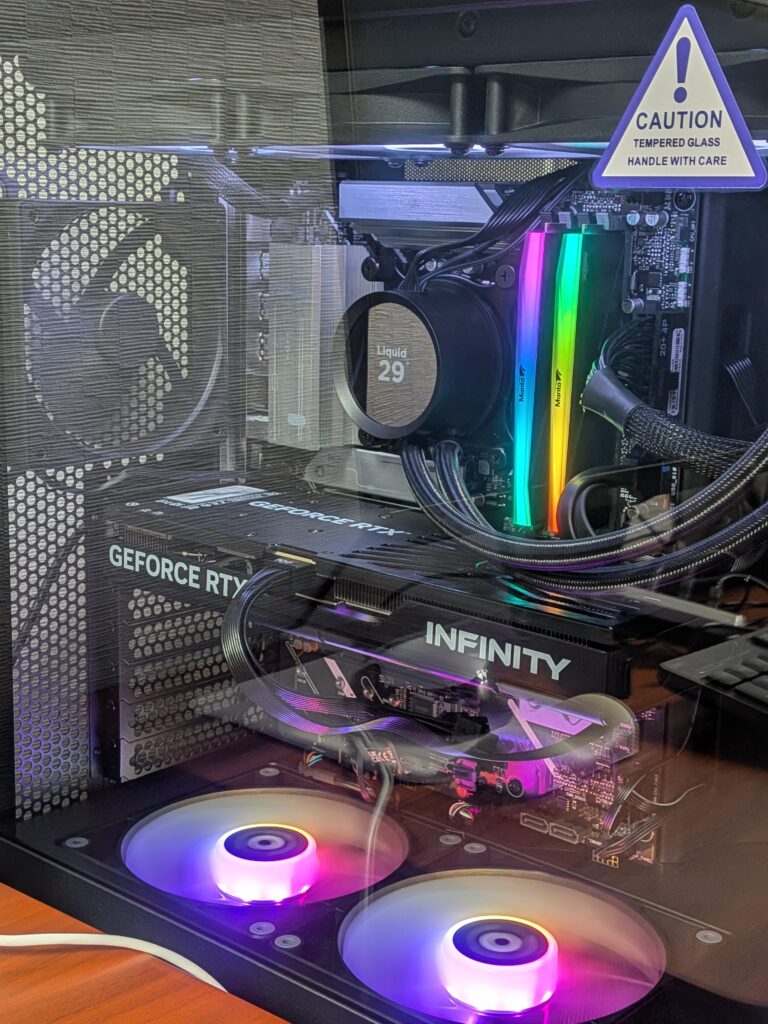
Installing the Graphics Card
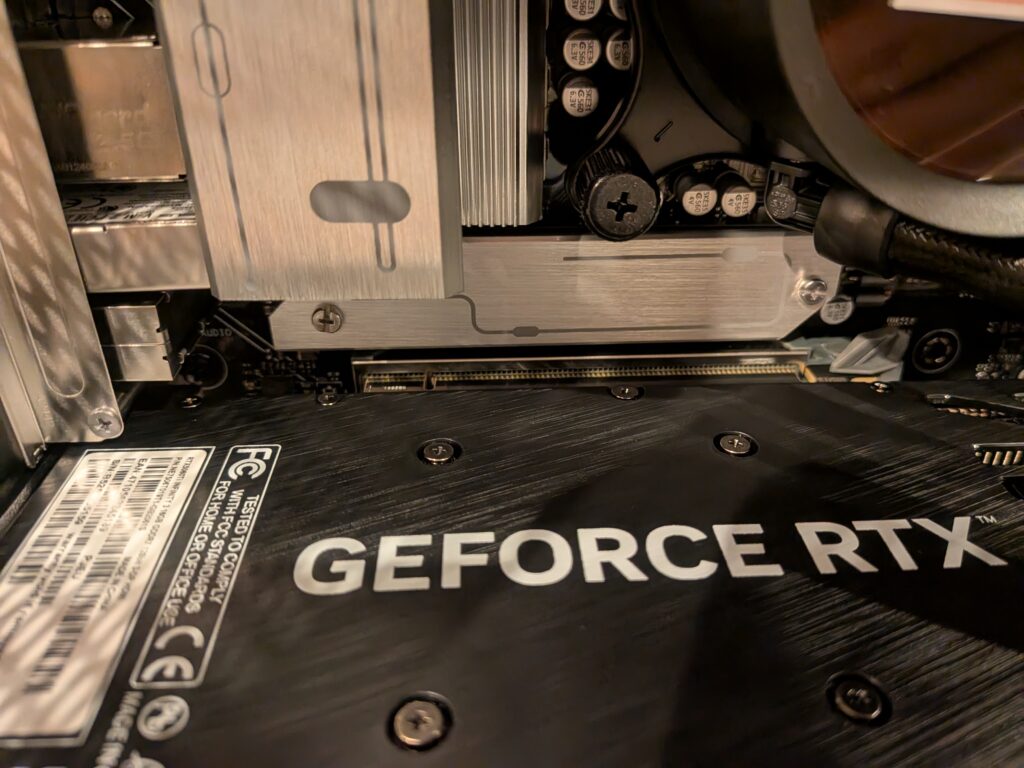
Insert the graphics card “Palit GeForce RTX 5060 Ti Infinity 3 16GB” into the PCIe slot.
When it is fully inserted, the latch on the right side of the PCIe slot will close and automatically lock the card in place.
Connect the PCIe 8-pin power cable to the power connector on the graphics card.
At this point, the essential hardware installation required to power on the PC is complete, and we successfully powered it on and confirmed that the components light up.
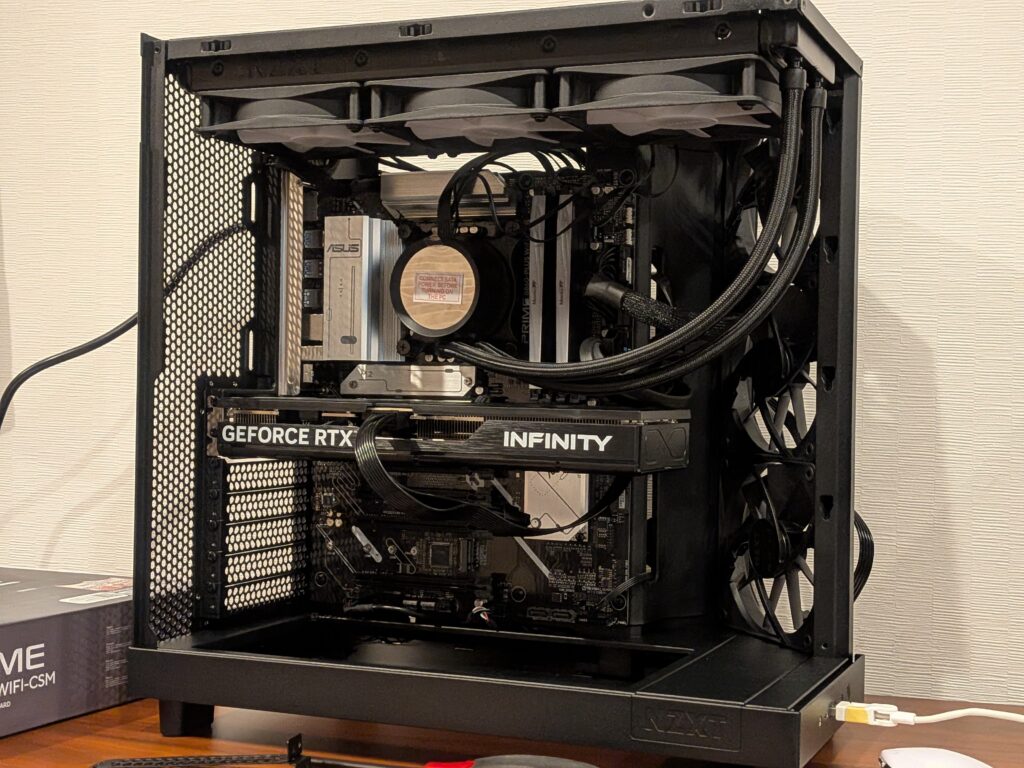
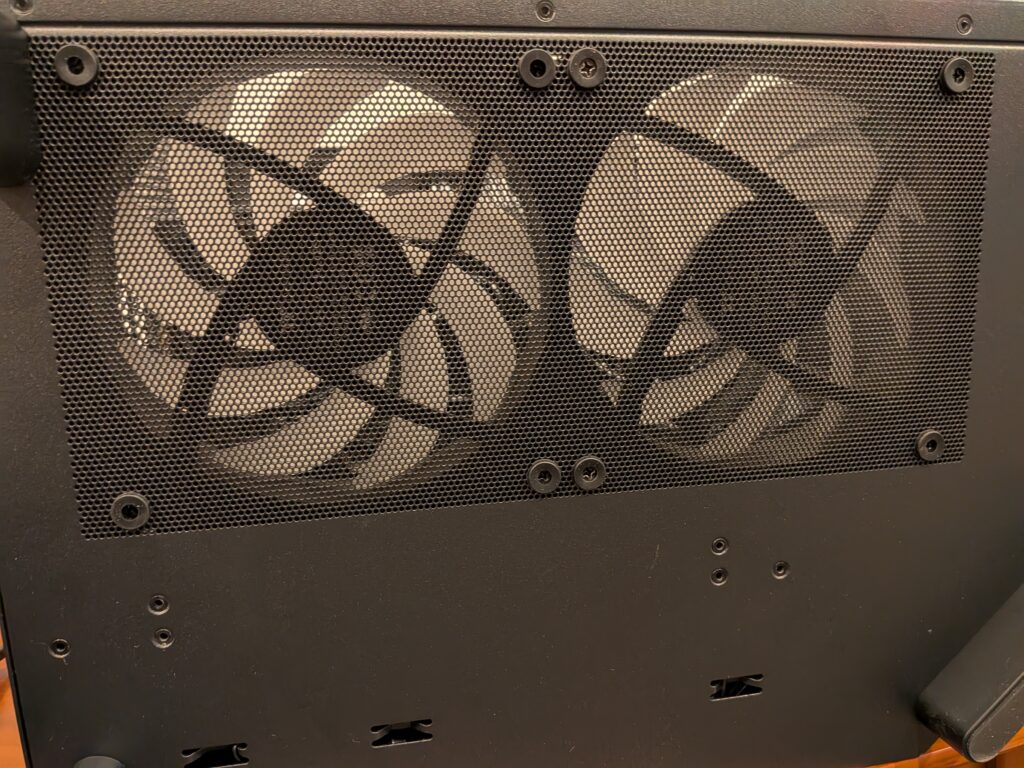
Adding Additional Fans
Since I was already working on the build, I decided to install additional fans on the front side to improve both appearance and cooling performance. I installed two 140mm fans on the bottom and one 120mm fan on the rear.
Normally, case fans are designed to move air from the front side to the back side. However, for the bottom-mounted fans this time, I used reverse fans, which move air from the back side to the front side.
If you install standard fans on the bottom, they end up upside down and the RGB lighting is hidden by the fan frame. By using reverse fans, you can → enjoy clean and visible RGB lighting.

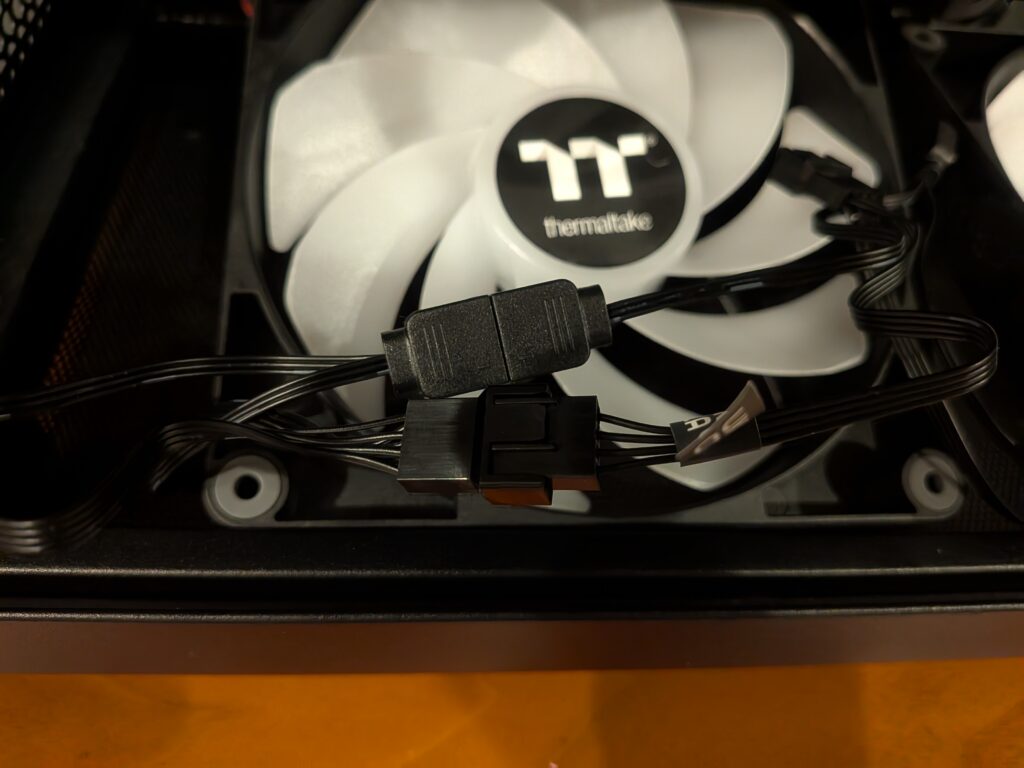
Thermaltake CT140 Reverse ARGB Sync (2-pack) Black PC Case Fan CL-F174-PL14SW-A FN2398
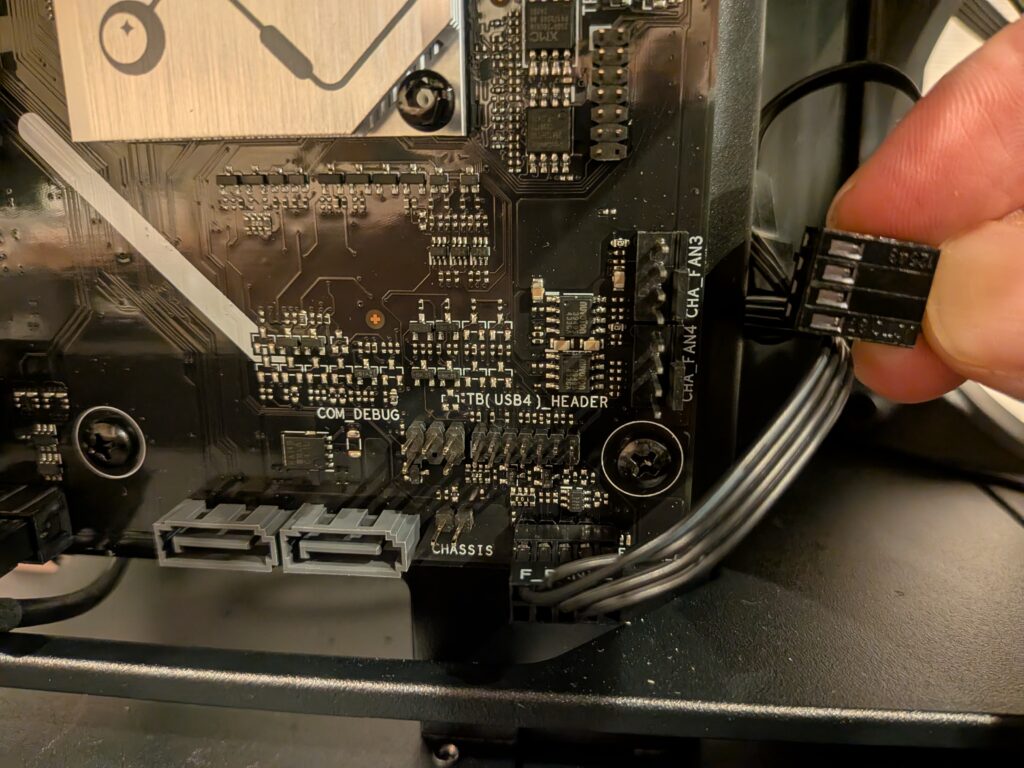
Connect the fans to each other using cables, then connect them to the motherboard fan headers and RGB headers.
Lay the case on its side and secure the fans from the bottom using bolts.
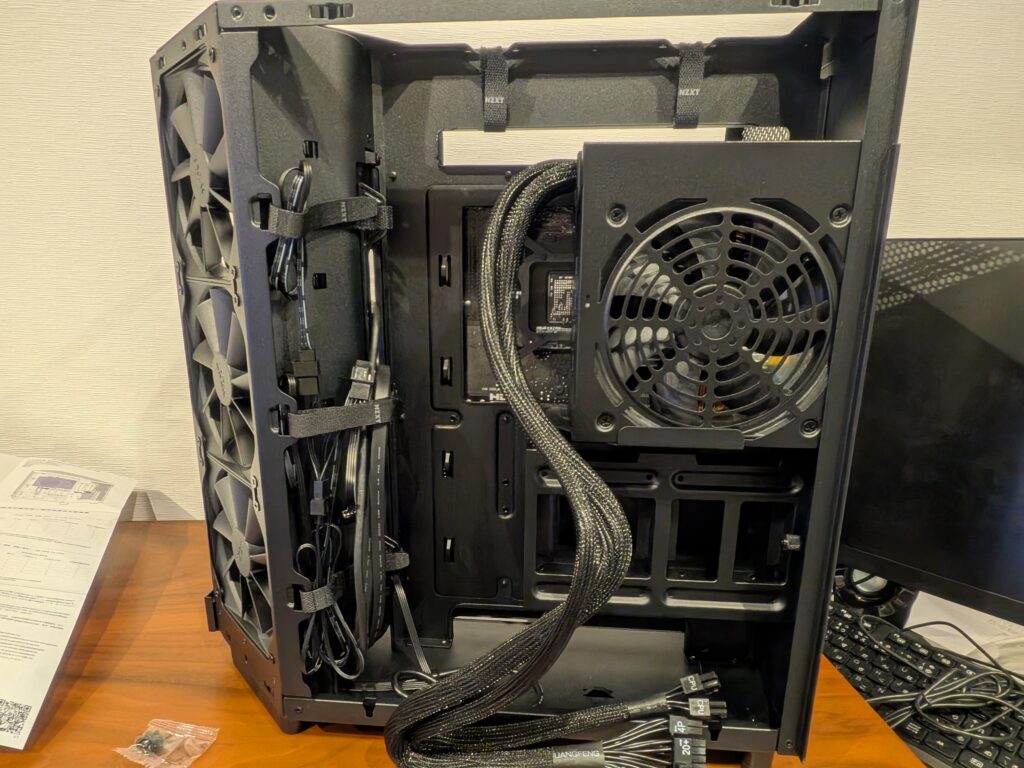
The rear cable management looks like this. There are quite a lot of cables, but the NZXT H6 Flow has a large cable management space behind the motherboard tray, and the included Velcro straps make it easy to bundle cables neatly.
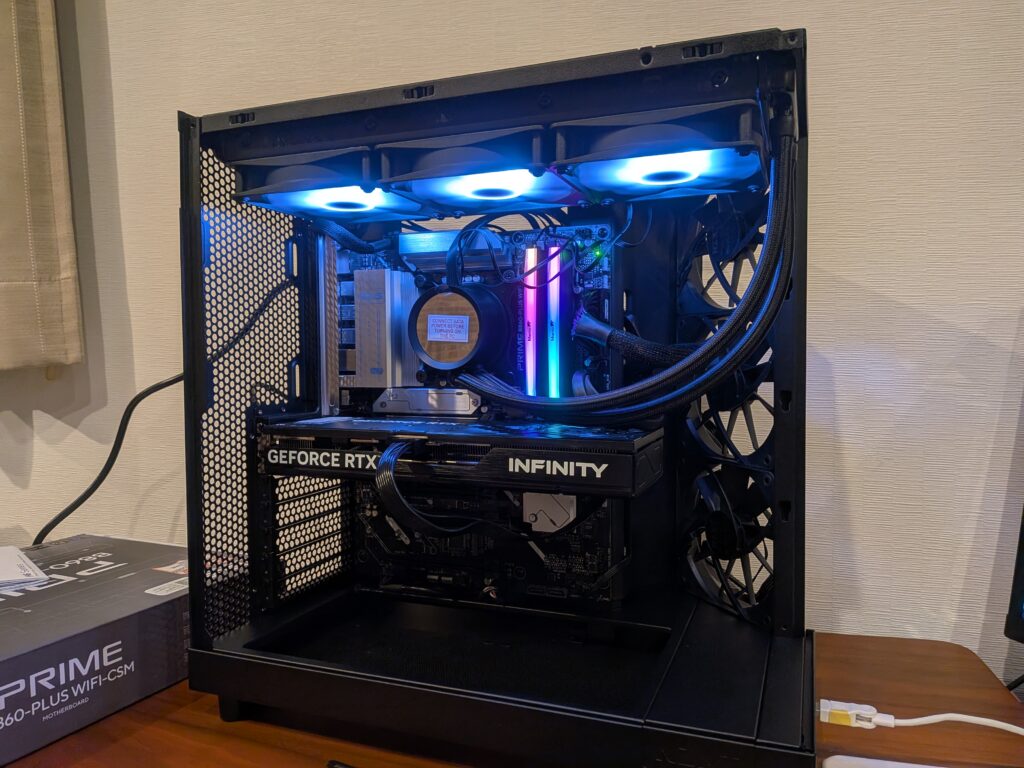
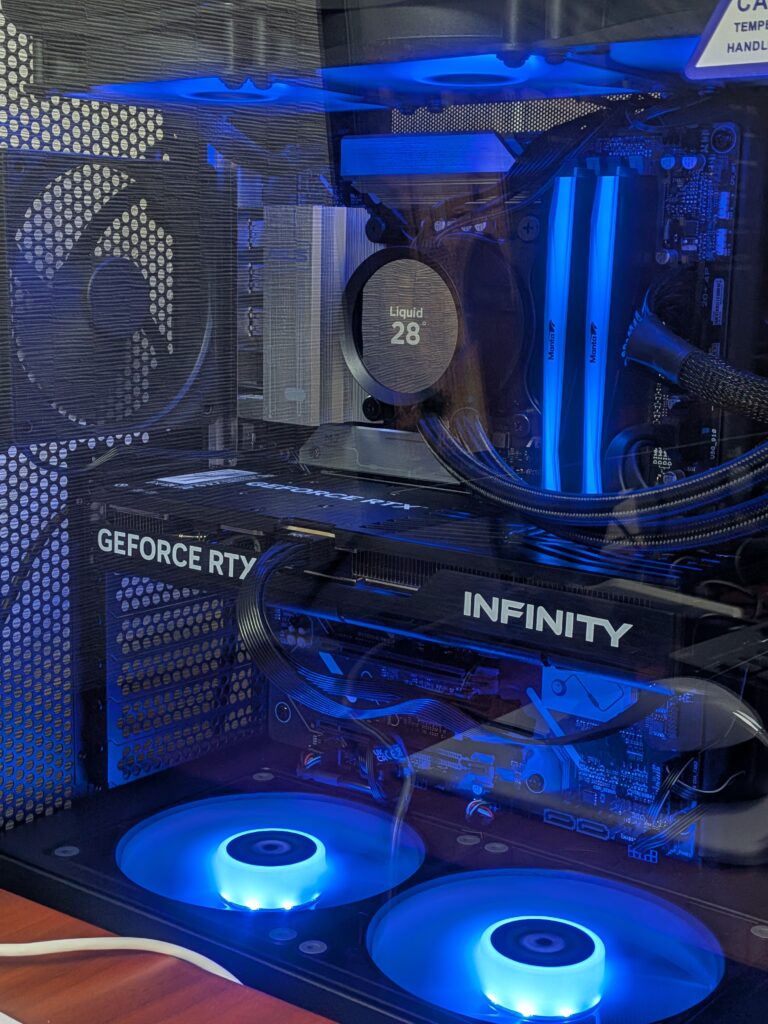
With this, the PC is complete — and you can enjoy beautiful RGB lighting like this!
広告/AD
Benchmark
Next, I will evaluate the performance of the assembled PC using various benchmark tests and 3DCG software.
CPU Performance
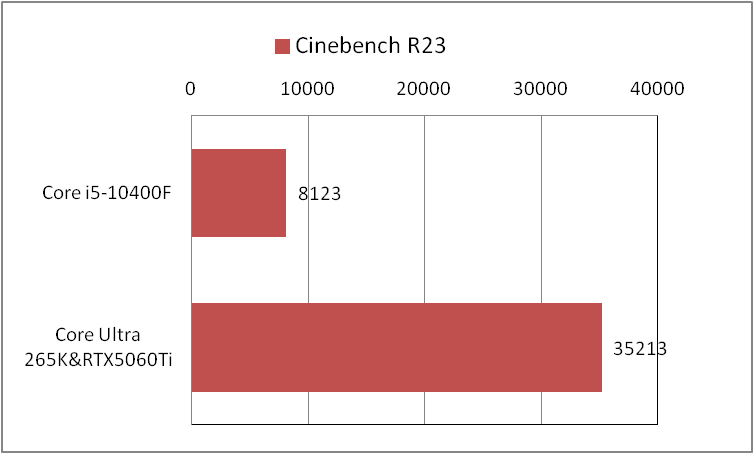
CPU performance (multi-core) was evaluated using Cinebench R23, which scores CPU rendering speed.
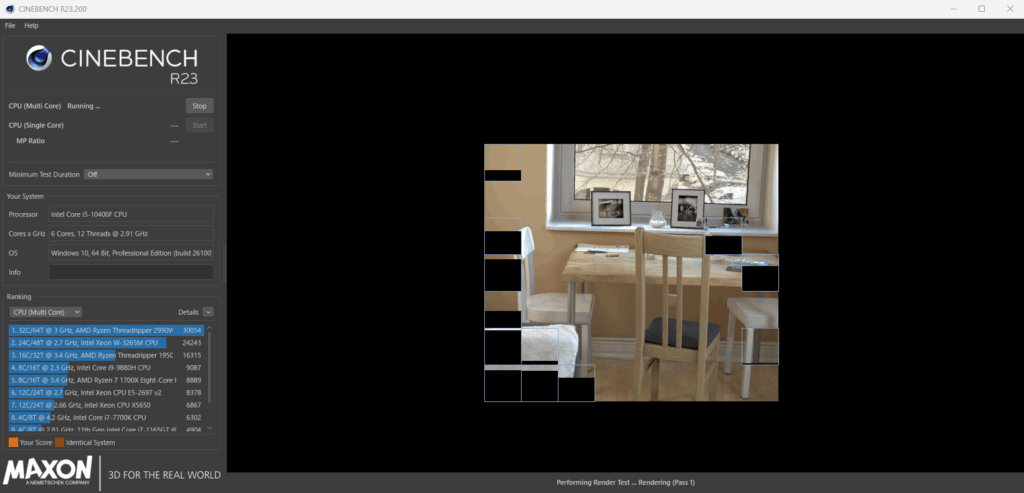
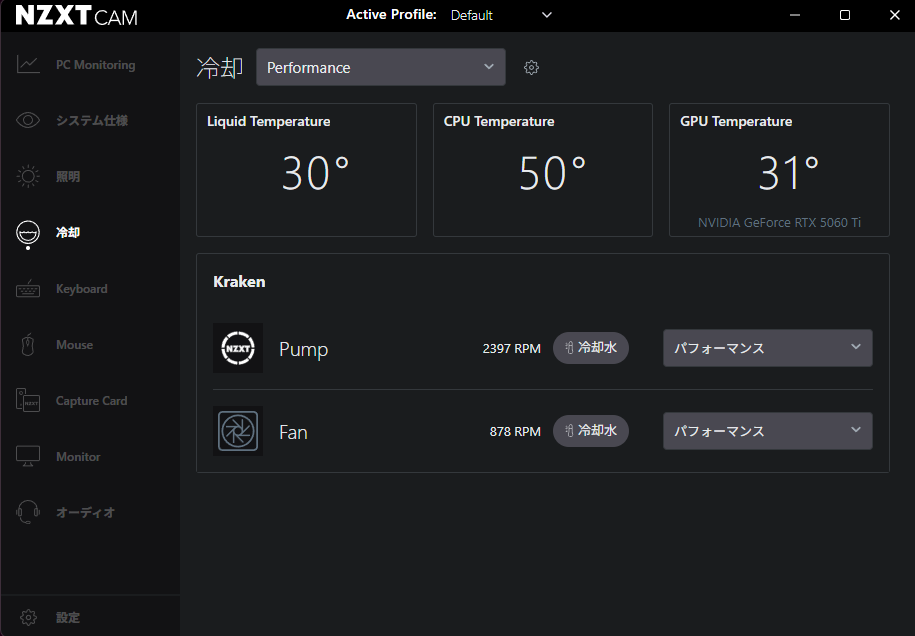
The CPU cooler, NZXT KRAKEN RGB 360, allows fan speed control using NZXT’s control software CAM, and this time it was set to “Performance” mode.
The comparison results between the Intel Core Ultra 265KF used in this build and my main PC (Core i5-10400F) are shown below. (Since this was not measured in a clean OS installation environment, the scores are slightly lower than those shown on comparison websites.)
With the increase in physical cores from 6 to 20, the Core Ultra 265KF achieved more than four times the performance of the Core i5-10400F.
I also measured the temperature while running Cinebench R23 continuously for 10 minutes. The maximum temperature reached 92°C, which is well below the maximum allowable temperature of 105°C, confirming that the Core Ultra 265KF is being cooled sufficiently.

GPU Performance
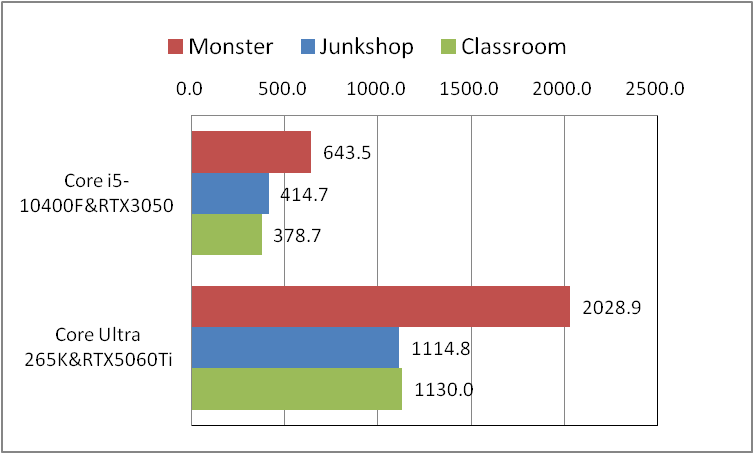
GPU performance was evaluated using the Blender Benchmark, which scores GPU rendering speed.
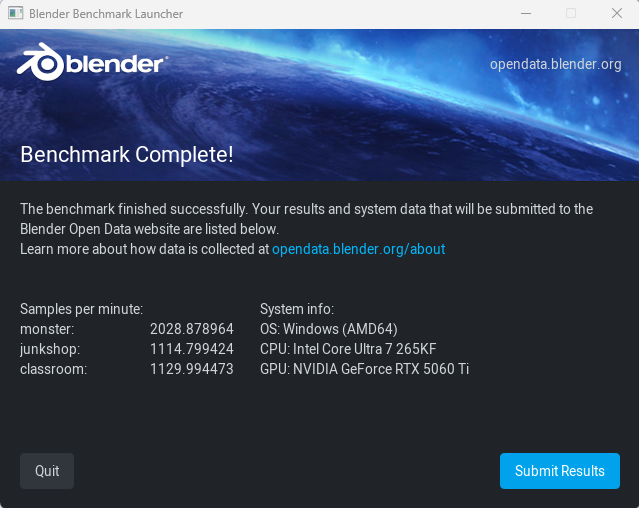
The comparison results between the NVIDIA GeForce RTX 5060 Ti used in this build and my main PC (RTX 3050) are shown below.
The RTX 5060 Ti delivers more than twice the performance of the RTX 3050.
SSD Performance
SSD performance was evaluated using CrystalDiskMark, which measures read and write speeds.

The comparison results between the Western Digital WD Black SN7100 (2TB) used in this build and my main PC (WD Black SN750 500GB and KIOXIA EXCERIA G2 2TB) are shown below.
(Since this was not measured right after a clean OS installation, the scores are slightly lower than those shown on some comparison websites.)
Because the SN7100 is a newer generation SSD and supports PCIe 4.0, it delivers significantly higher performance compared to the other two drives.

Performance When Using 3DCG Software
Here are my impressions after using 3DCG software on the new PC.
Blender
Since the GPU (RTX 5060 Ti) performance has improved, viewport operation during rendering is smoother compared to my previous PC (RTX 3050).
In addition, thanks to the improved CPU performance (Core Ultra 265KF), vertex editing operations are also smoother compared to my previous environment (Core i5-10400F).
Unreal Engine 5
Due to the improved multi-core CPU performance, the time required for compiling and building during project creation feels significantly shorter.
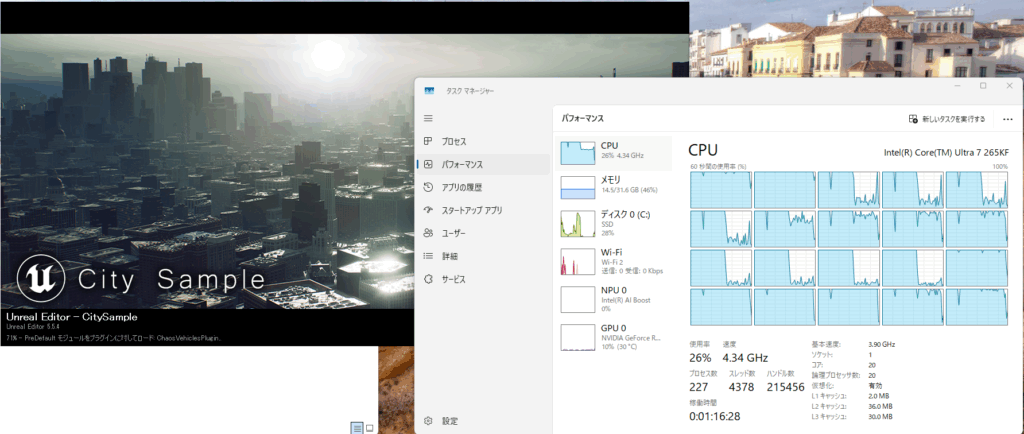
Also, since the video memory capacity has increased to 16GB, even complex projects can run smoothly.
About the Control Software
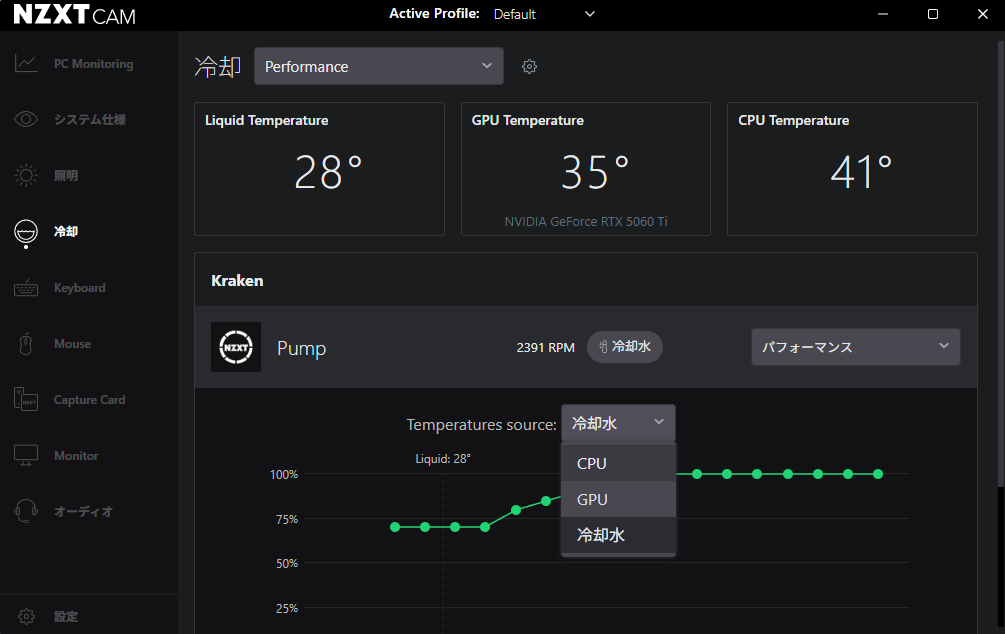
The CPU cooler used this time, the NZXT Kraken 360 RGB, can be controlled using NZXT’s control software CAM, which allows you to manage the following:
- Pump head LCD display
- CPU cooler fan speed
- CPU cooler fan RGB lighting mode
On the LCD, you can display CPU and GPU temperatures, as well as download and display GIF animations.
Fan speed can be controlled based on coolant temperature, CPU temperature, and other parameters.
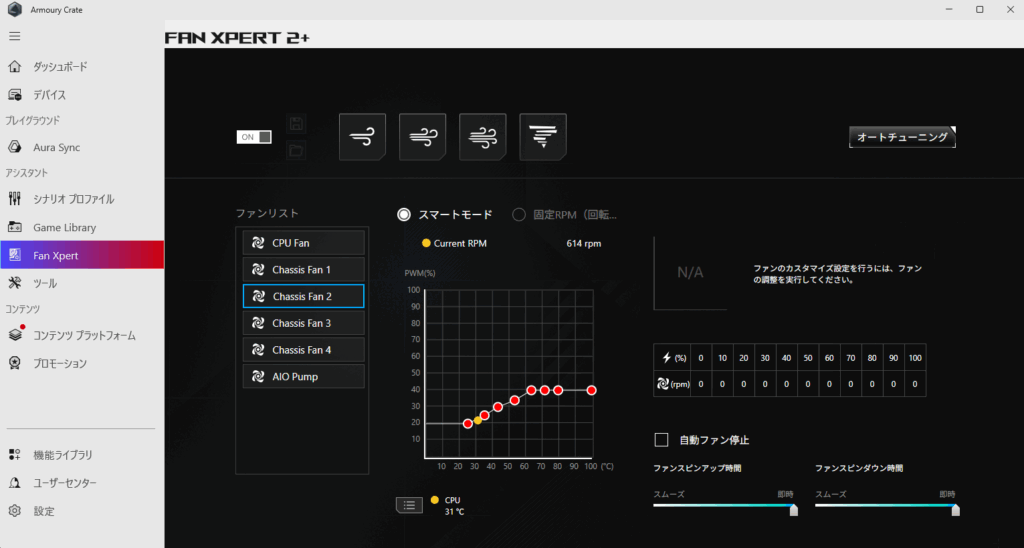
Fan speeds for case fans and RGB lighting modes for fans and memory (other than the CPU cooler) can be controlled using the control software provided by the motherboard manufacturer.
This time, I used ASUS’s control software Armoury Crate to configure lighting and fan speeds.
By default, the case fan speed was relatively high and noticeable, so I reduced it to about 40% of the rated speed for daily use.
Summary
To commemorate building this new PC, I decided to write an article summarizing the assembly process and benchmark results.
This was my first time using an AIO liquid CPU cooler, but thanks to the spacious cable management area behind the motherboard tray in the NZXT H6 Flow, I was able to complete the build without any major difficulty.
The NZXT H6 Flow features a simple, refined design with no unnecessary elements, and its high cooling performance allows the Core Ultra 265KF and RTX 5060 Ti to perform at their full potential. As a result, I was able to build a custom PC that I am extremely satisfied with.
I hope to continue using it carefully for many years to come.
Reference Site
Chimolog
A great website recommended for beginners interested in building their own PCs.

広告/AD