[Blender 2.93] Modeling Sea Urchin – First Geometry Nodes Experience

This is a breakdown of the “sea urchin" model I created on October 10th as part of the “Midnight Modeling Challenge (深夜のモデリング一本勝負).
It was my first time using Geometry Nodes, so I’ve summarized how to use them (including point distribution and point instancing) as a memo for future reference.
If you have any thoughts or questions, feel free to reach out to Klala on Twitter (https://twitter.com/klala_lab) 😊
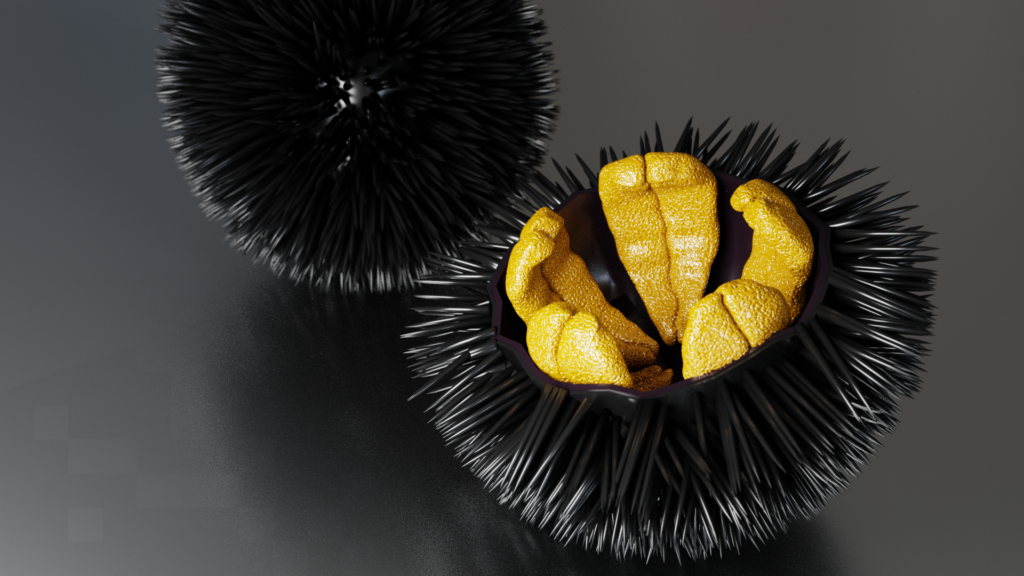
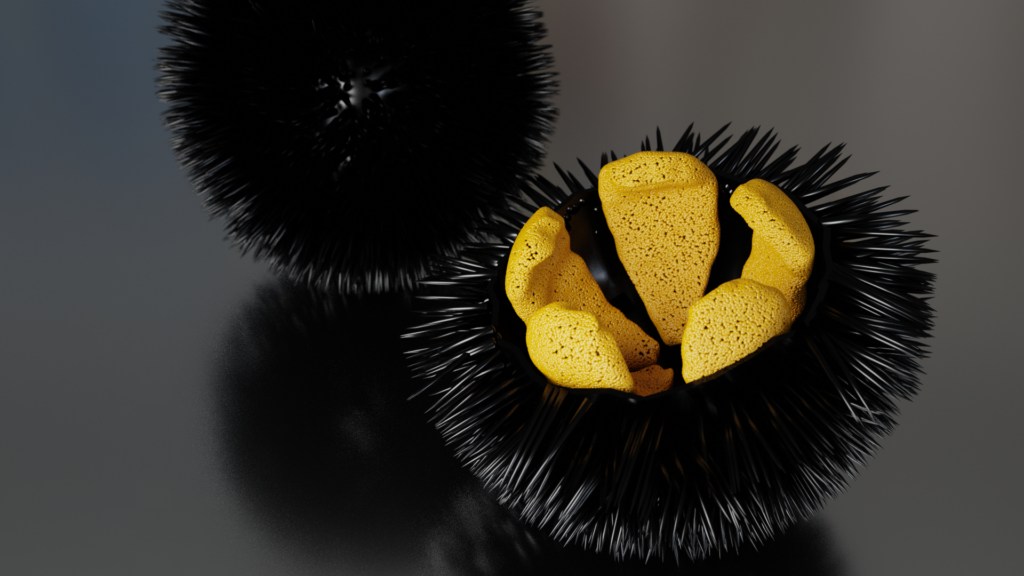
<Final Render>
Tweet
AD
How to Use Geometry Nodes
First, let’s go over the basics of using Geometry Nodes.
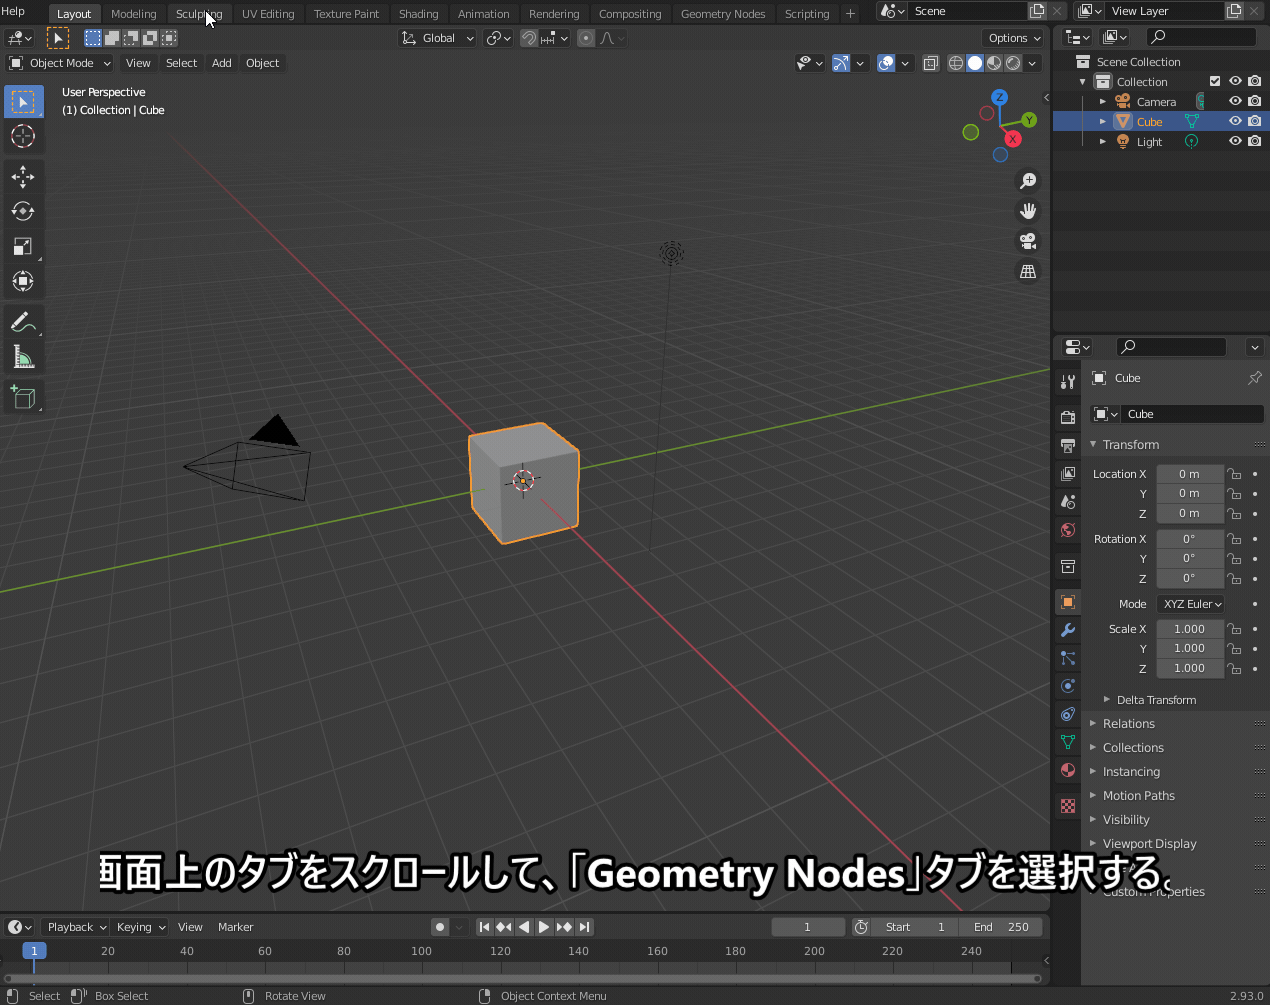
To get started, select the “Geometry Nodes" tab. In the node editor that appears (the Geometry Node Editor), click “New" at the top. This will create a new Geometry Nodes modifier.
In the Geometry Node Editor, you can connect different geometry nodes, just like with materials and compositing nodes, to add various effects.
Creating the Spines of the Sea Urchin
First, let’s go over the process of creating the spines.
1. Modeling the Base Shape
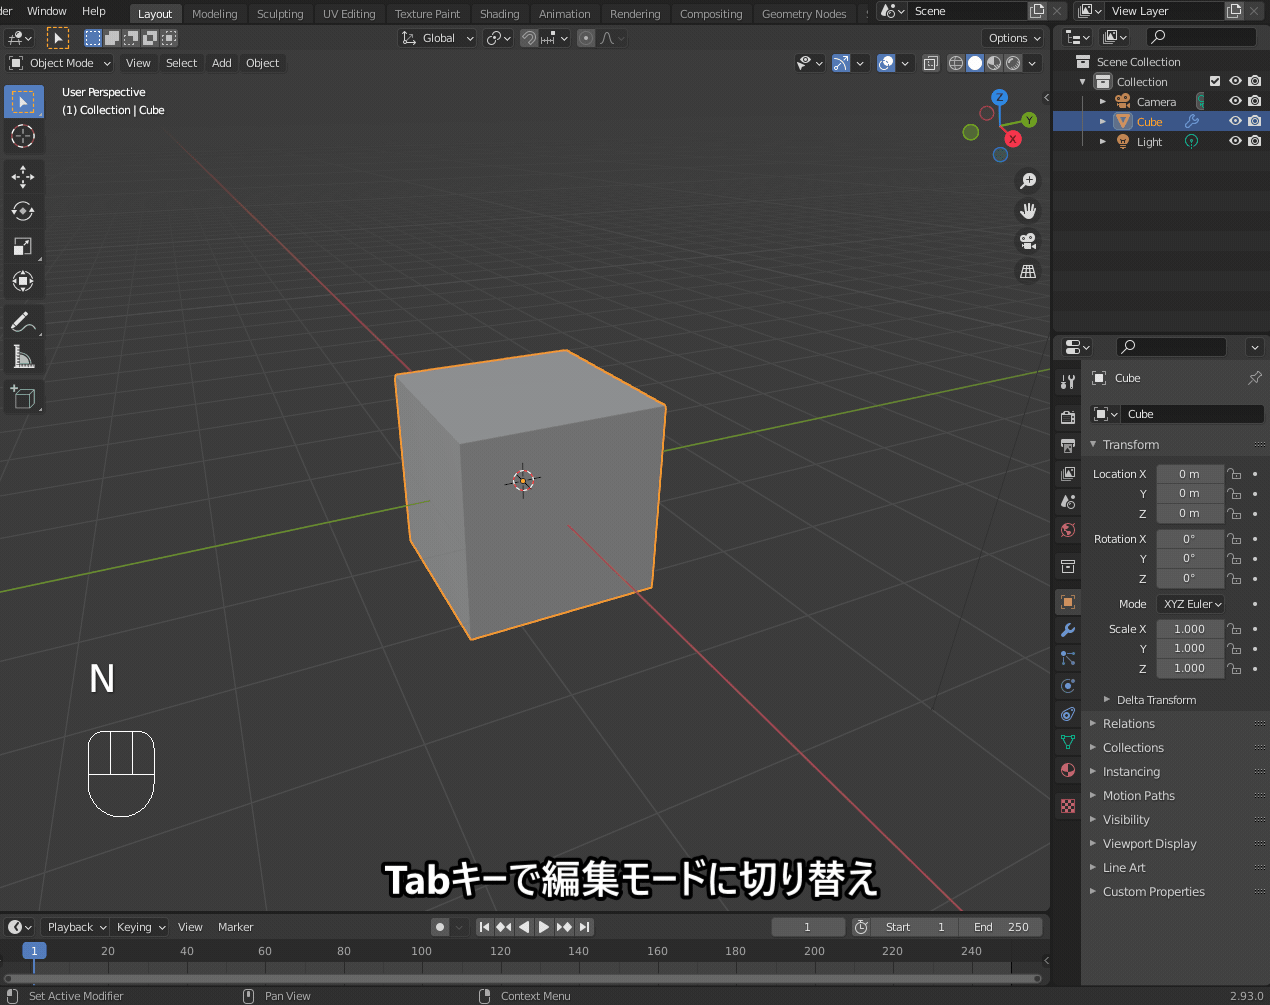
Before making the spines, we need to model the base shape that they will grow from.
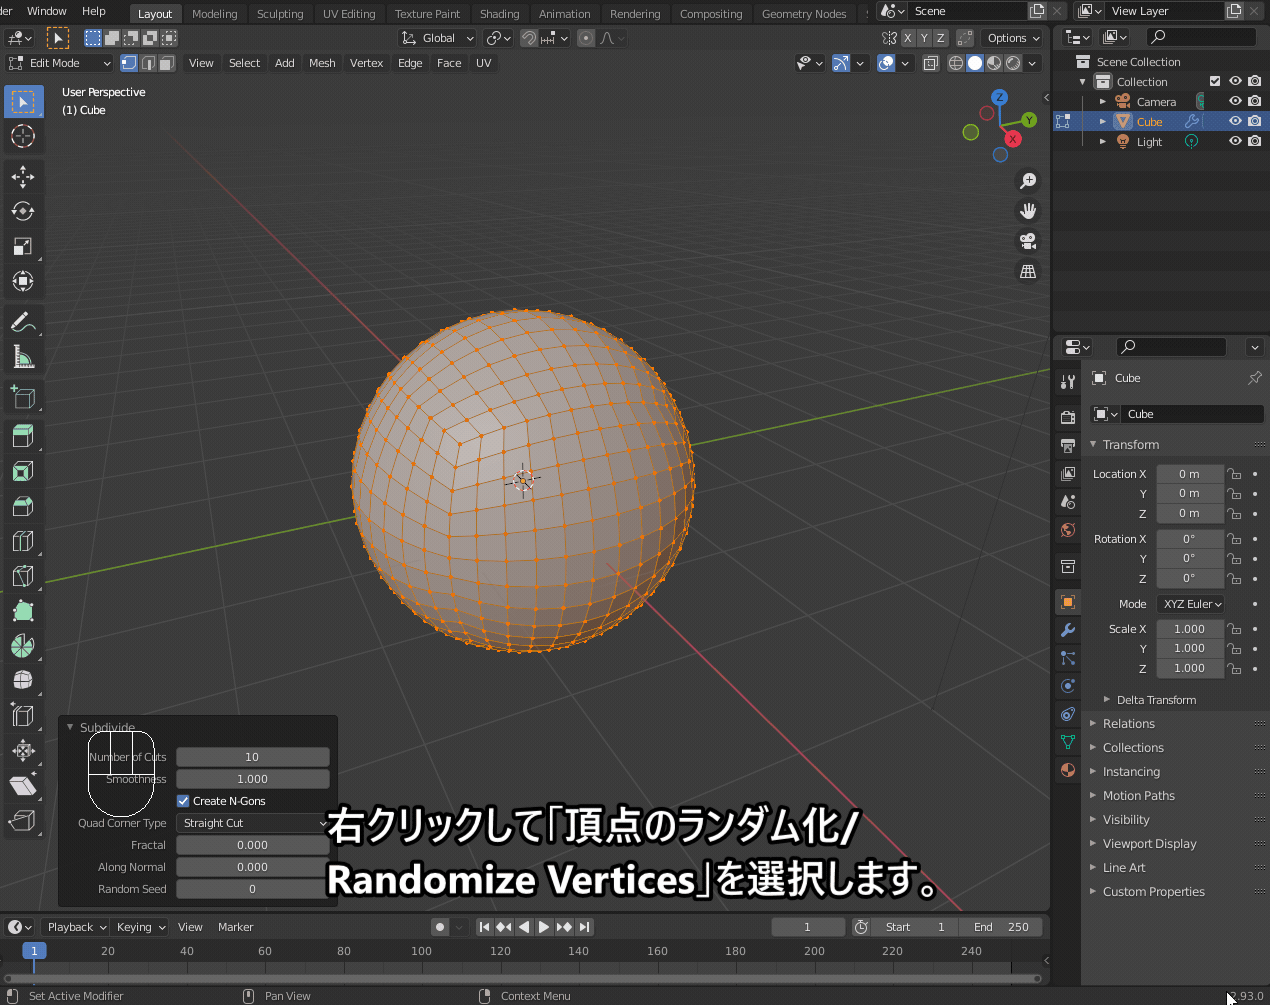
Start with a cube and apply Subdivision and Smoothing to round it out.
Next, use “Randomize Vertices" and “Smooth" repeatedly to create a bumpy surface. This will serve as the base for the sea urchin’s spines.
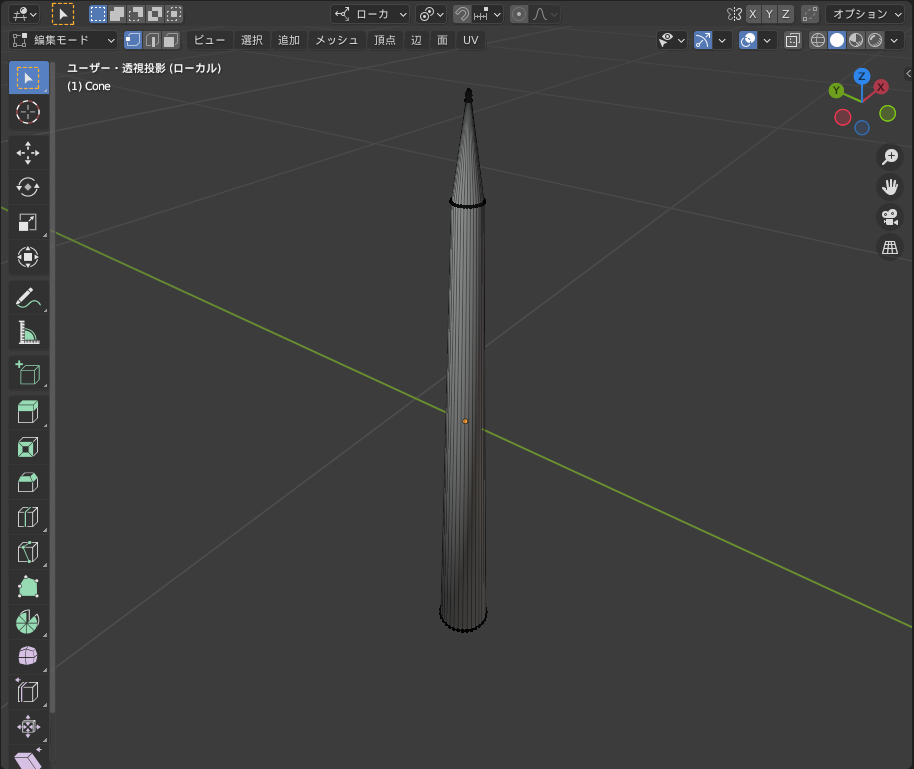
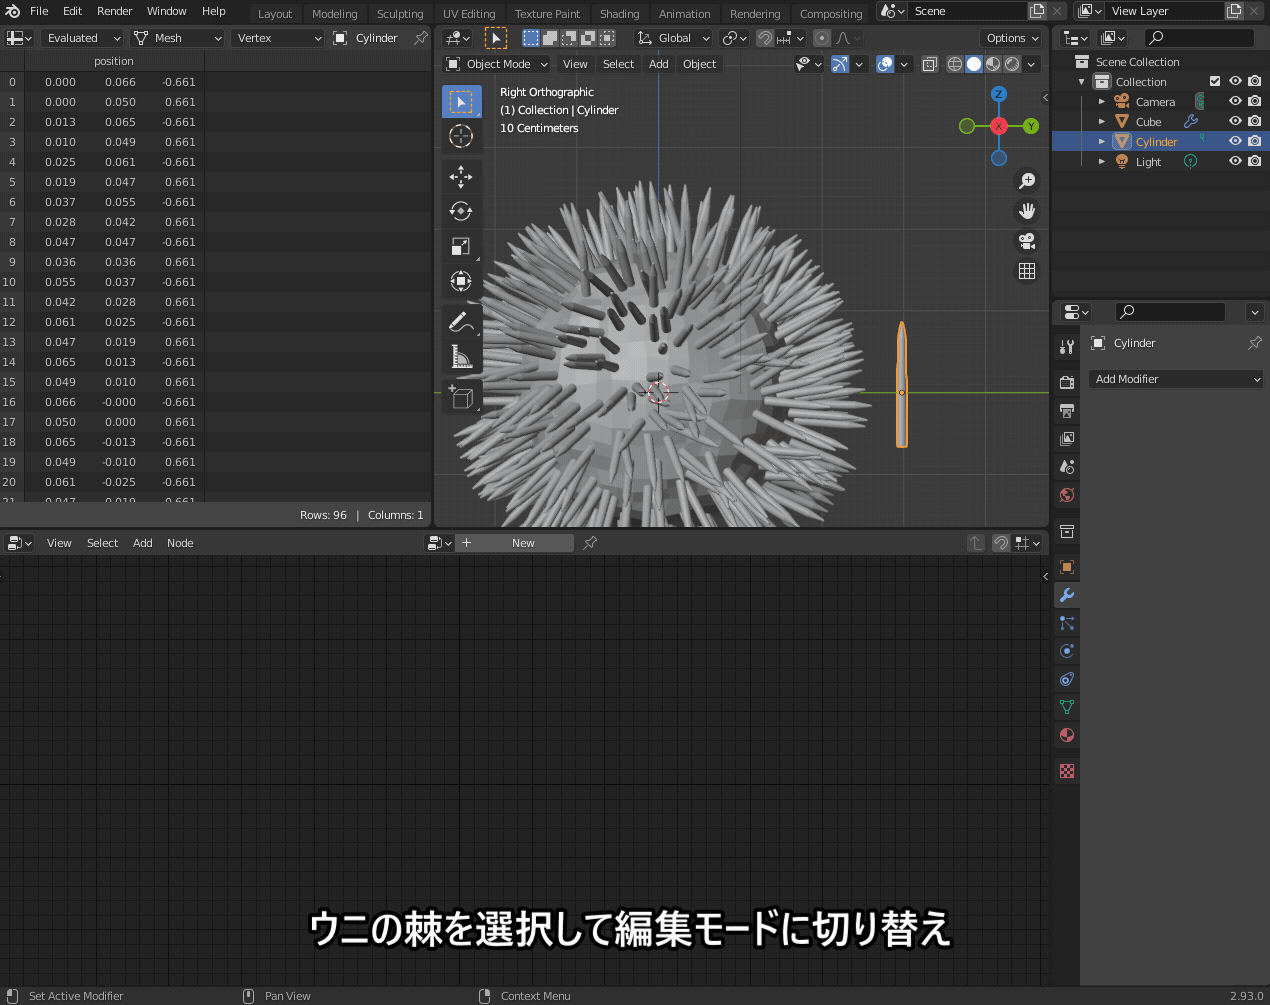
2. Modeling the Spines
Now, let’s model the spines using a cylinder.
Extrude the cylinder’s top face and use the S key to scale it down, creating a tapered tip. This gives us the basic spine shape.
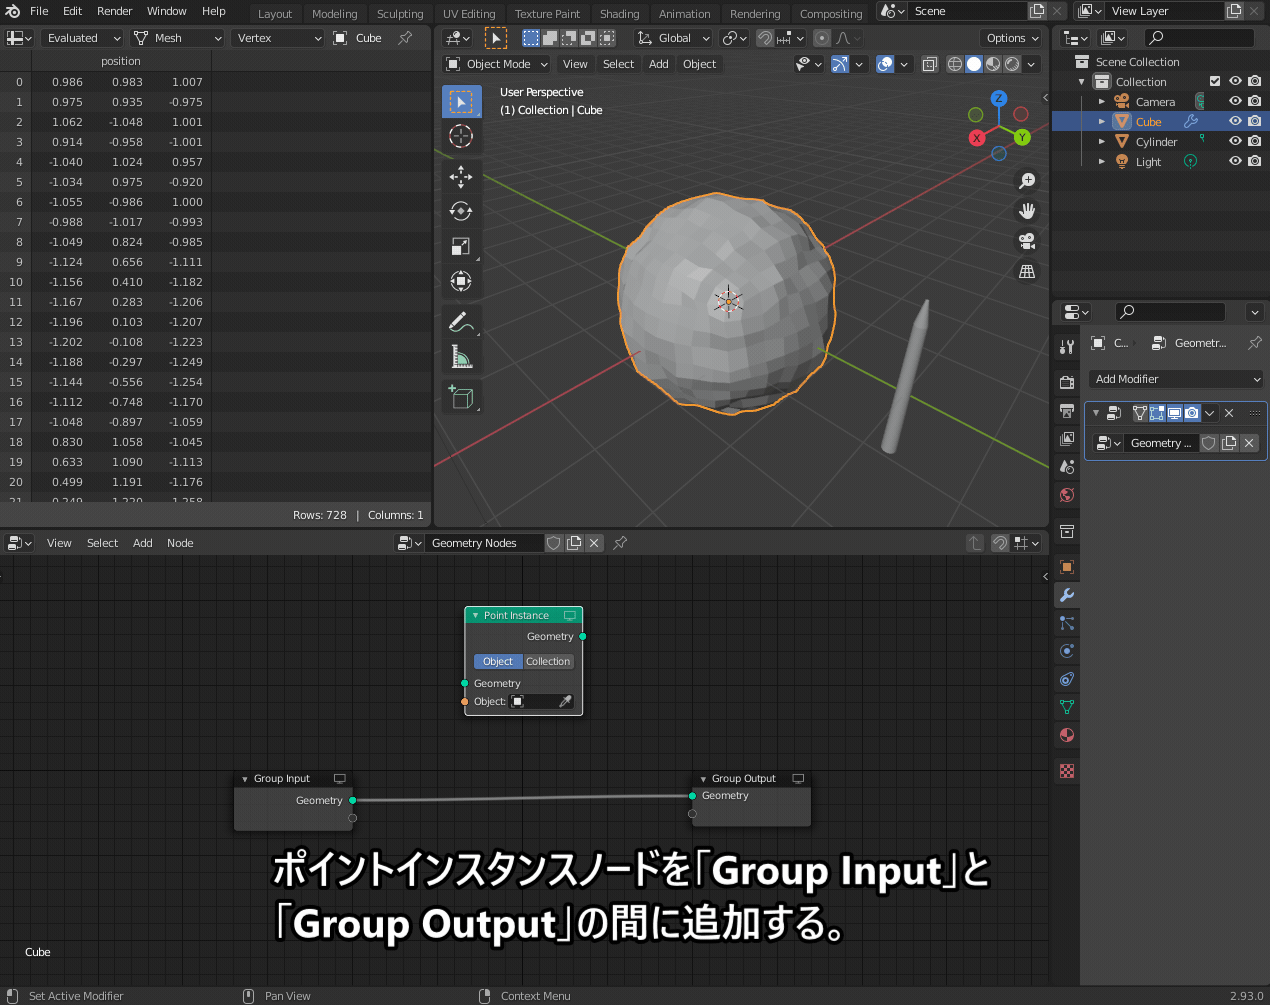
3. Setting Up Geometry Nodes
Now, it’s time to set up the Geometry Nodes.
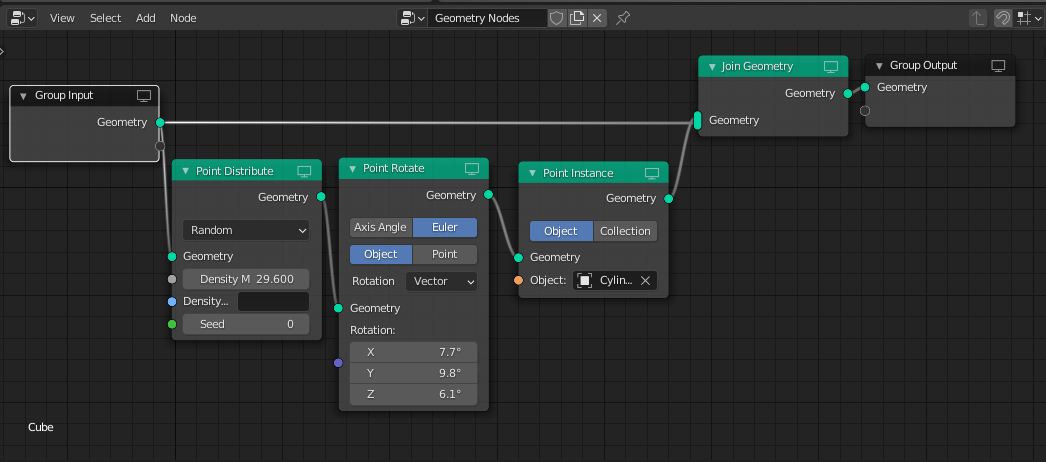
Switch to the Geometry Nodes tab, and press Shift + A to add the following nodes:
- Point → Point Distribute
- Point → Point Rotate (optional)
- Point → Point Instance
- Geometry → Join Geometry
The Point Instance node allows us to “grow" objects from the distributed points, similar to a particle system.
At this stage, if we only use the Point Instance node, copies of the spine object will appear at the vertices of the sea urchin’s shell.
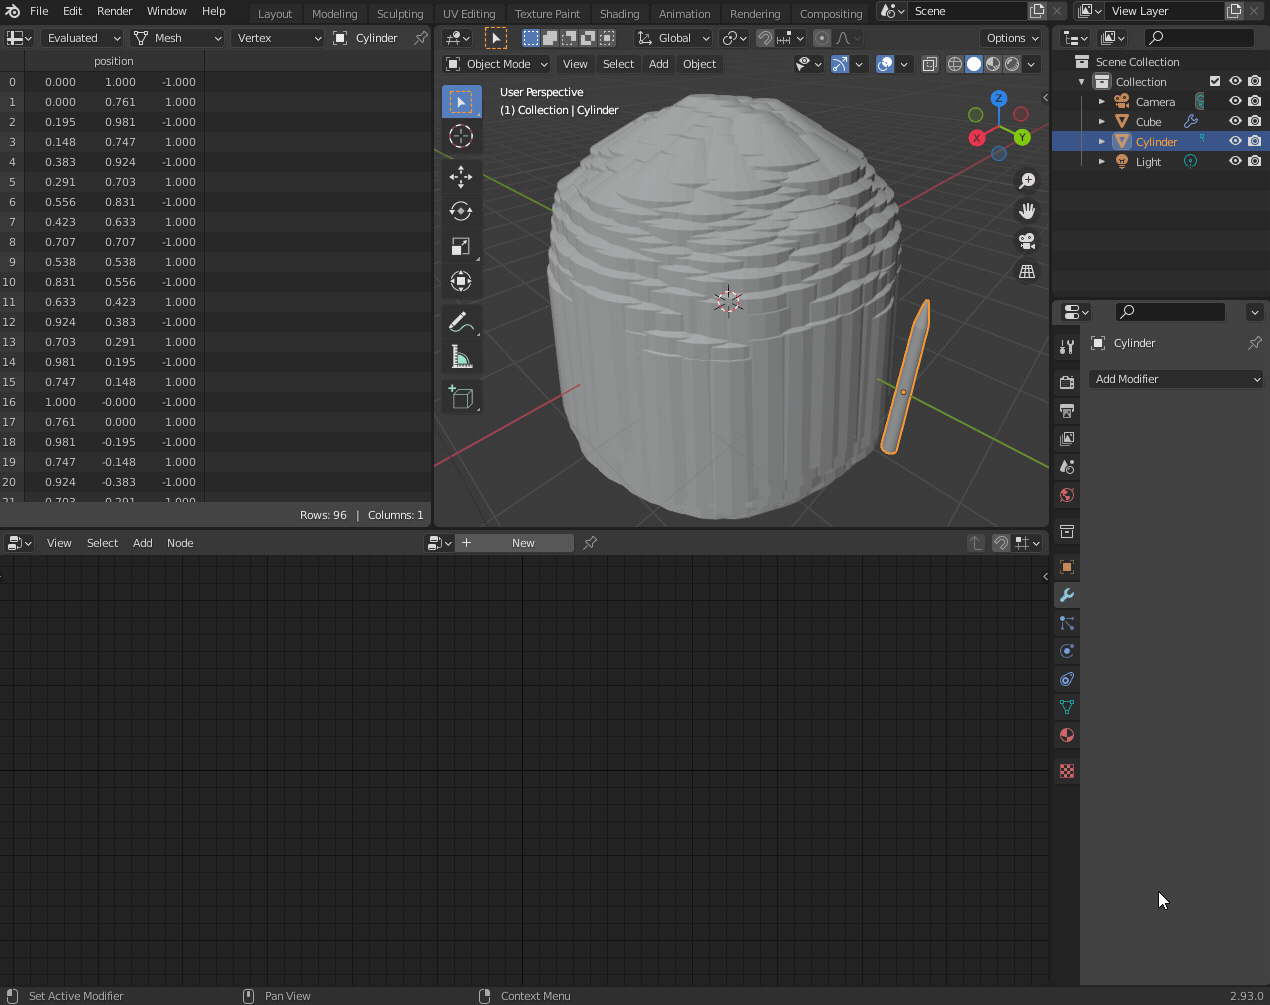
If you select the spine object and press Ctrl + A → Apply Scale, the spines will adjust properly.
Adding the Point Distribute node ensures that the spines are randomly placed and oriented outward. This also allows control over the number of spines.
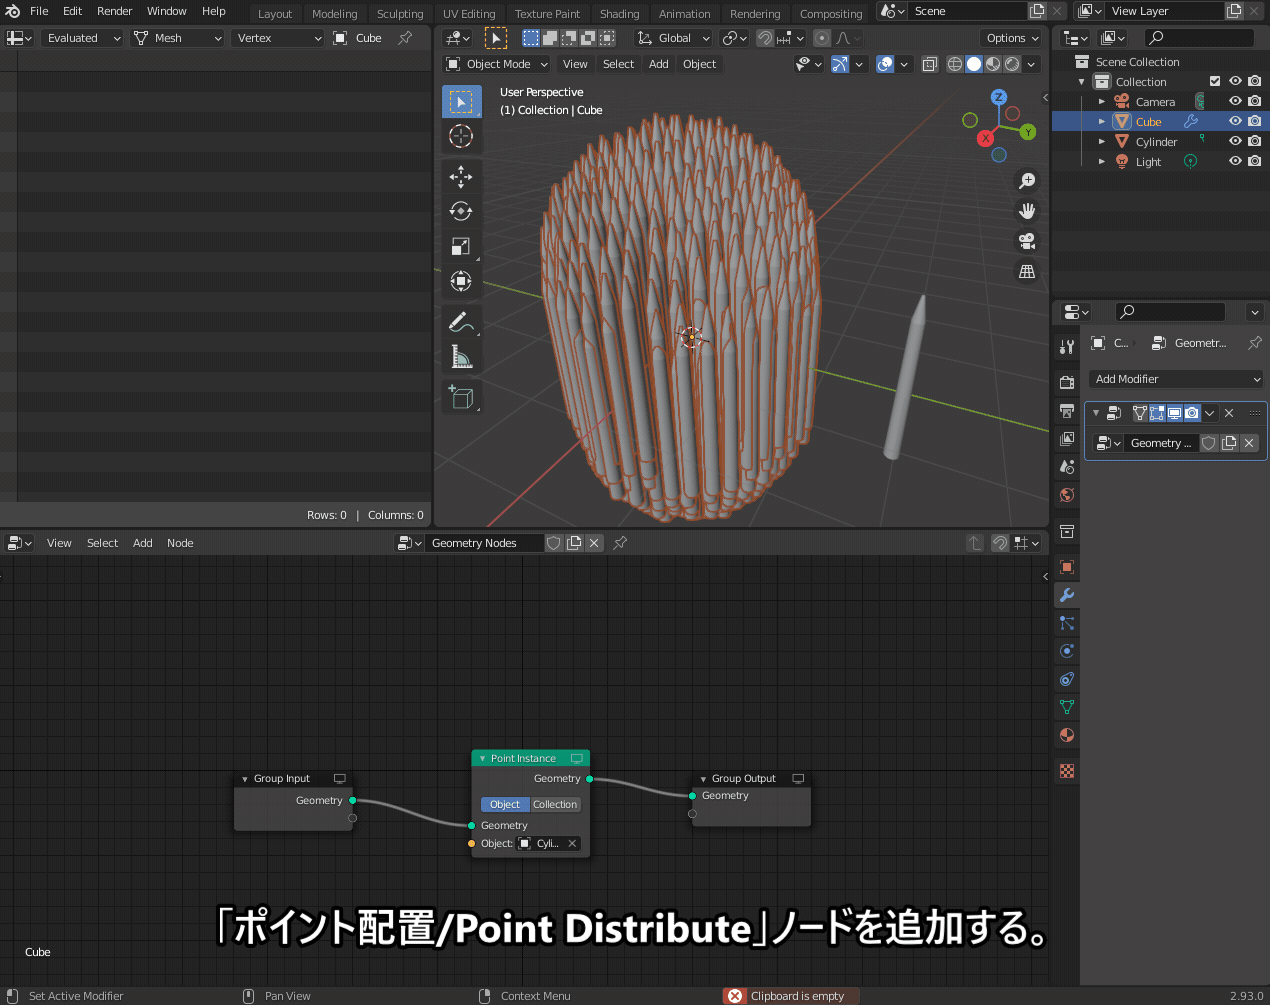
The Point Rotate node can be used to fine-tune the angles of the spines for a more natural look (but it’s optional).
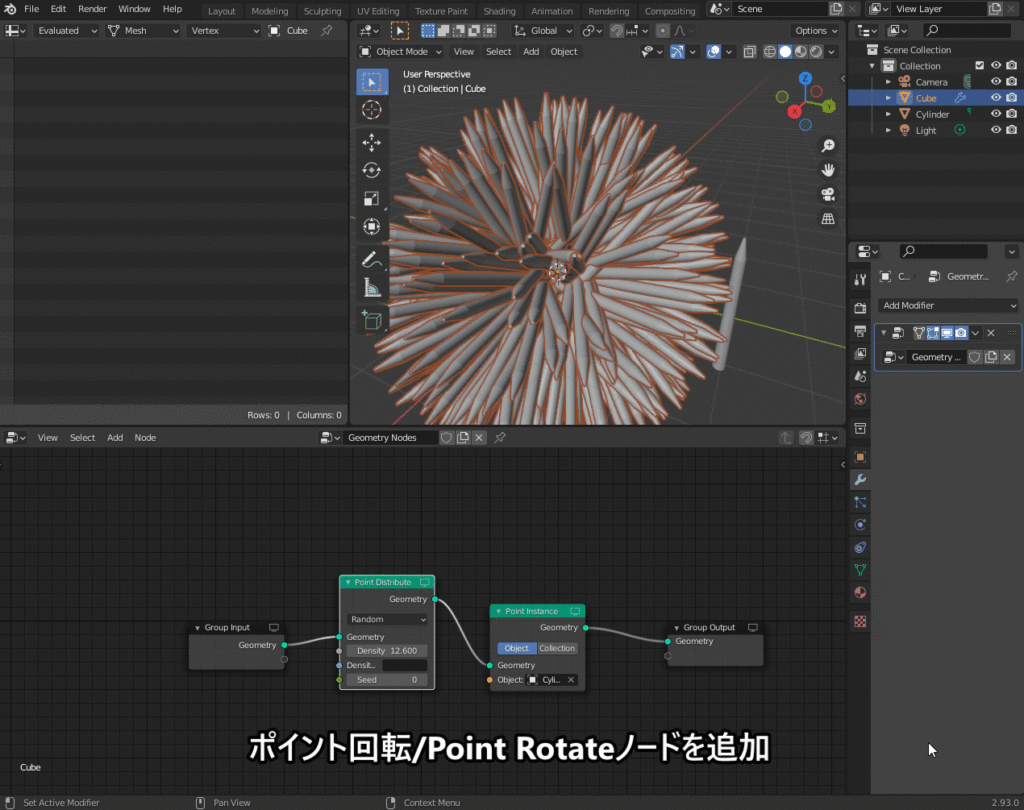
Currently, the shell is hidden by the spines, so we add a Join Geometry node to make it visible again.
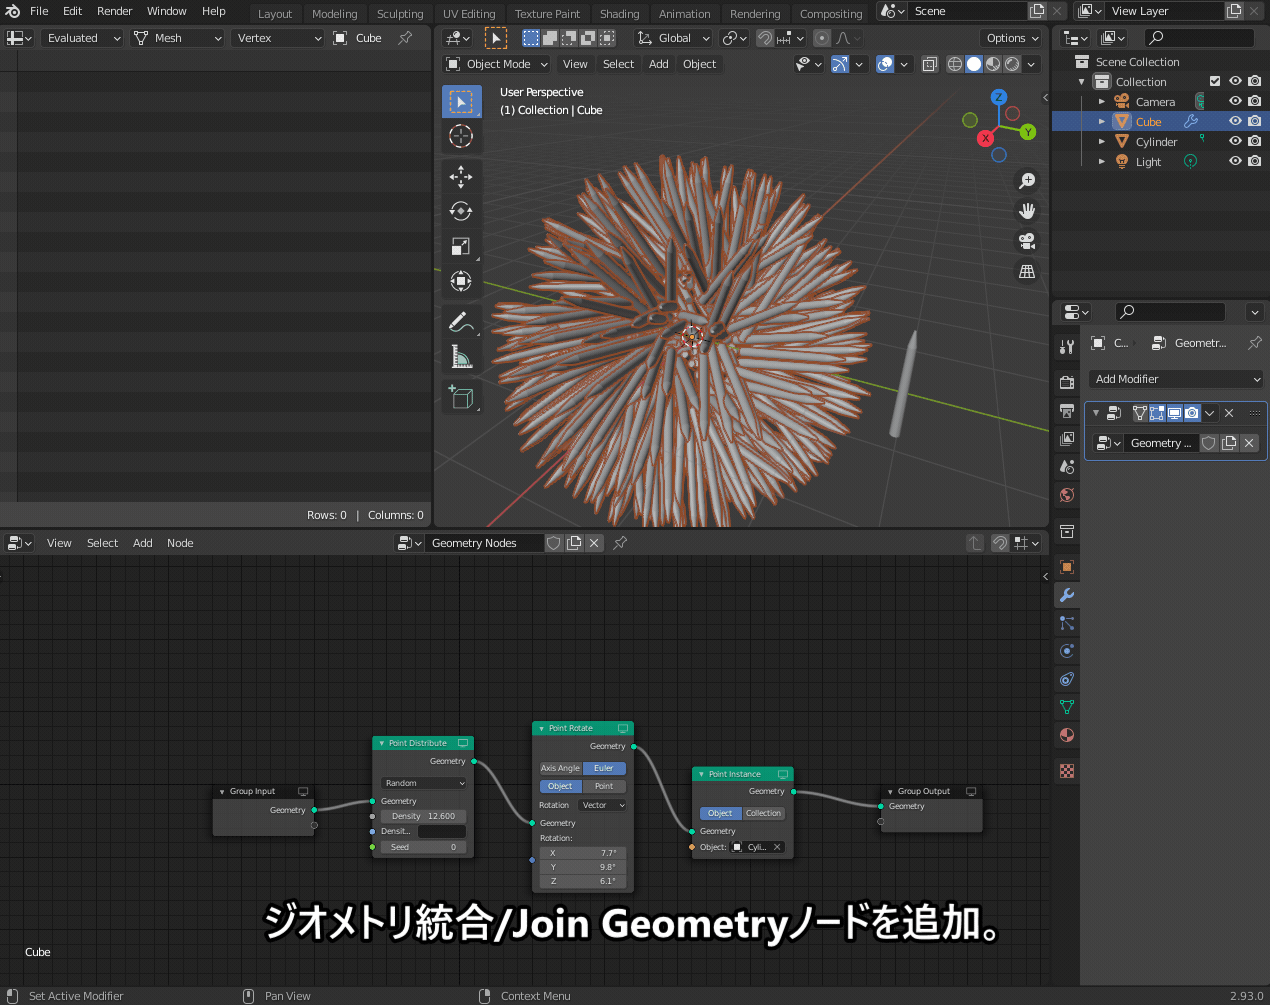
At this point, the spines may be halfway buried in the shell. To fix this, switch to Edit Mode, move the spine object along the +Z axis, and adjust its origin so that the base of the spine aligns properly with the shell.
Now, the spines extend naturally from the sea urchin’s shell!
4. Final Touches
Here’s the final node setup used to generate the sea urchin.
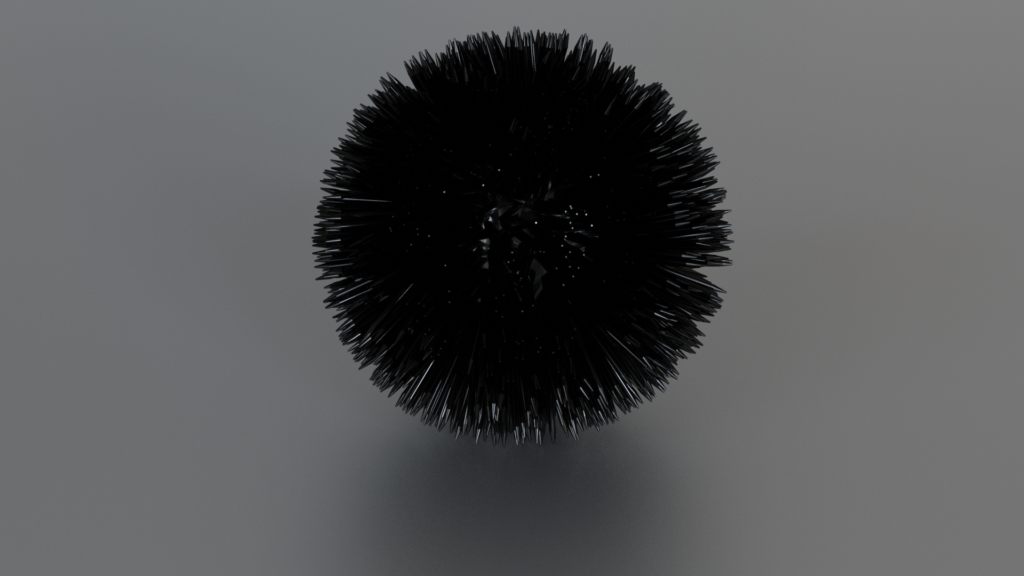
Applying a dark material to the model gives it a realistic sea urchin appearance. 😊
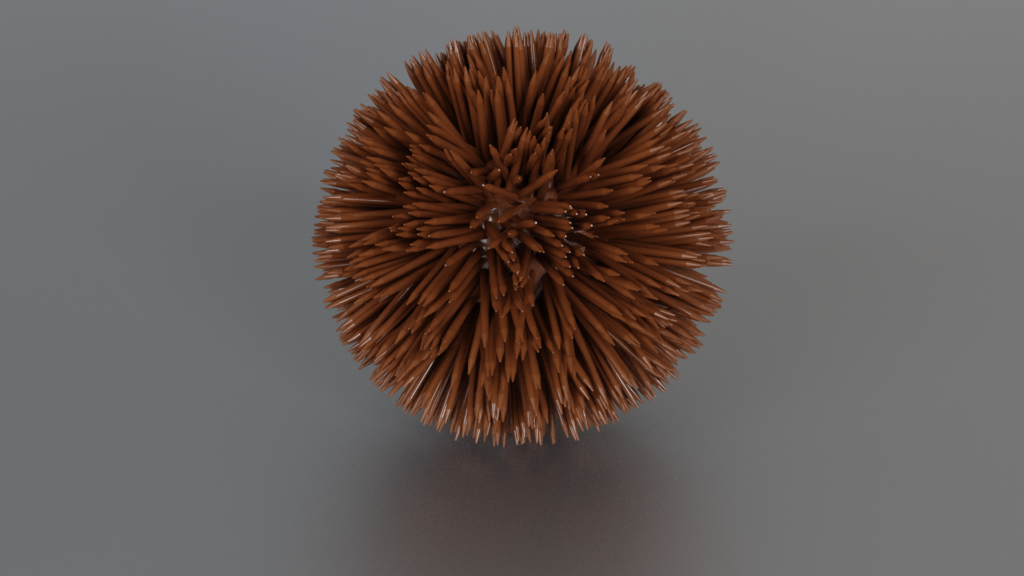
Interestingly, changing the material to brown makes it look like a chestnut! 😅
AD
Creating the Sea Urchin Roe
The process for creating the roe (uni) is very similar to the spines, using the same Geometry Nodes setup.
1. Modeling the Roe
First, model the base mesh for the roe. Then, set an icosphere as the instance object. This results in a scattered, clustered look.
Additionally, in the example above, I used the Point Scale node to make the individual spheres smaller.

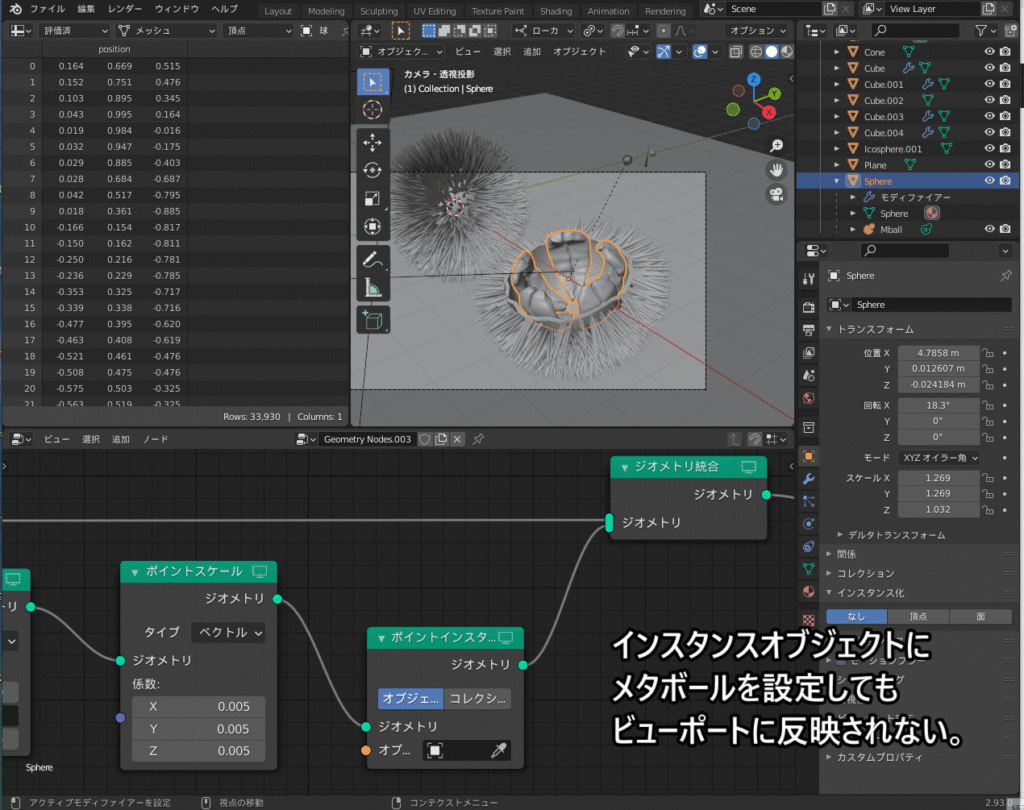
2. Using Metaballs for a Softer Look
To give the roe a more moist and glossy appearance, you can use metaballs instead of icospheres. However, there’s an important step to ensure the metaballs display correctly.
Since metaballs behave differently from regular meshes, they won’t appear properly when used as instances by default.
To fix this:
- Go to Object Properties → Instancing → Vertex, and enable it.
- Select the roe object and press Ctrl + P to set the metaball as its parent.
Now, the metaballs will correctly form a soft, clumped structure for the roe!
Other Use Cases
This technique isn’t limited to just sea urchins—you can apply it in many different ways!
For example, you can use the same Geometry Nodes setup to create things like “Mori-shio" (piled salt for good luck), as shown here:
AD
Conclusion
This was a quick summary of how to create a sea urchin model using Geometry Nodes.
While similar results can be achieved using hair particles, Geometry Nodes provide a more flexible and intuitive approach. I encourage you to give it a try!
The nodes we covered today are just a small part of what Geometry Nodes can do. In the future, I’d love to explore more advanced techniques and applications.
Stay tuned for more! 😊
References
Many creators have shared great resources on using Geometry Nodes, and I referred to some of them while working on this.
Hibiiro
Vtuber no Kaibougaku
https://vtuberkaibougaku.site/2021/09/14/blender-geometrynodes/
TomoG
AD