【Blender】How to Create an Operation Instruction Animation
Hello! In this article, I would like to introduce how to create an operation instruction animation (GIF file or MP4) using Blender, a topic that frequently appears on this blog.
I will explain how to use the two tools I commonly use and recommend their best settings.
ScreenToGif: A free software that records screen captures as videos and exports them in formats such as GIF and MP4, with simple video editing capabilities.
Screencast Keys: A free Blender add-on that displays keyboard and mouse operations on the screen.
AD
Displaying Blender Shortcut Keys with the Free Add-on “Screencast Keys"
First, let’s introduce “Screencast Keys."
This Blender add-on is often used in tutorial videos on YouTube when explaining Blender operations.
In Blender, it is standard practice to manipulate objects and vertices using shortcut keys. However, explaining operations by repeatedly writing captions like “Press the N key to display the menu…" or “Press the G key to move an object" can be tedious.
By using “Screencast Keys," the shortcut keys you press and mouse buttons you click will be displayed on the screen, making it easier to explain operations. This also helps viewers understand the shortcuts more easily.
For useful Blender shortcut keys, please refer to these articles:
[Blender 2.9] Blender Shortcut Keys
[Blender 2.93] Seven Useful Shortcuts and Modifiers for Car Modeling
Download and Installation
Since “Screencast Keys" is an external add-on, you need to download it separately first.
Download the “screencast_keys.zip" file from the GitHub link provided by the developer, “nutti":
https://github.com/nutti/Screencast-Keys/releases
Open Blender and install the add-on as follows:
How to Use
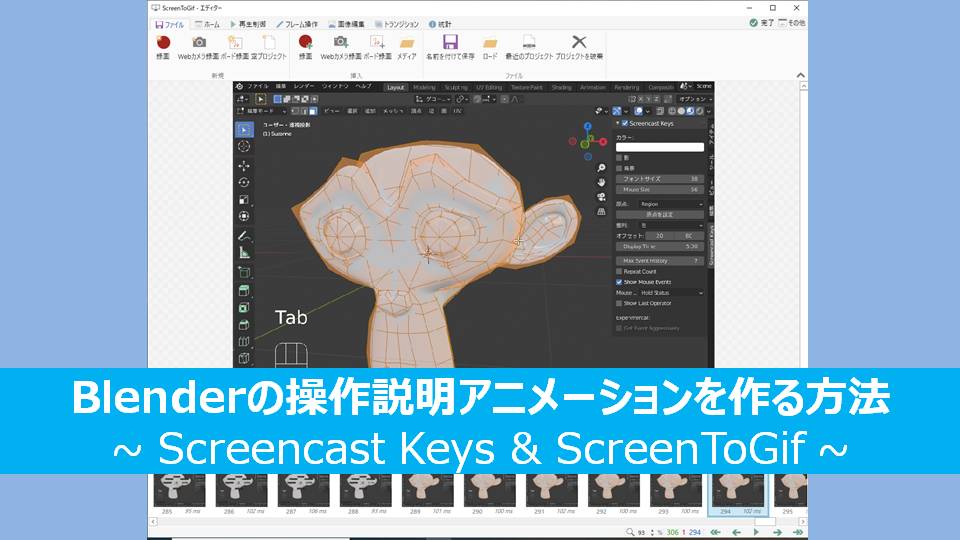
Once the add-on is enabled, press the N key to open the side panel, where you can select the Screencast Keys menu.
Enabling the “Screencast Keys" checkbox will display the mouse button presses and selected shortcut keys on the screen.
By default, the display might be too small, so I recommend adjusting the following settings:
- Font Size: change from 11 (default) to 38
- Mouse Size: change from 33 (default) to 66
- Display Time: change from 3 sec.(default) to 5 sec.
- Max Event History (number of events displayed): change from 5 (default) to 7
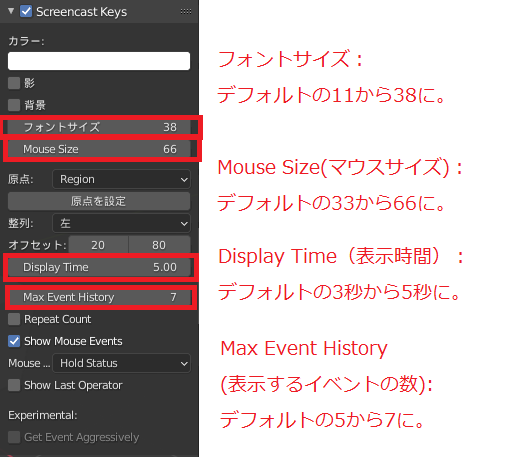
Additionally, you can customize colors and other settings to your preference.
Note that while these settings are saved, “Screencast Keys" needs to be manually enabled every time you start Blender.
AD
Creating Screen Capture Videos and GIFs with ScreenToGif
Next, let’s introduce “ScreenToGif," a useful tool for creating screen capture videos.
This software not only records screen operations as animations but also offers a variety of editing features, such as adding text and shapes, removing frames, and adjusting playback speed—all for free.
Download Link
Download the software from the official site:
Follow the installation instructions to get started.
How to Record
When you launch ScreenToGif, this main screen appears.
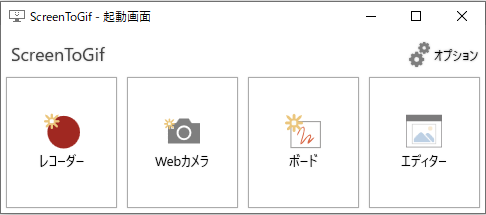
To capture your screen, select “Recorder"(red-circle icon on the left).
A red-bordered capture window will appear, which defines the area to be recorded.
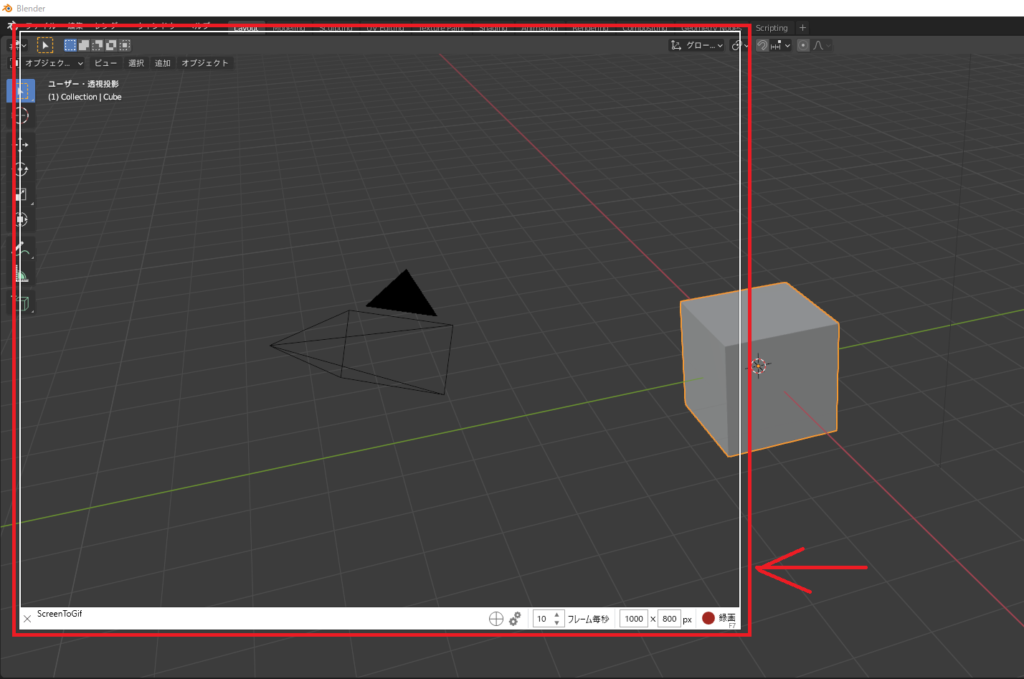
Adjust the window size to fit the area you want to record.
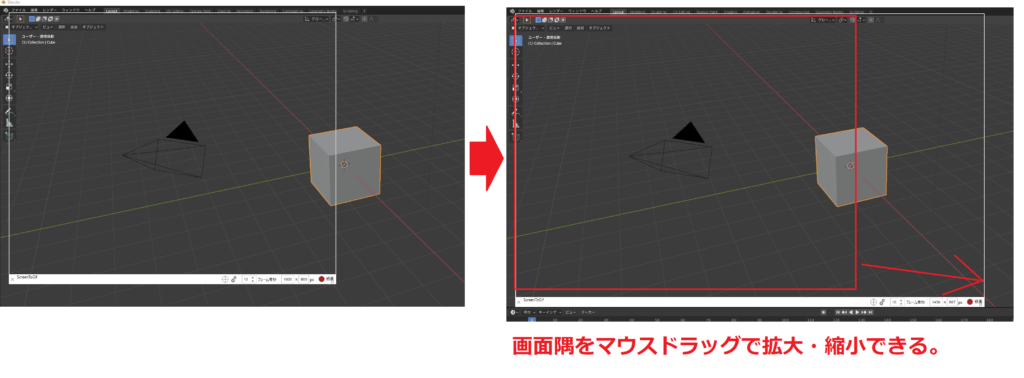
You can resize it by dragging or entering dimensions manually in the bottom-right corner.
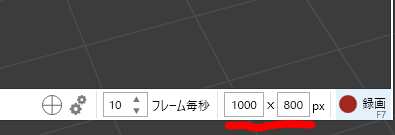
For embedding GIFs in blogs, I usually set the recording size to about 1000×800 pixels.
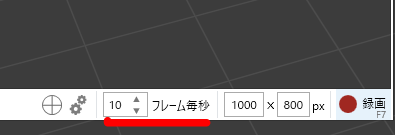
You can also adjust the frame rate (frames per second). A higher number results in smoother playback but increases file size. 10 fps or higher is generally sufficient.
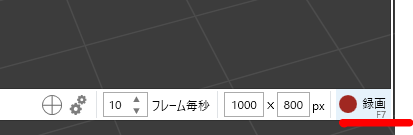
Press the red circle button to start recording.
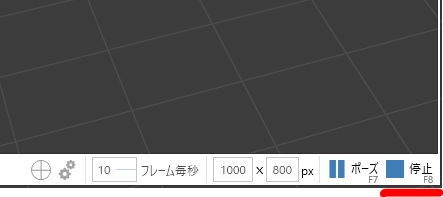
To stop recording, press the blue square button, which will take you to the editing screen.
How to Edit
After recording, the editing screen will open.
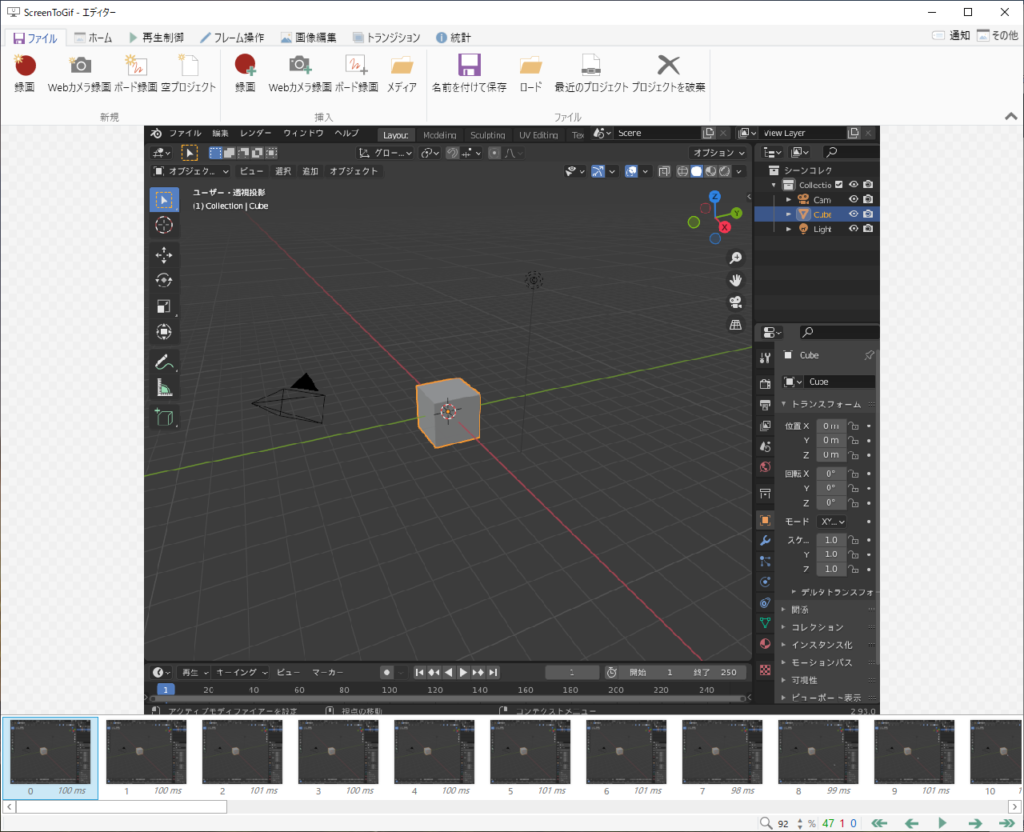
The recorded animation frames are displayed in a timeline at the bottom.
You can select multiple frames using “Shift + →" (similar to Microsoft Excel).
You can add the following elements to selected frames:
Text
Shapes
Captions
For tutorials, I recommend adding captions at the bottom of the screen to explain the operations.
Frame Operations
Under the “Frames" tab, you can:
- Delete selected frames
- Reduce the number of frames
- Adjust frame duration (playback speed)
Saving the File
You can save the output in various formats, including GIF (for automatic playback) and MP4 (for standard video playback).
If embedding in a blog, I recommend the GIF format, as it plays automatically.
For GIFs, selecting FFmpeg (Lower quality) helps reduce file size while maintaining quality.

Important Notes on GIF Files
Even with the above settings, GIF files tend to be larger than MP4 files.
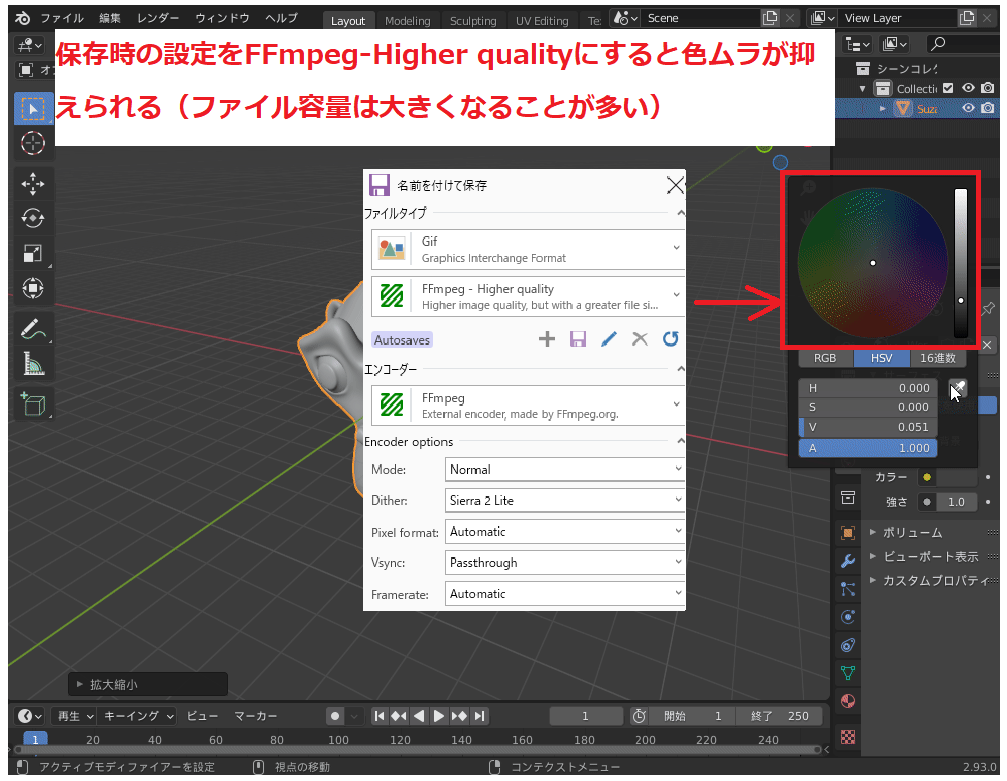
Additionally, gradient areas in GIFs may display noticeable color banding.
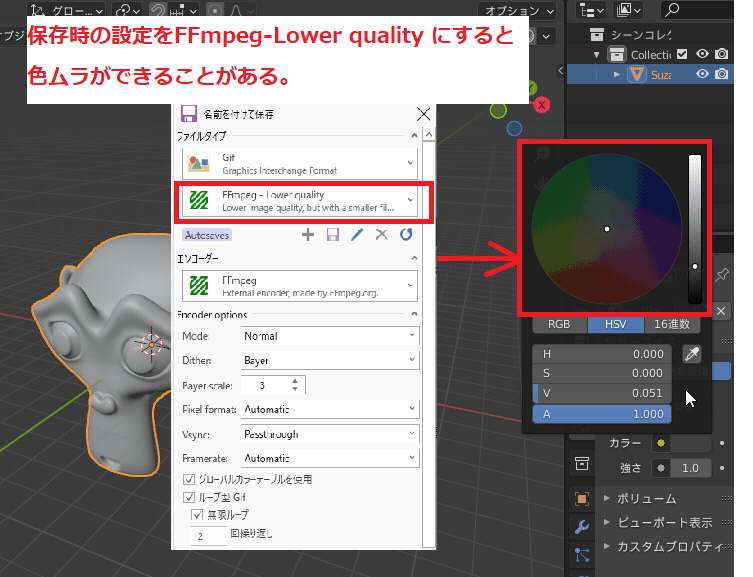
To reduce color banding, select FFmpeg (Higher quality) when saving.
GIFs play automatically in blogs, which removes the need for a play button. However, unlike videos, GIFs cannot be fast-forwarded or rewound, which can be inconvenient for longer animations.
For best results, keep GIFs between 5–10 seconds, or a maximum of 20 seconds.
Troubleshooting: GIFs Not Playing in WordPress
If your GIF animations are not playing in WordPress, try setting the image size to “Full Size" in the media settings.
If the issue persists, a plugin might be interfering. Check this article for more details.
Alternative: Using Windows’ Built-in Screen Recording
Blender operations can also be recorded using the Windows Xbox Game Bar.
For quick recording, try this method:
- Select the application window you want to record.
- Press Windows + G to open the Game Bar.
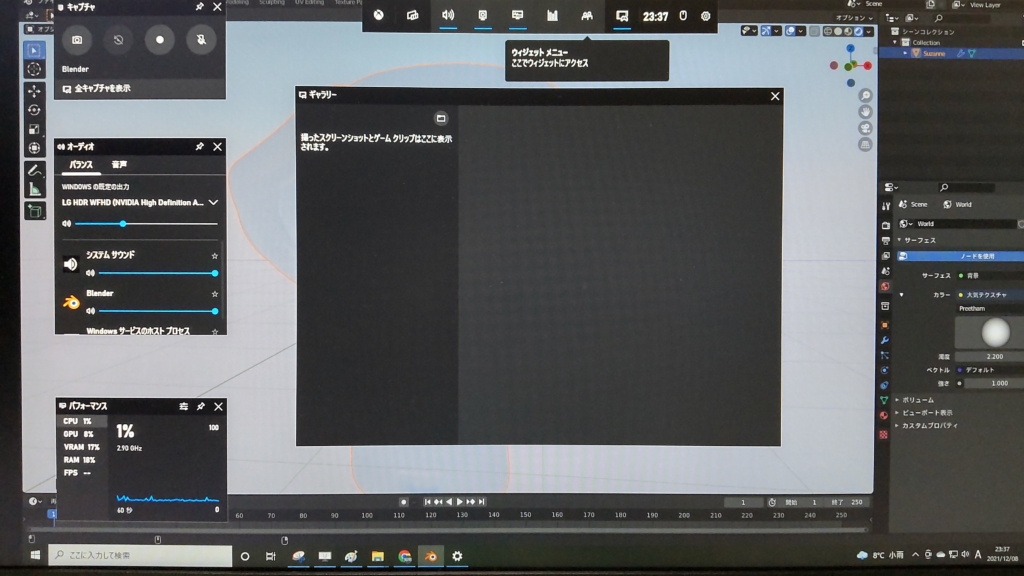
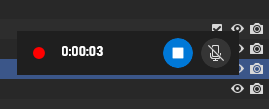
Alternatively, press Windows + Alt + R to start recording immediately.
Press the stop button (□) to end recording.
The recorded MP4 files are saved in:
User > Videos > Captures
For more details, check the following site:
https://www.fmworld.net/cs/azbyclub/qanavi/jsp/qacontents.jsp?rid=417&PID=3711-2674
AD
Conclusion
This time, I wrote an article about the tools I typically use to create blog posts.
To create clear tutorial videos and explanatory articles, I believe it is important to think about how to make the content understandable for the audience and to be creative in that process. I hope this article can be one of the answers to that challenge.
As I continue to use these tools, there may be times when I need to review the settings, so I plan to update this article as needed.
AD