[3DCG DIY PC] A Comprehensive Guide to Replacing Your Graphics Card
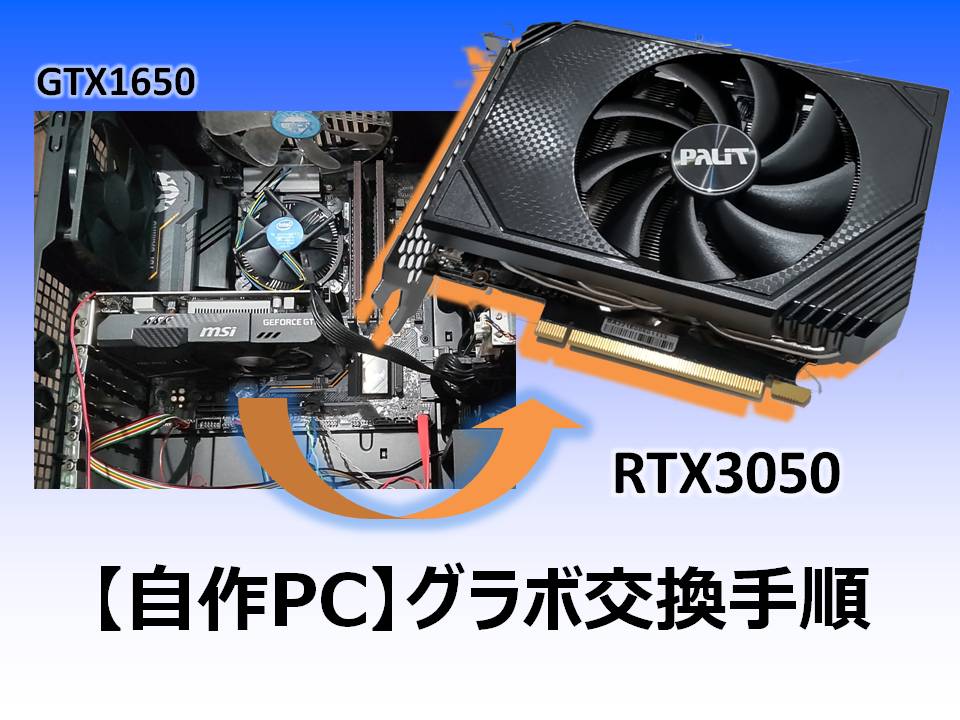
I recently purchased the latest 2022 graphics card (also known as a GPU or video card), the RTX 3050, and replaced my old GTX 1650 with it.
While swapping out a graphics card becomes easy with practice, there are essential steps and tips you should know. Here’s a quick guide to help you with the process.
If you have any questions or feedback, feel free to reach out on my Twitter: Klala’s Twitter 😊
AD
About the Graphics Cards Being Used
This time, I’ll be replacing my old GTX 1650 (Memory: GDDR6, 4GB) with the latest RTX 3050 (Memory: GDDR6, 8GB).
For benchmarks on the RTX 3050’s rendering and gaming performance, I’ve summarized everything in this article. Feel free to check it out as well!
RTX 3050 Review: Cycles Rendering & Gaming Performance Check
What You’ll Need
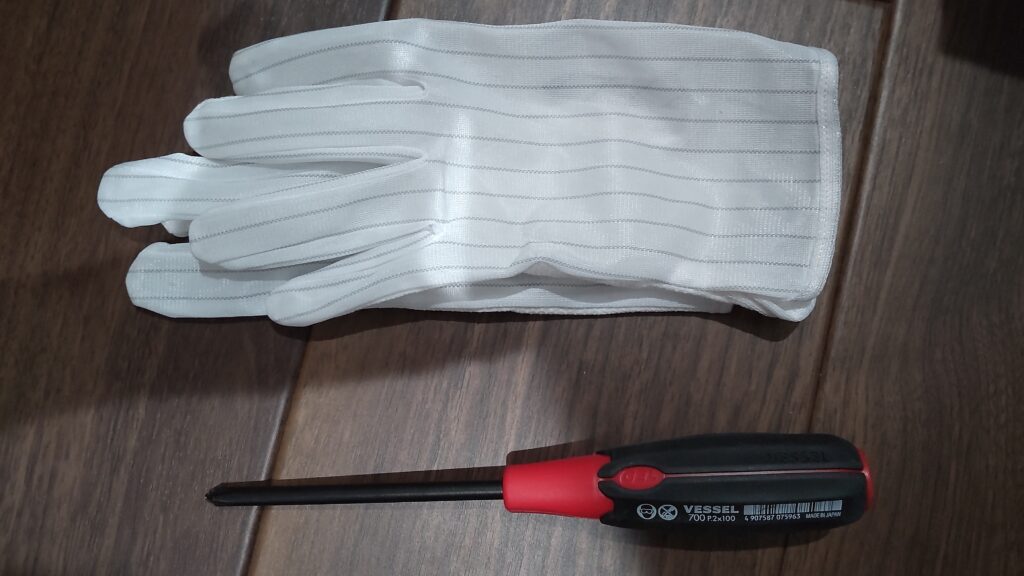
Here’s a list of the essential items for swapping your graphics card:
1. Phillips Screwdriver
You’ll need this to loosen and tighten the screws that secure the graphics card to the PC case slots.
I recommend a size +2 screwdriver with a comfortable grip, such as this one:
VESSEL Ball Grip Screwdriver +2×100 220

2. Anti-Static Gloves
Since graphics cards are delicate electronic components, they are highly sensitive to static electricity.
Static is especially common in winter, so I strongly recommend using anti-static gloves like these:
Sanwa Supply Anti-Static Gloves with Non-Slip Grip (TK-SE12M)

3. Time and Patience
Removing and installing a graphics card into the PCIe slot can be tricky if you’re not familiar with it.
If you rush or apply too much force, you risk damaging the card.
Make sure to set aside enough time and work calmly to avoid mistakes. Choose a time when you’re mentally prepared to focus on the task.
AD
Graphics Card Replacement Procedure
Here’s a step-by-step guide to help you replace your graphics card:
Removing the Graphics Card
Follow these steps to safely remove your current graphics card:
1. Prepare Your Tools
Gather the necessary items: anti-static gloves and a screwdriver.
2. Unplug Your PC
Ensure your computer is turned off and unplugged from the power outlet for safety.
3. Open the PC Case
Place your PC on the floor or a stable surface, and remove the side panel of the case to access the internal components.
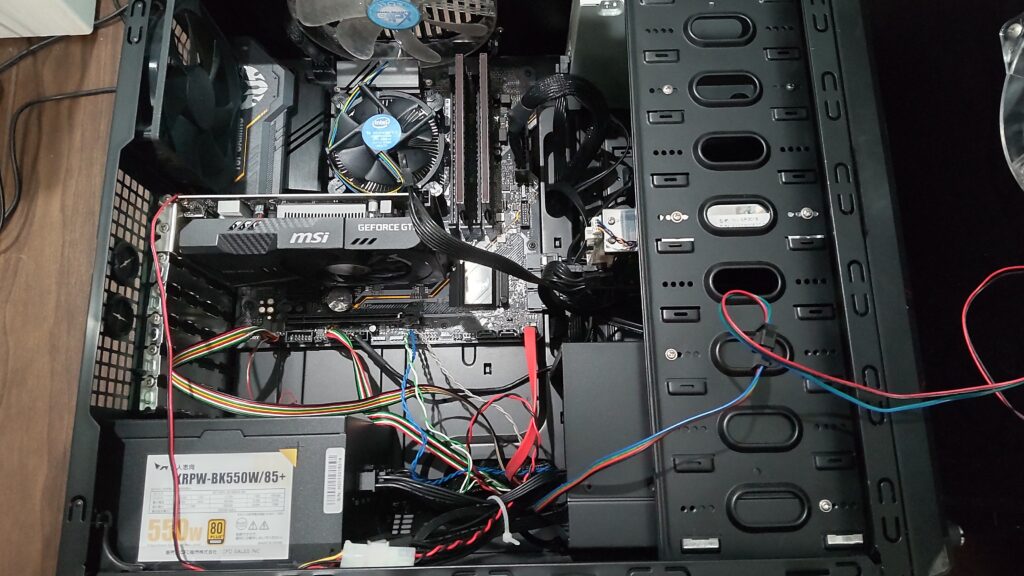
4. Disconnect the Power Cable
If your current graphics card has an auxiliary power cable attached, unplug it carefully.

5. Unscrew the Graphics Card
Using a screwdriver, remove the screws that secure the card to the PC case.
For the GTX1650, there are usually two screws, one at the top and one at the bottom.
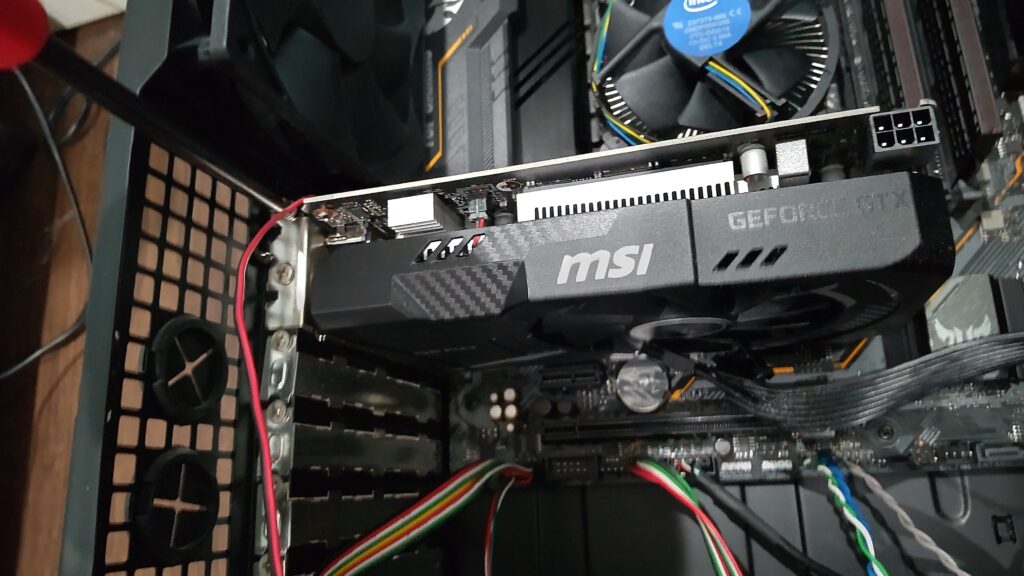
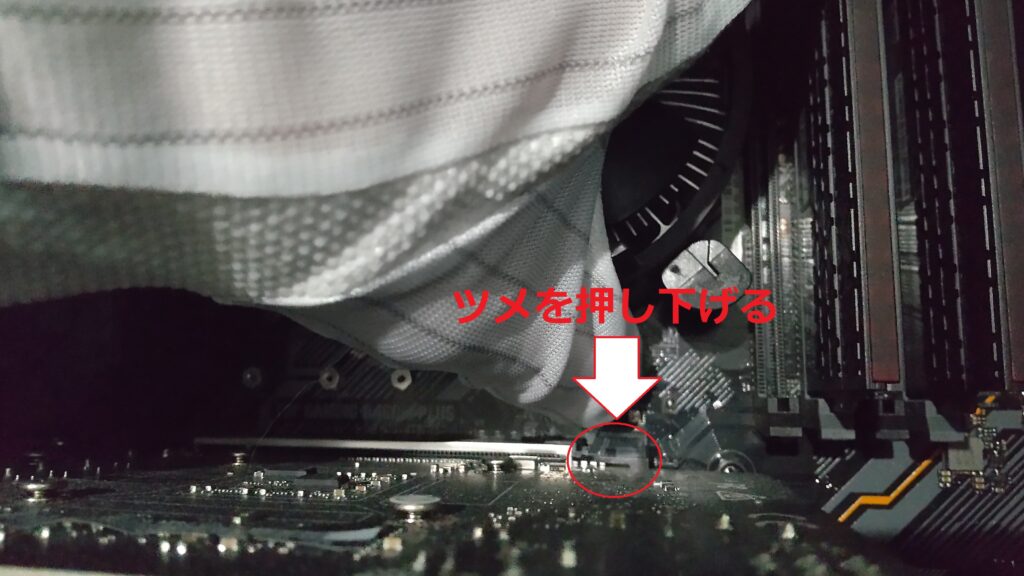
6. Release the PCIe Slot Lock
Locate the locking clip at the side of the PCIe slot on the motherboard.
Apply enough force to unlock it, but avoid excessive pressure that might break the clip.
Press the clip downward firmly to release the card.
7. Remove the Graphics Card
Hold the card gently by its sides and carefully pull it straight out of the PCIe slot.
Take your time and avoid forcing it, as rushing may damage the card or the slot.
If the card doesn’t move easily, try wiggling it slightly side to side to loosen it.
8. Store the Removed Graphics Card
Place a protective cover on the card’s connectors (if available) and store the card in its original box to keep it safe.
Installing the Graphics Card
After removing the old graphics card, follow these steps to install the new one safely:
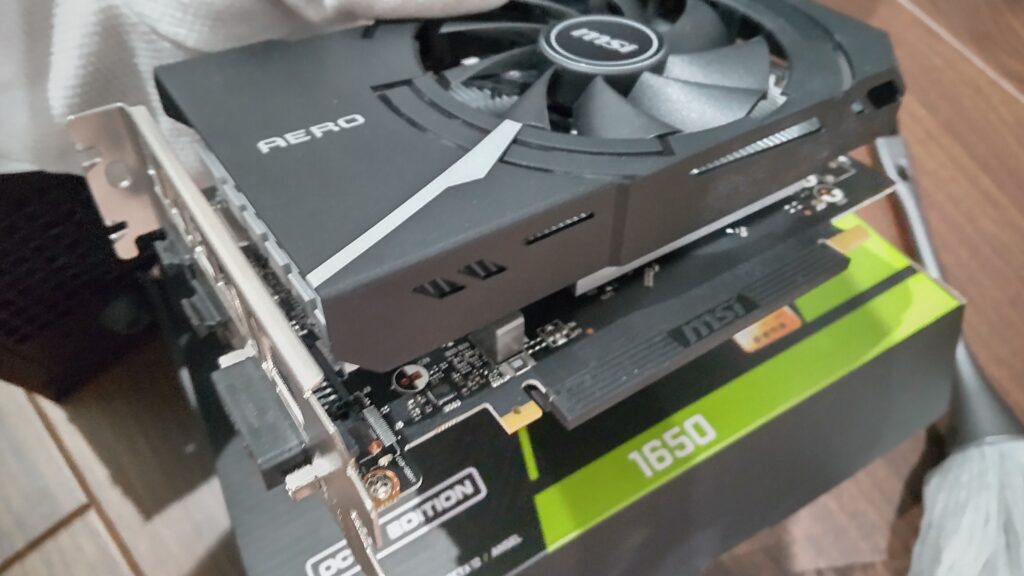
1. Unbox the New Graphics Card
Carefully take the new graphics card out of its packaging.
2. Insert the Card into the PCIe Slot
Align the card with the PCIe slot on your motherboard and gently push it in.
Push firmly until the locking clip at the side of the PCIe slot snaps into place with a “click."
As with removing the card, insert it slowly and straight to avoid damaging the slot or card.

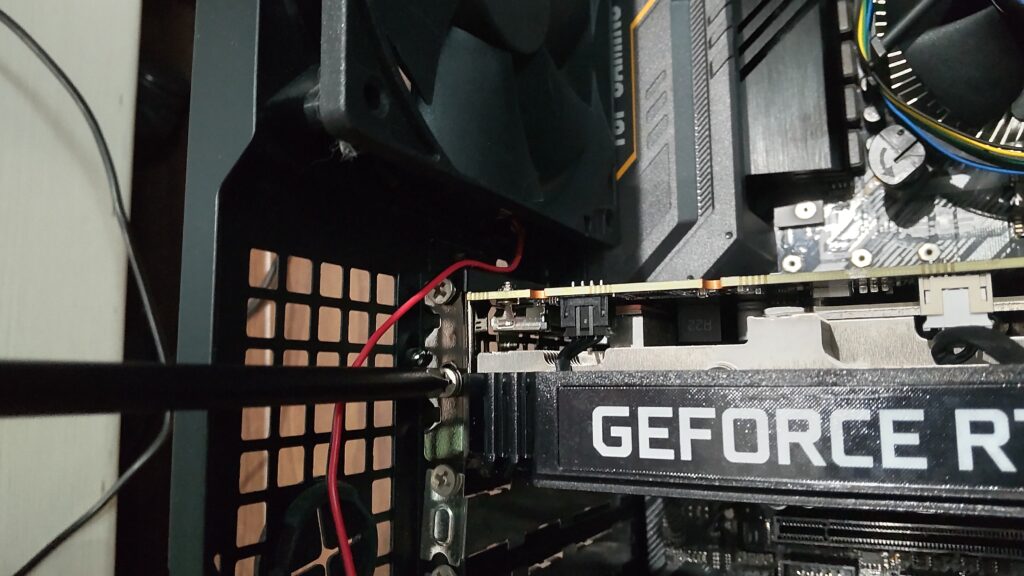
3. Secure the Bracket with Screws
Use the screws you removed earlier to fix the card’s bracket to the PC case. This helps hold the card securely in place.
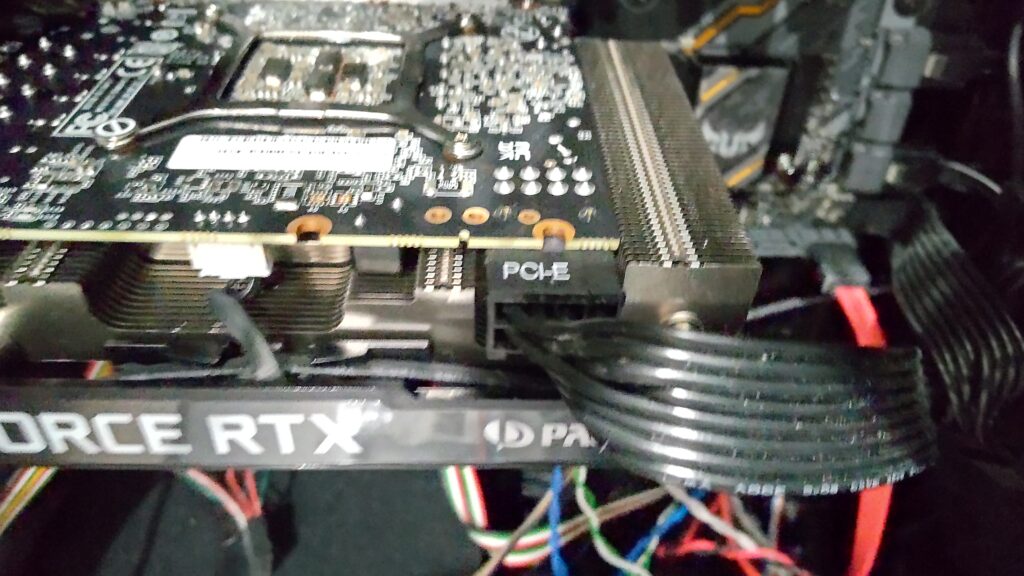
4. Connect the Auxiliary Power Cable (if needed)
If your new card requires auxiliary power, connect the necessary cables.
- For the RTX3050, an 8-pin connector is required. Use the 6-pin + 2-pin configuration from your PSU and plug it into the card securely, as shown in the diagram.
Verifying Operation and Installing Drivers
Before closing the side panel of your PC case, ensure the new graphics card is functioning properly by following these steps:
1. Reconnect the Power and Display Cables
- Plug the power cable back into your PC.
- Connect the graphics card to your monitor using an HDMI or DisplayPort (DP) cable.
2. Power On the PC
Turn on the PC. If everything is correctly connected:
The “Palit" logo on the side of the graphics card will light up (it might appear very bright).
The PC will boot.

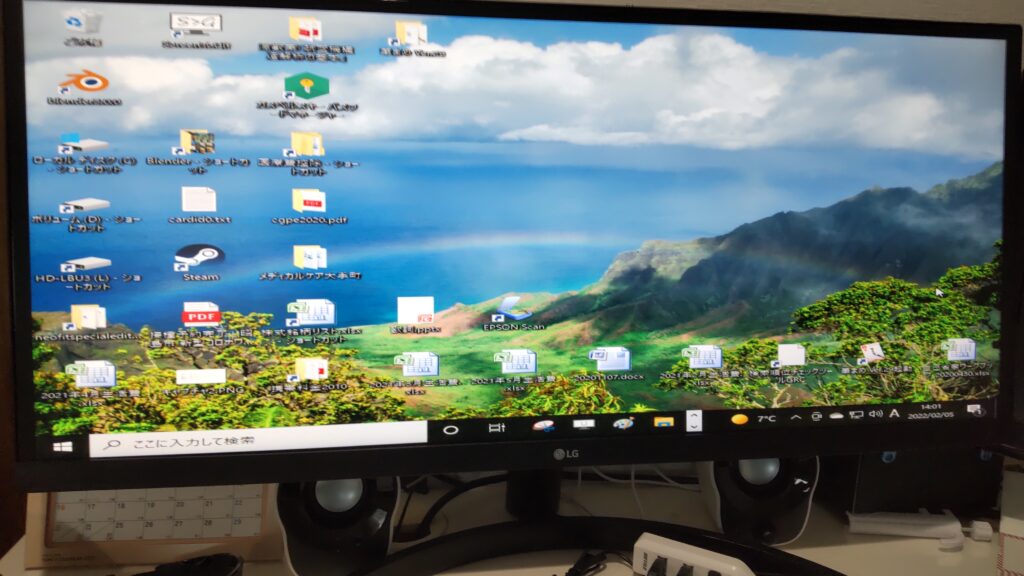
3. Check the Display
The display should turn on, but initially, the resolution might appear low, as shown in the example. This is normal for the default state without the proper drivers installed.
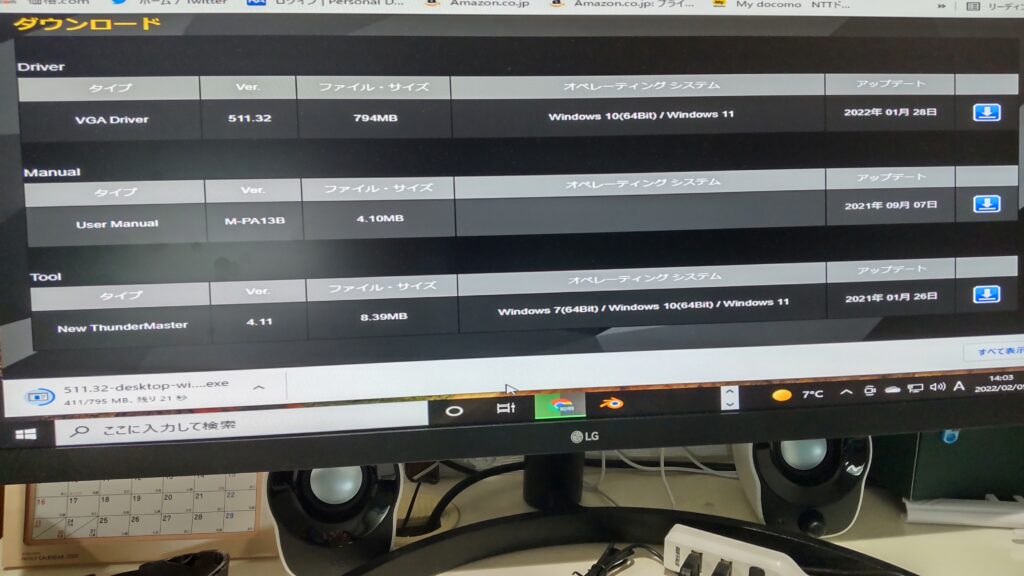
4. Install the Latest Drivers
- Visit the graphics card manufacturer’s website. For the Palit Geforce RTX 3050 Storm X, navigate to Palit’s support page.
- Download and install the latest driver compatible with your operating system.
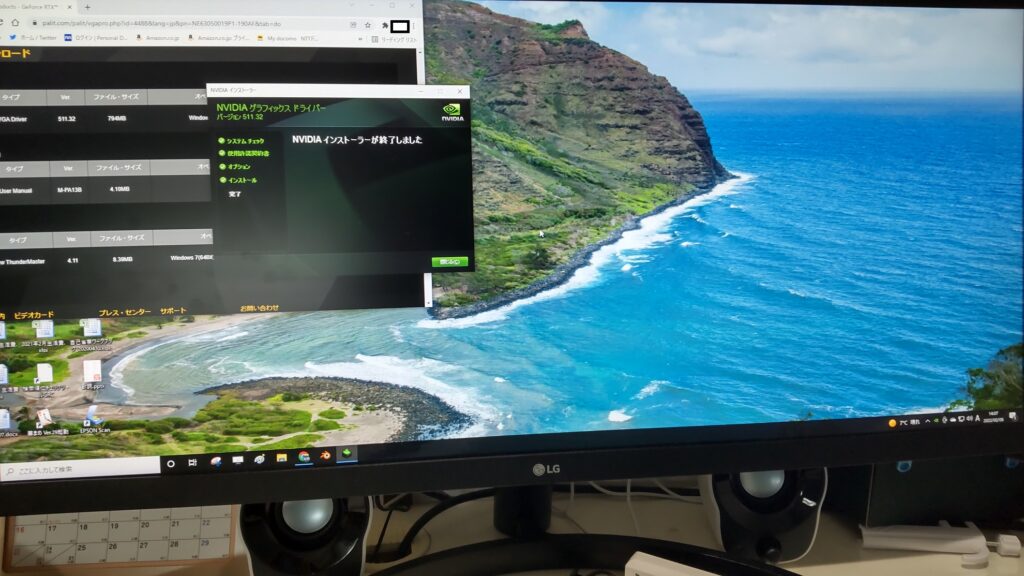
Once the driver installation is complete, the screen will display properly at the correct resolution.
Congratulations!
Your graphics card installation and setup are now complete! You’re ready to enjoy improved performance in your 3D modeling, gaming, and other tasks. 🎉
AD
Conclusion and Extra Thoughts
This article has outlined the process of replacing a graphics card—what did you think?
For those working with 3D modeling or playing games, a graphics card is one of the most critical components that directly affects both productivity (rendering speed) and gaming experience (frame rates). Consequently, graphics cards tend to be upgraded more frequently compared to other PC parts.
If this article helps even one person during their upgrade process, I’ll be delighted!
On GPU Pricing Trends
Over the past year, GPU prices have soared to nearly twice their previous levels. However, on the bright side, the resale value of used GPUs has also increased. If you’re dissatisfied with your current GPU’s performance, you might consider selling it and putting the proceeds toward a new one.
The Future of GPU Competition
Excitingly, Intel is planning to enter the GPU market with its upcoming Arc Alchemist series. Hopefully, this healthy competition will help stabilize GPU prices in the near future.
Reference Article
For detailed instructions on assembling a custom-built PC, please refer to this article.
AD