[Blender 2.9] Modeling “Hot Air Balloon & Airship” [Created on March 18, 2021 / Tutorial by 3DBibi]
This is an explanation of the “Hot Air Balloon & Airship" created on March 18th 😊
I learned methods such as arranging the same shape in a circle etc. 👍
I summarized the intentions of the work and any difficulties I had.
For comments, questions, etc., please contact Klara on Twitter (https://twitter.com/klala_lab) 🙇
AD
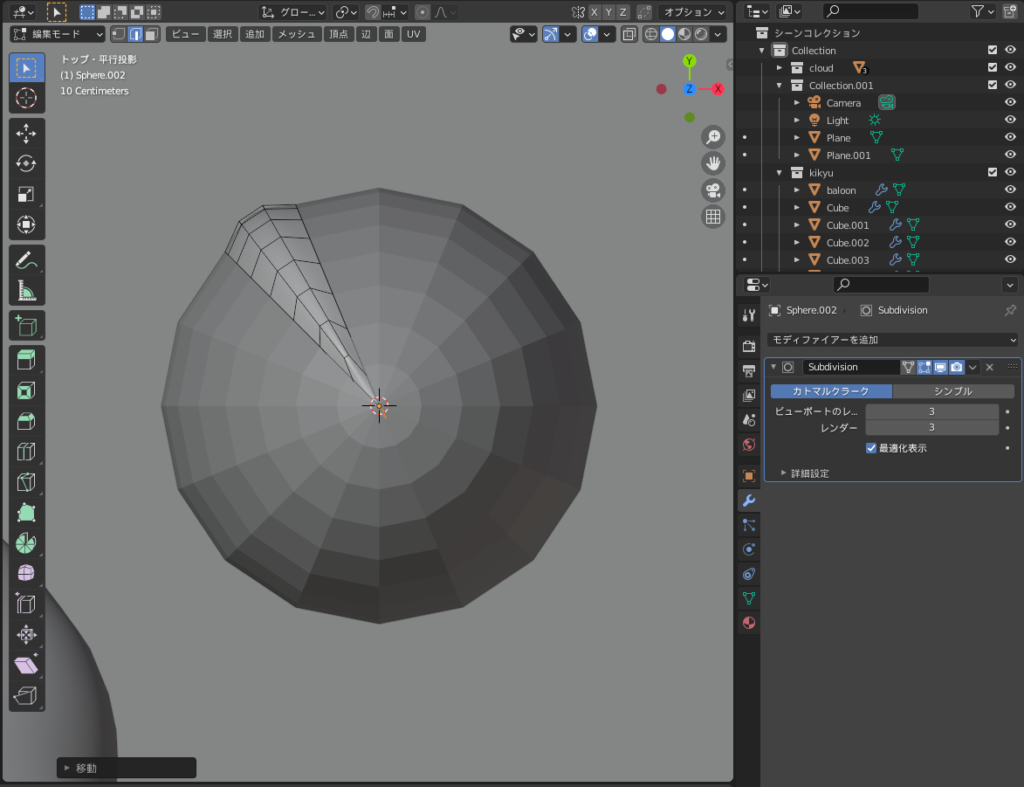
The intention of the artwork
After creating “clouds" with the tutorial by 3DBibi, I wanted to create something else with that as a background.
(Here’s the cloud tutorial → https://www.youtube.com/watch?v=bEa3Bc4thJg)
So, since 3DBibi’s “hot air balloon" looked cute, I decided to make it 😊
The techniques used
- Copied around a circle using Array Modifier + Empty
- Subdivision Surface Modifier
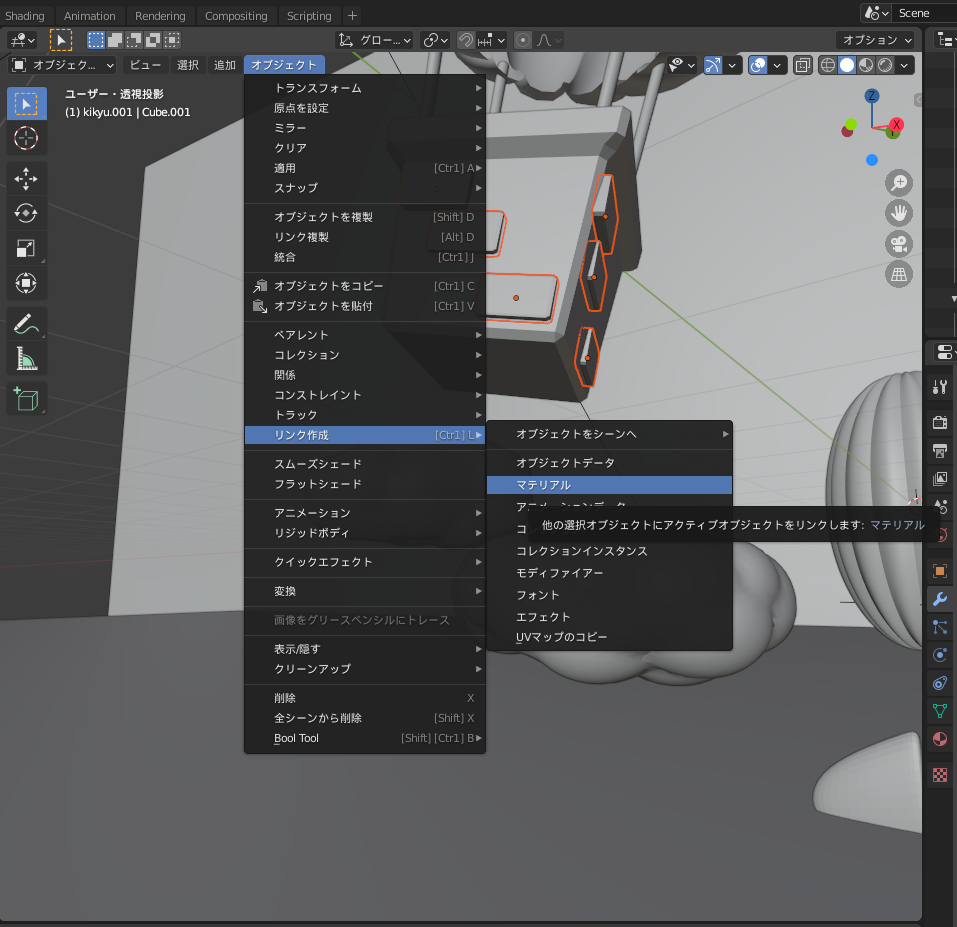
- Object → Link → Materials
The creation process
The creation of the hot air balloon can be broadly divided into two parts:
- The spherical part of the balloon
- The basket part
Since 3DBibi’s original video provides a very clear explanation, this blog will only briefly touch on the steps.
(This is not because of laziness 😅💦)
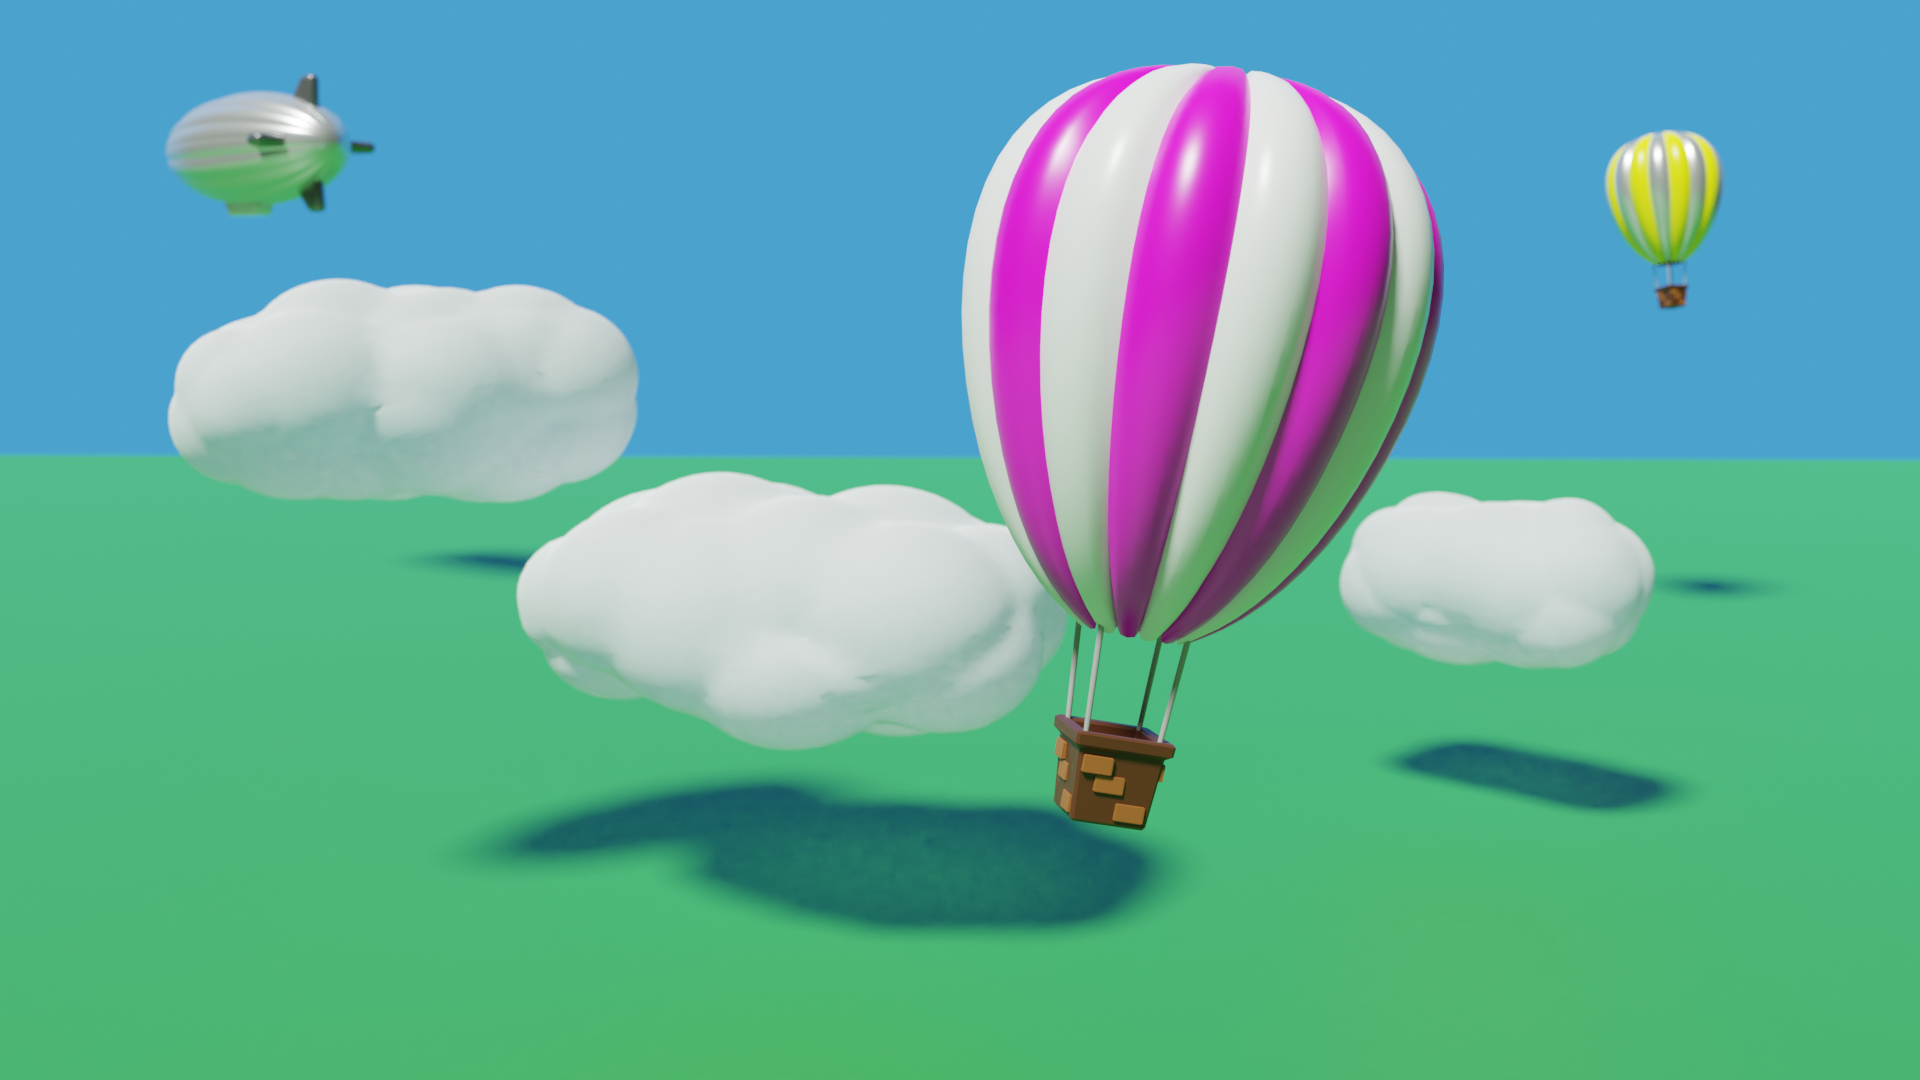
Creating the spherical part
Here’s a brief explanation as the essence of this tutorial:
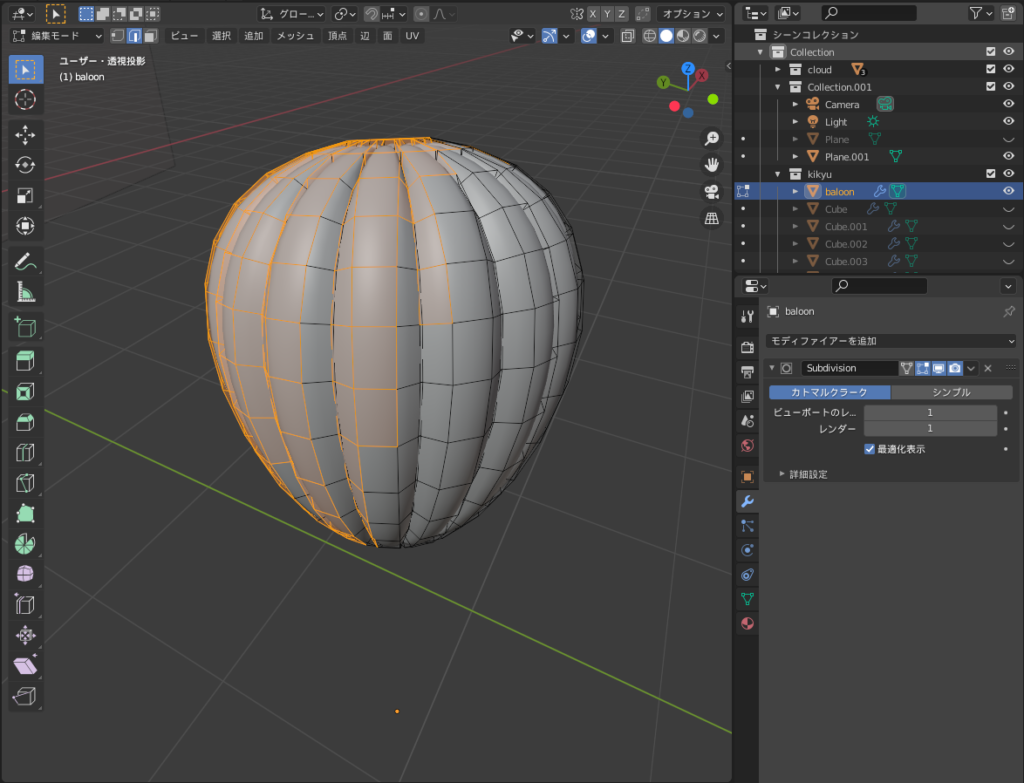
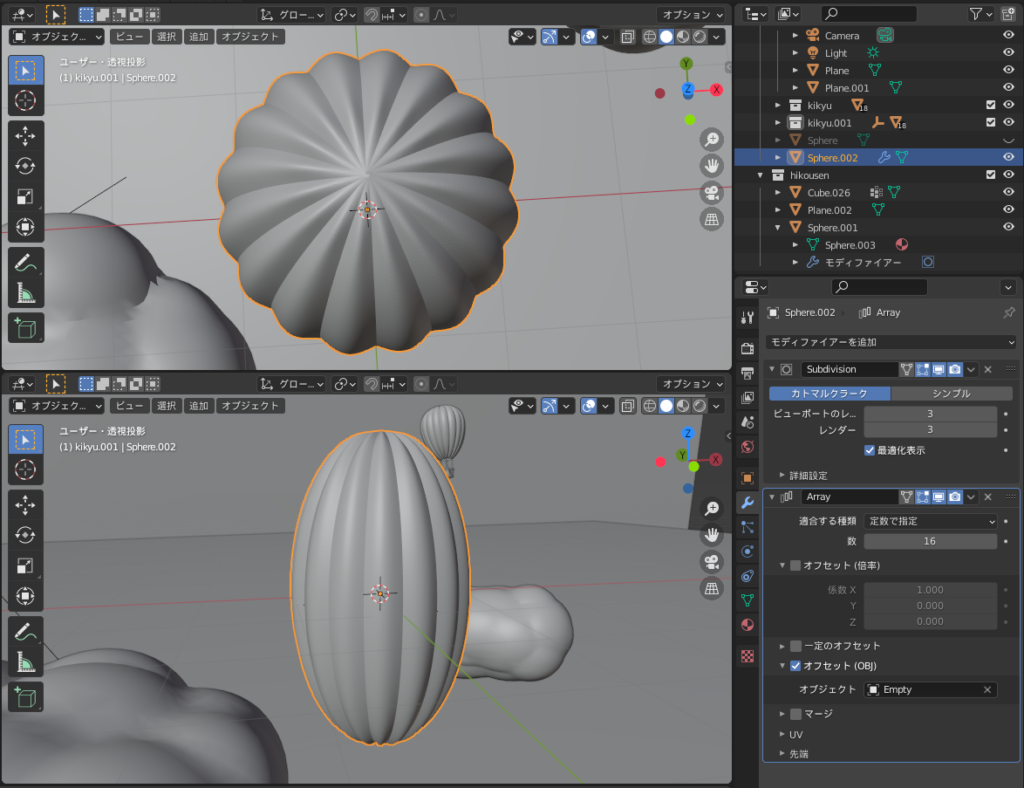
- Create a UV Sphere and adjust its shape using proportional editing.
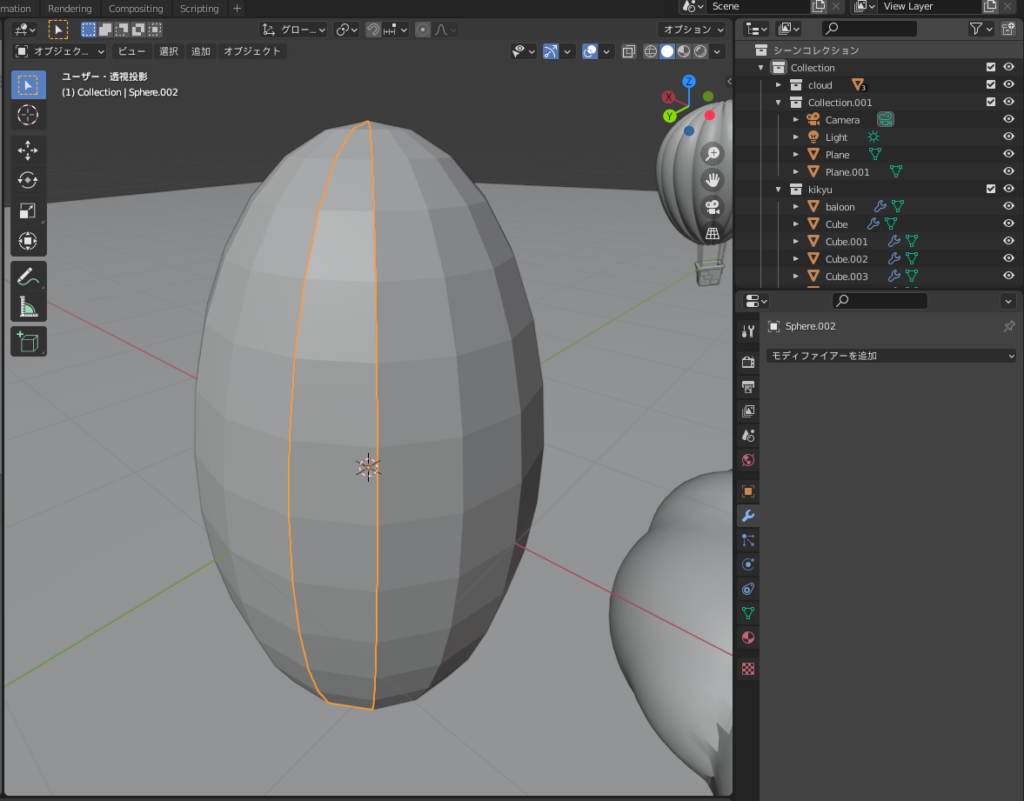
- Cut out a section of the UV sphere into a separate object using “P", then adjust its shape using loop cuts, subdivision, etc.
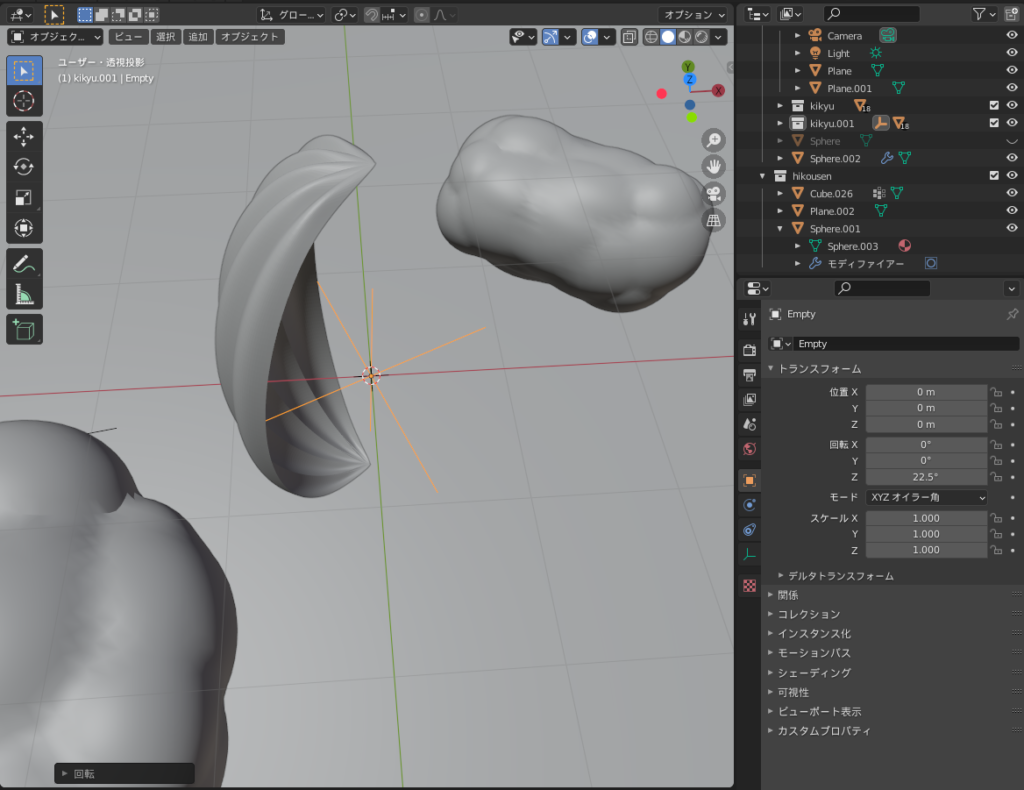
- Add an empty object (“Empty → Cross").
- Add an Array Modifier to the section from step 2. Select “Object" and choose the empty.
- After resetting all transformations with Ctrl+A, rotate the empty and adjust the array count.
- Apply the Array Modifier and delete the empty.
The hot air balloon is done! 😊
AD
How to make an airship
Following the same steps, I tried making an airship.
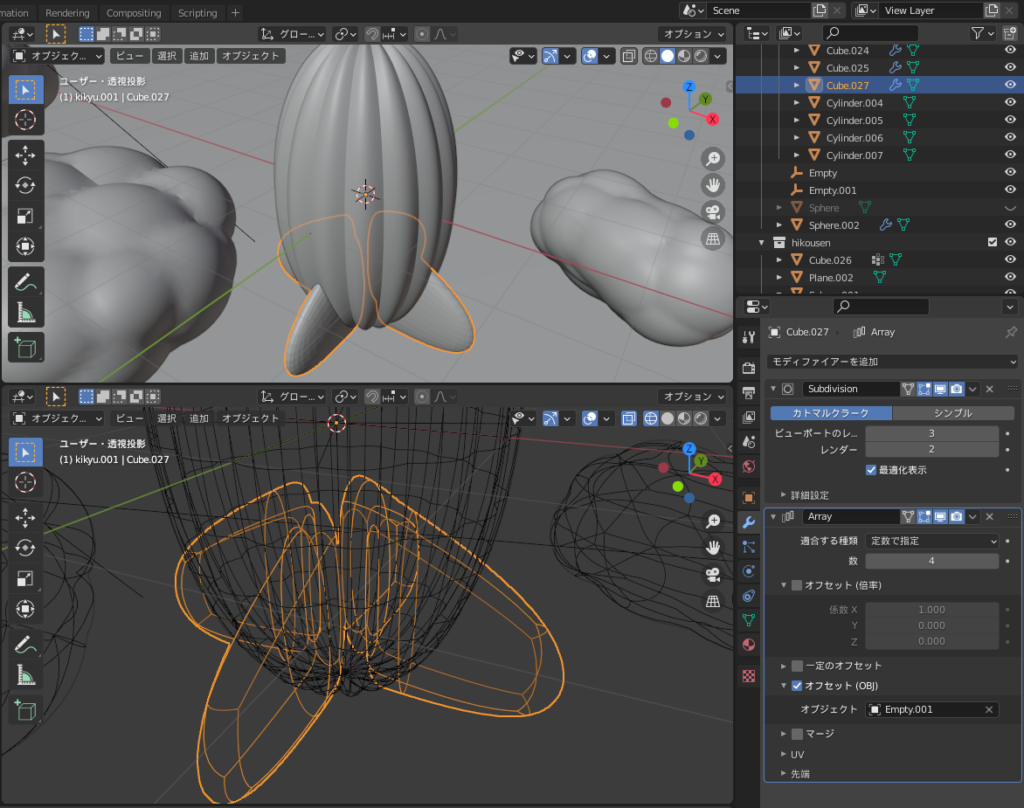
I also made the four “wings" attached to the back of the airship using the same array technique.
Before setting up the Array Modifier, the key is to align the origin with the empty by applying “All Transforms" with Ctrl+A.
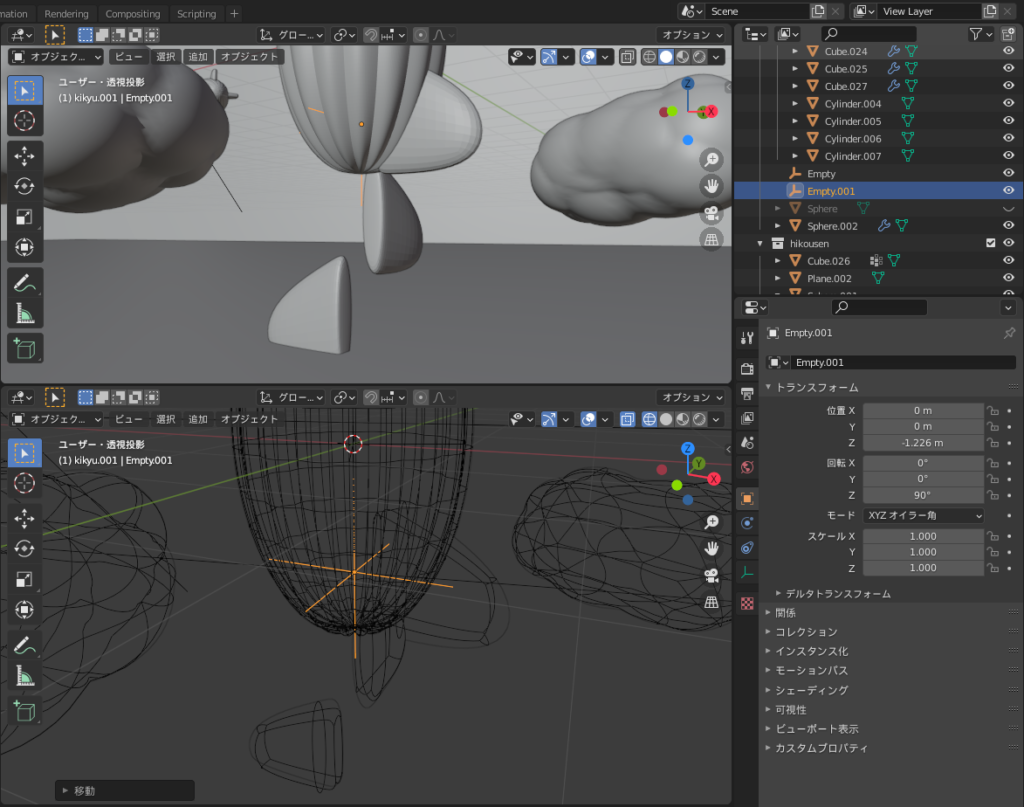
By the way, at that time, I didn’t know about the point mentioned above, so I ended up “rotating the empty while it was moved in the Z-axis direction," causing the wings to be misaligned as shown below 😅 (I adjusted them manually after applying the modifiers 💦).
After that, I just set up some suitable materials and it was complete!
The creation of the basket part
Since the basic shape can be created using mesh extrusion and such, I’ll skip the explanation. Please do watch the tutorial video!
One feature I found particularly useful was “Linking."
It’s tedious to set up materials for each tile placed on the outside of the balloon basket, but after setting up the first material for one tile, you can select the rest, then select the first one again, and choose “Object → Link → Materials." This applies the same material to the rest of the tiles.
This feature can be applied not only to materials but also to modifiers and more, so knowing about it can be handy later on! ⭐
AD
My comment
It was a fantastic tutorial video to learn about the use of Array + Empty (and Linking)!
The hot air balloon is cute, so I highly recommend it! ⭐⭐⭐
Reference Tutorial
3DBibi’s 【Blender 2.9】Beginner-friendly! Balloon Modeling – Balloon Modeling Tutorial
3DBibi’s 【Blender 2.9】Creating Clouds in 3 Minutes! – Cloud Modeling Tutorial
Tutorial using Array + Empty + Bezier. It’s scheduled to be featured in another article.
Mdesign’s 【Blender】Super Easy Plant Modeling
AD