【Blender 2.92】Modeling of a Coffee Grinder
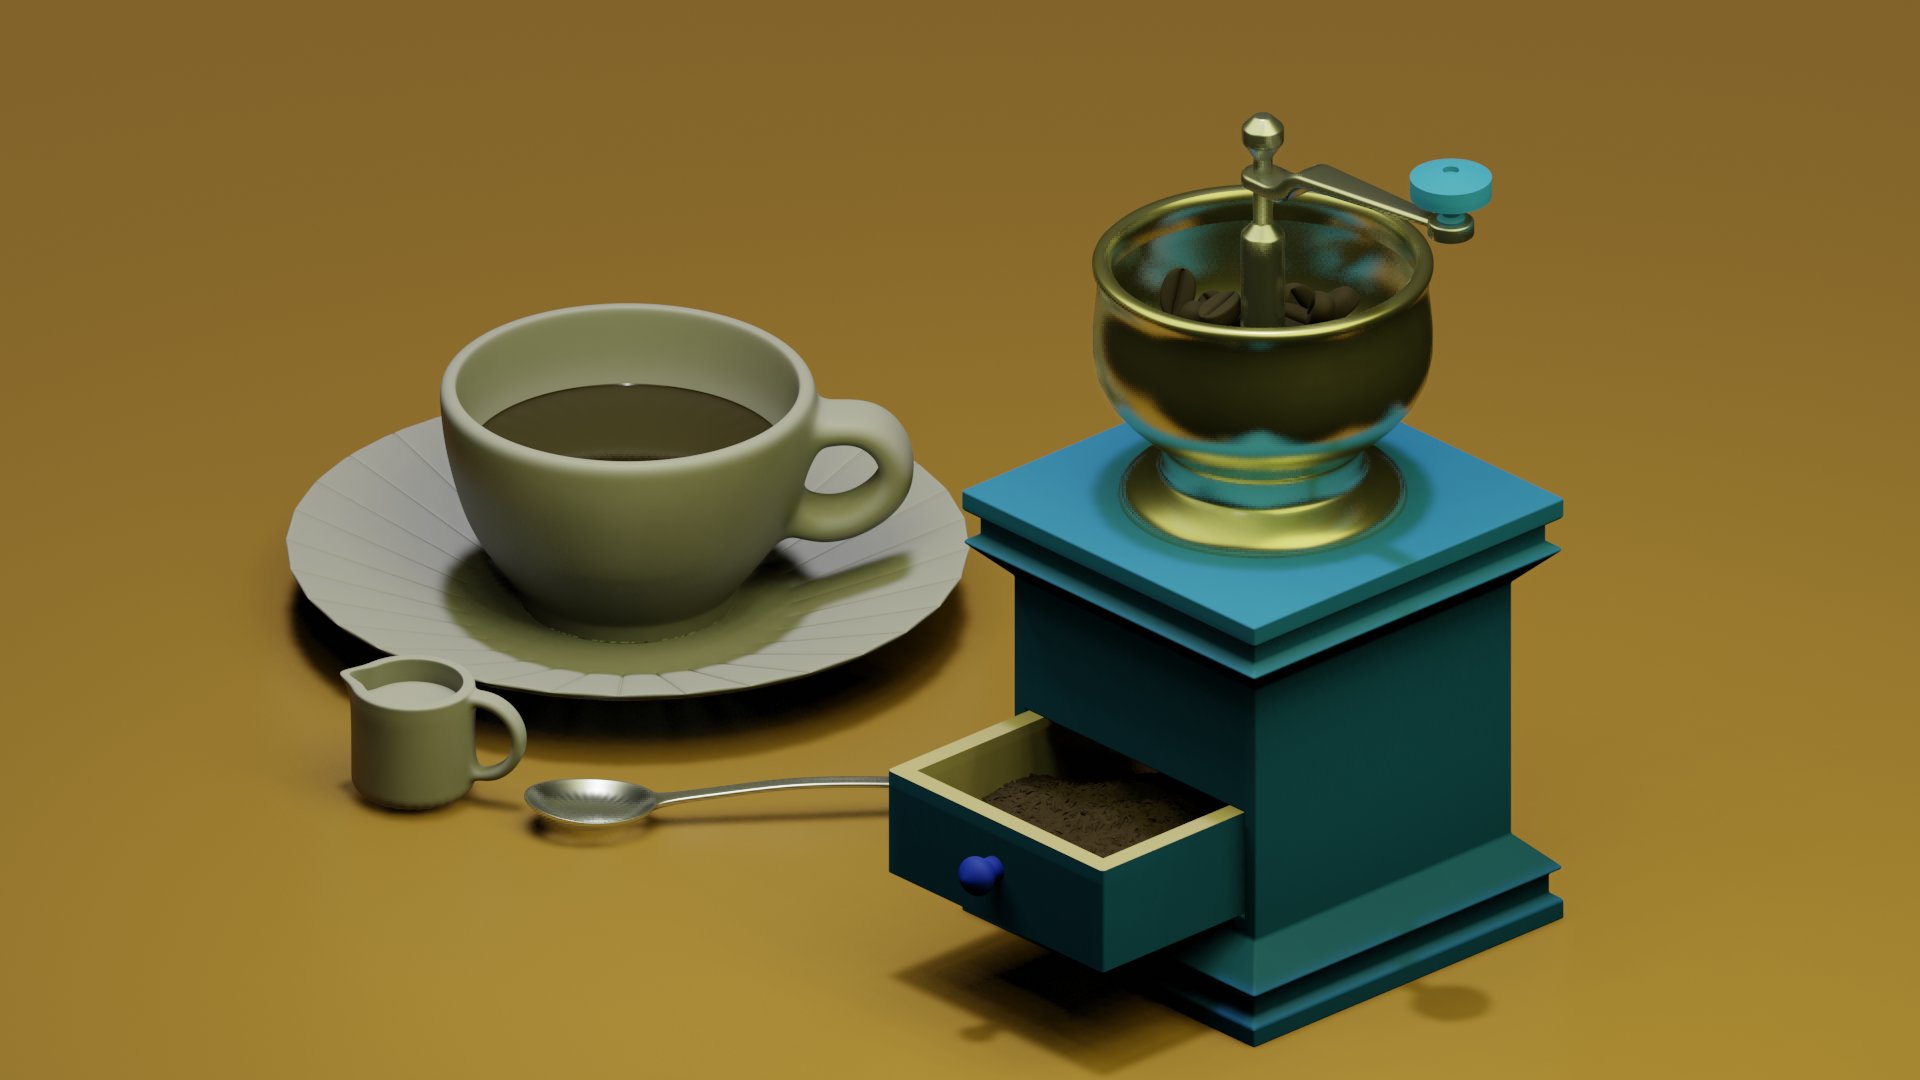
This is an explanation of the “Coffee Grinder, etc." created on April 10.
Inspired by Mdesign’s tutorial video on “Coffee Grinder," I decided to create various coffee-related items.
I’ve summarized the intention behind the work, as well as the challenges I faced.
If you have any feedback or questions, feel free to reach out to me on Twitter (https://twitter.com/klala_lab) 😊
Mdesignさん@Mdesign_blenderの動画にインスパイアされて、コーヒーミルetc.を作りました。https://t.co/EBRSjVNuED
— クララ/Klala (@klala_lab) April 10, 2021
コーヒーセットはModelingHappy(@happy_modeling)さんの記事を参考にしました。
コーヒータイムが楽しくて、ついつい夜更かししてしまいました💦#blender #b3d #3dcg #blender初心者 pic.twitter.com/3MAnXYp8Lk
AD
Intention Behind the Work
I love coffee and drink it every day ☕
I usually settle for instant coffee, but every now and then, there are days when I want to enjoy a more authentic cup of coffee made from freshly ground beans using a grinder. Well, we don’t even have a grinder, let alone a paper filter, at home…
After watching Mdesign’s tutorial, my love for coffee was sparked, and I ended up creating various coffee-related items in a sort of chain reaction:
Grinder → Coffee beans → Ground coffee → Coffee ☕️ → Coffee cup/plate → Coffee spoon → Coffee cream
Techniques Used
All of these can be created using basic modeling techniques 👍
- Subdivision Surface Modifier
- Bevel Modifier
- Subdivision
- Randomization
- Proportional Editing
- Mesh Duplication
- Object Separation
Creation Process
I will briefly explain the creation process for each item.
Coffee Grinder
I referred to Mdesign’s tutorial for this.
The creation process is as follows:
- Add a cube object, scale and extrude to create the base shape of the grinder.
- Extrude and scale a circle repeatedly to form the basic shape of the mill plate.
- Add a subdivision surface modifier and use loop cuts to refine the shape.
- For the mill axis, add a cylinder and use loop cuts and scaling to adjust the shape.
- For the handle part, add a cylinder, delete the vertices on the right half, and extrude. After several extrusions, taper the end, then add a cylinder at the tip.
- For the handle, add a circle, and extrude and scale repeatedly to create the shape.
- For the drawer, add a cube and adjust the shape. The handle is created by extruding a circle.
The mesh and materials for the plate section were done as follows:
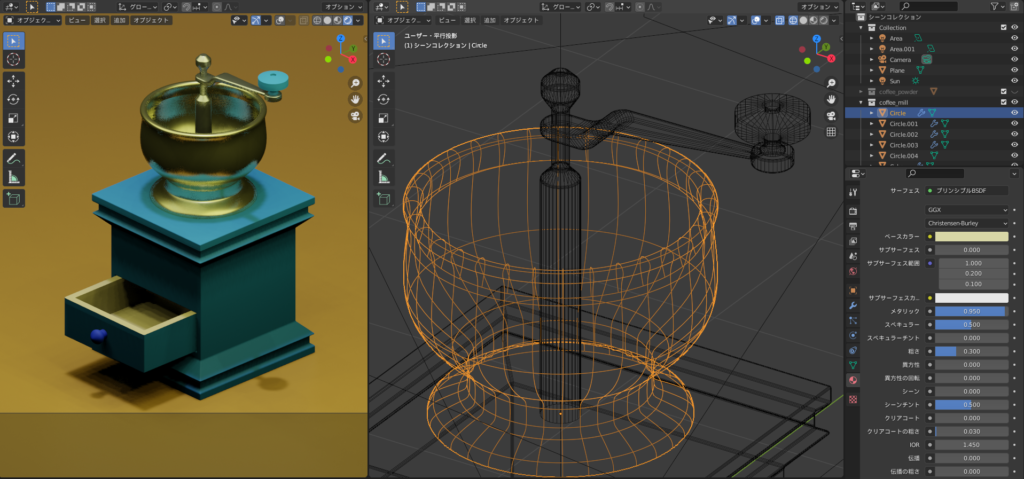
Since I wanted to add coffee grounds later, I used the “Inset Faces (I) → Extrude (E)" method to create the drawer part. I applied a bevel to the outer edges.

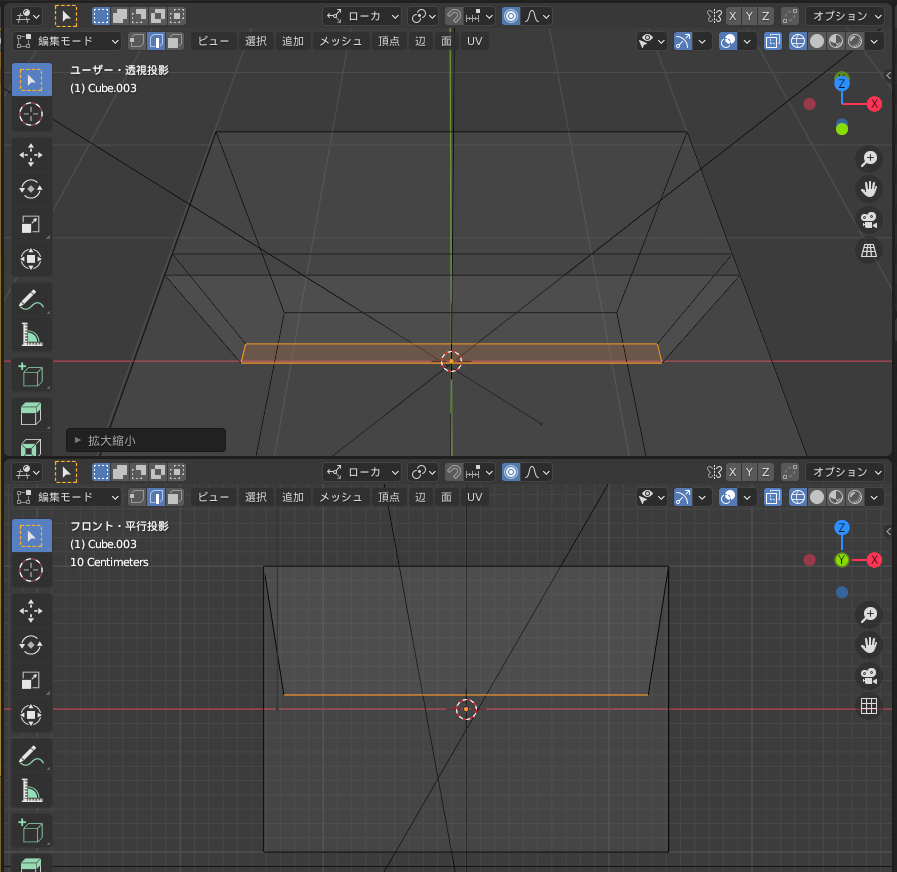
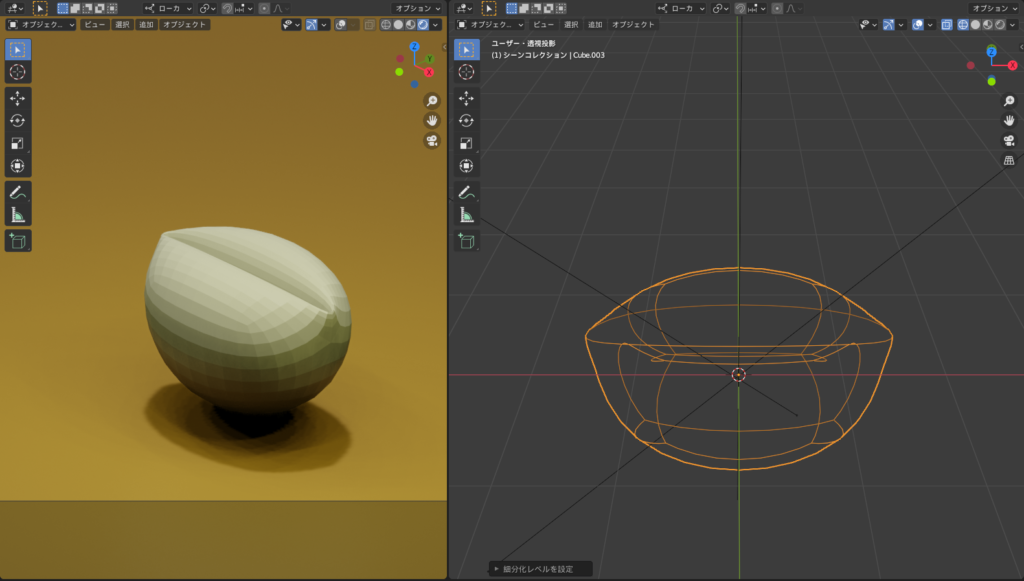
Coffee Beans
I created the coffee beans using a subdivision surface modifier and loop cuts.
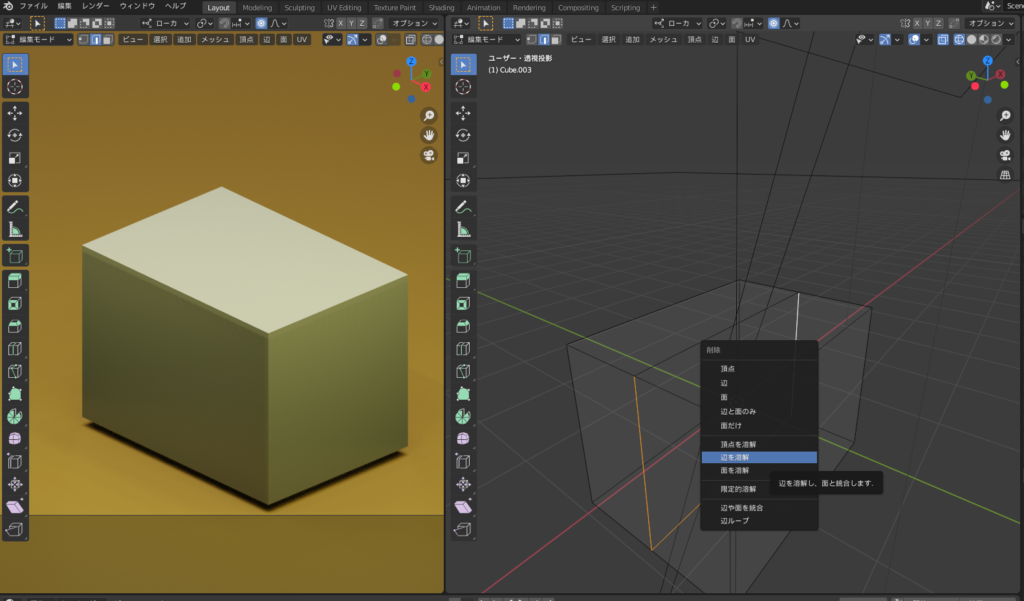
- Add a cube object and adjust the shape.
- Use a loop cut to divide it into two parts.
- Select all the edges except for the top face and delete them using X → “Dissolve Edges."
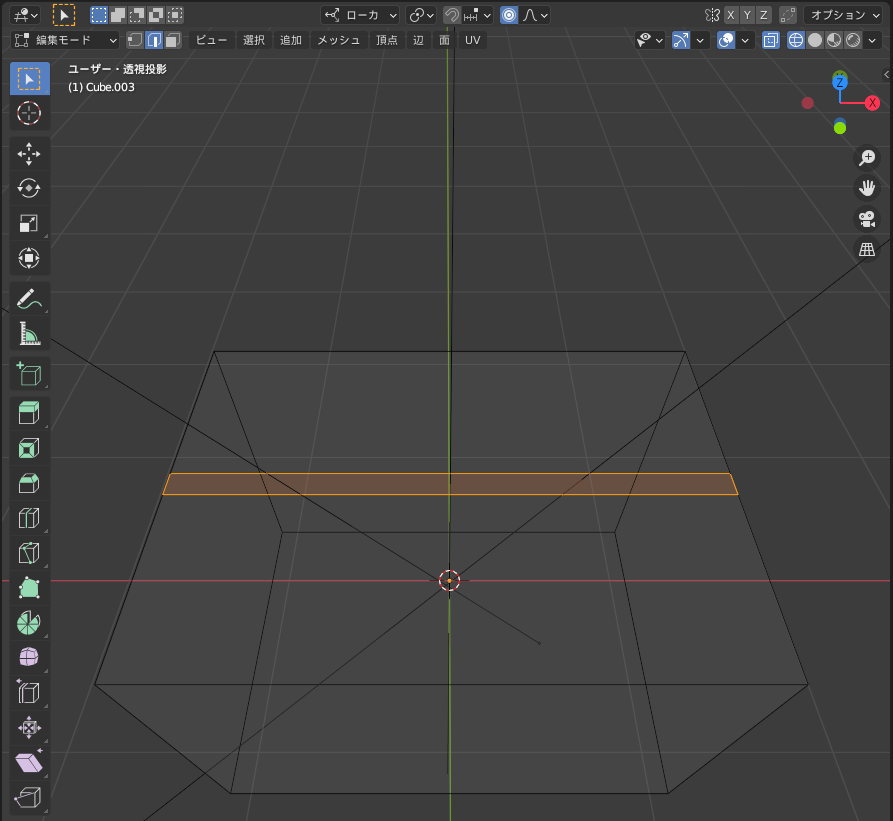
- Select the inserted edge on the top face and bevel it using Ctrl+B.
- Extrude the face using E.
- Use S → X to scale the extruded face.
- Add a subdivision surface modifier.
- Add more edges with loop cuts and K to refine the shape.
- Set the material (dark brown).
Here is a screenshot from when I was creating the beans:
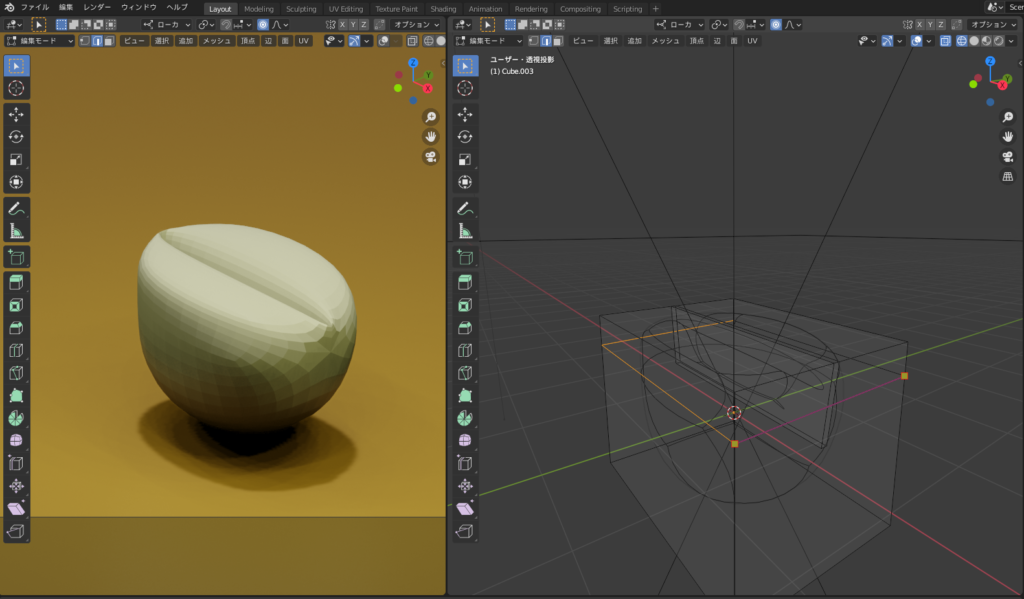
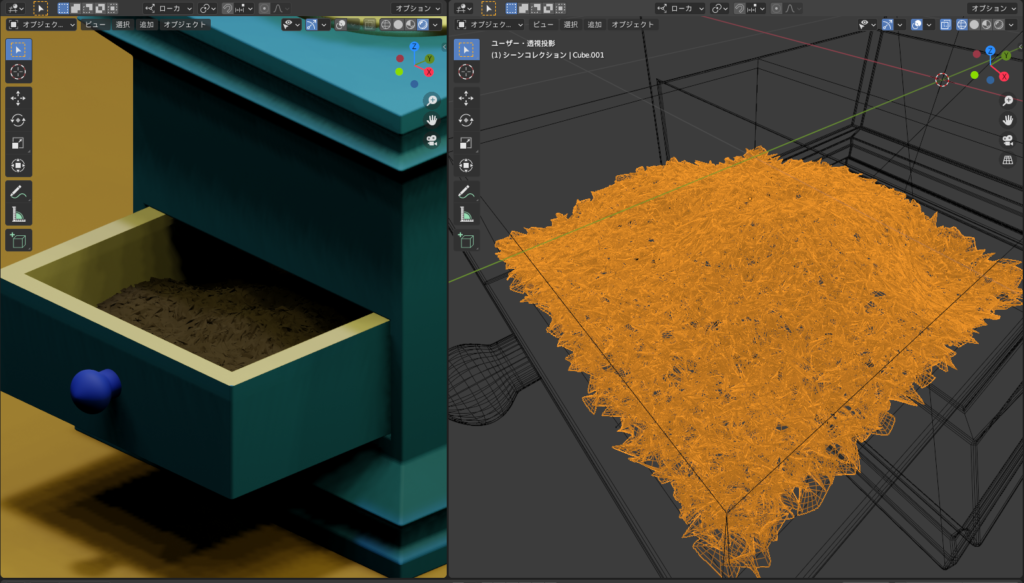
Coffee Grounds
I created the coffee grounds using the following steps:
- Add a cube object and adjust the shape.
- Use a loop cut to divide it into two parts.
- Select all the edges except for the top face and delete them using X → “Dissolve Edges."
- Select the inserted edge on the top face and bevel it using Ctrl+B.
- Extrude the face using E.
- Use S → X to scale the extruded face.
- Add a subdivision surface modifier.
- Add more edges with loop cuts and K to refine the shape.
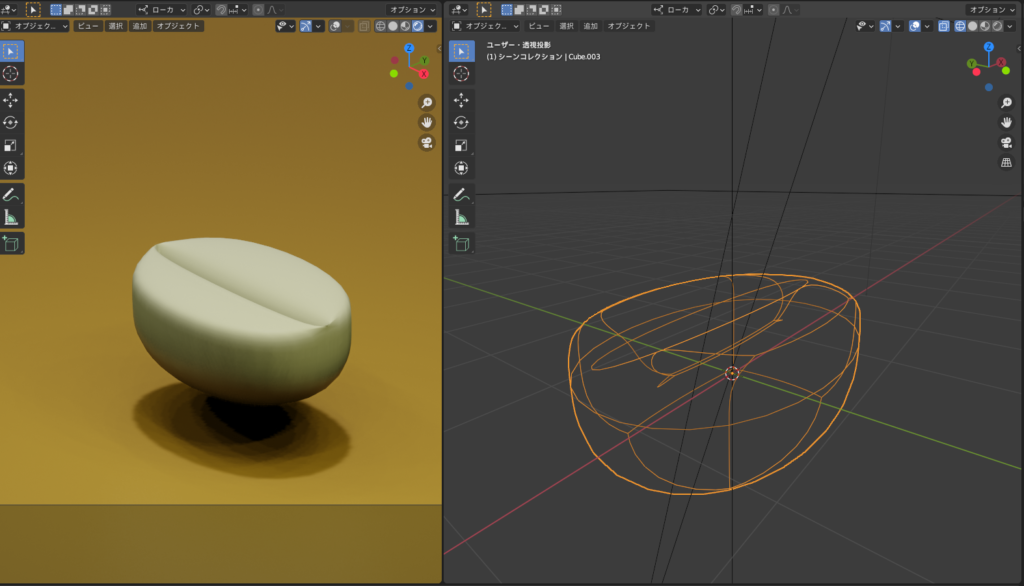
- Set the material (dark brown).
The mesh looks like this. It’s quite detailed…
AD
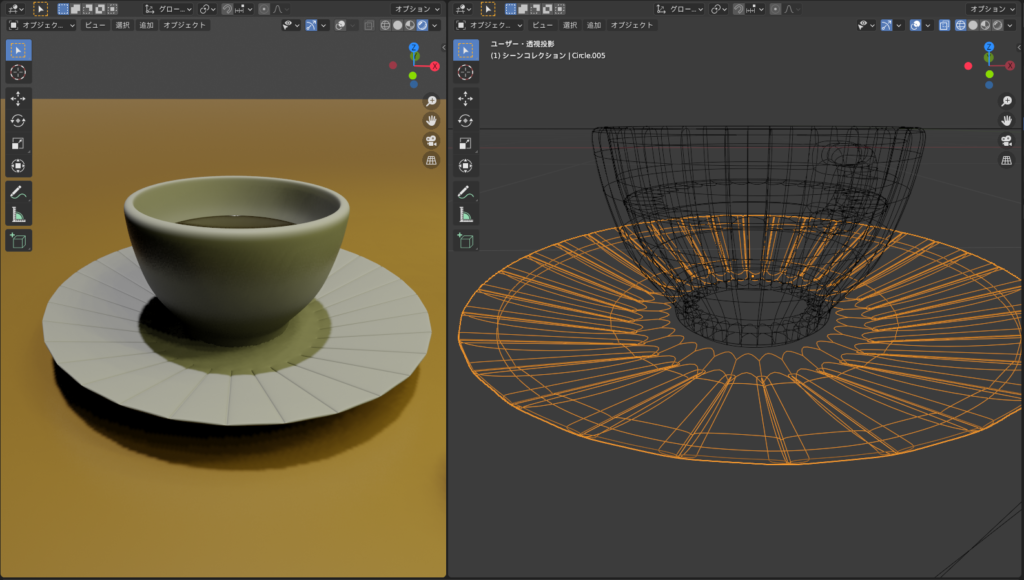
Coffee Cup/Plate
I created the coffee cup and plate using the following article from ModelingHappy as a reference:
The pattern on the plate was created as follows:
- Switch to edge selection mode and select the edges starting from the center of the plate and extending outward by pressing “Alt + Left Click" to select a loop of edges.
- With the edges selected, press “Ctrl + B" to bevel them.
- Press “E" to extrude (to make a recessed area).
- Apply the Subdivision Surface modifier.
- Use loop cuts to refine the shape.
The mesh looks like this.
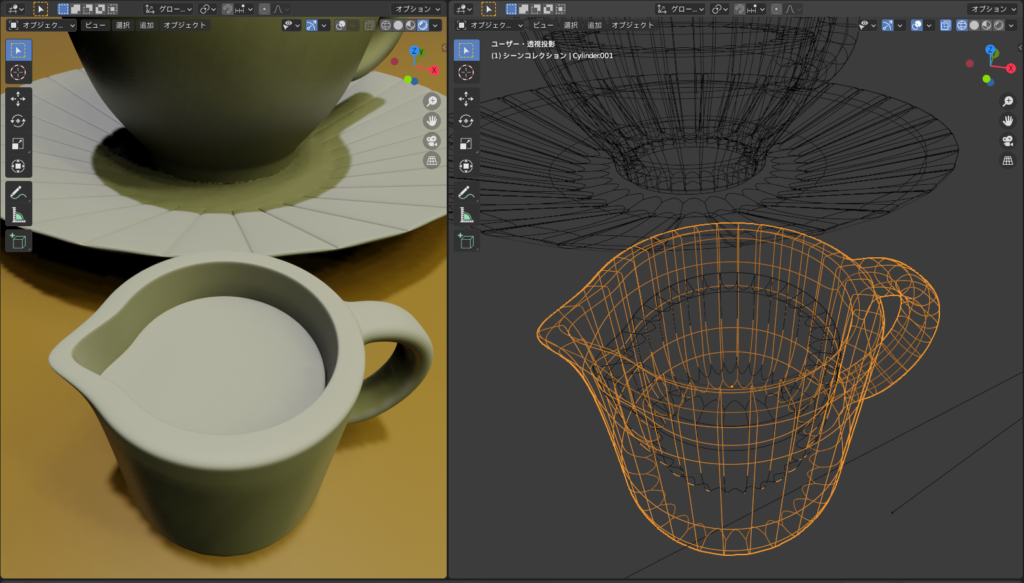
Coffee Milk
The basic creation method is the same as for the coffee cup, so I’ll skip the detailed steps.
For the spout, I created it by selecting and moving the vertices.
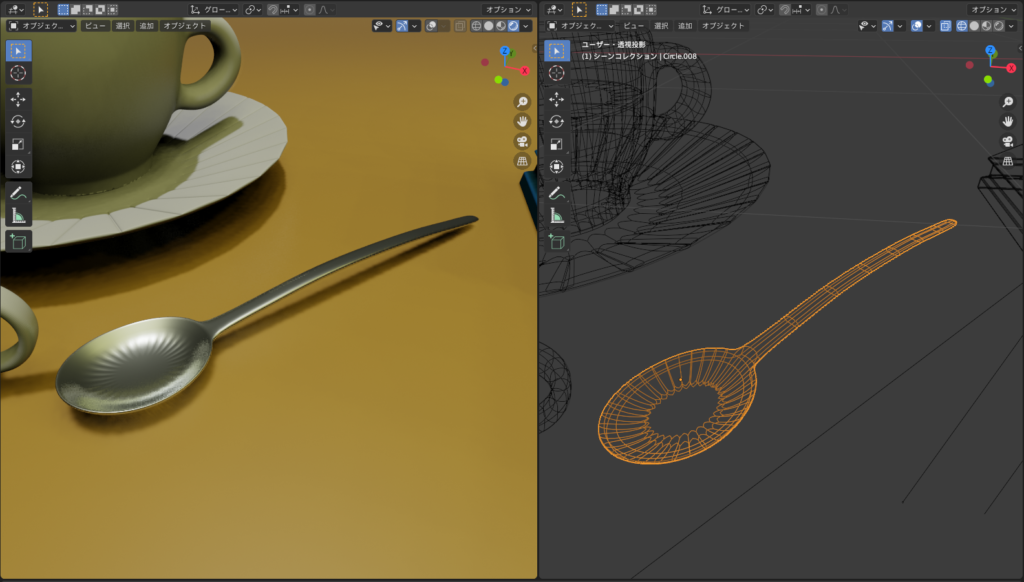
Spoon
I created it using the following steps:
- Add a circle and scale it along the X-axis (S → X) to shape it.
- In Edit Mode, press F to fill the face, then use I for inset.
- Switch to edge selection and extrude the edges of the circle to form the handle.
- Add a Solidify modifier and a Subdivision Surface modifier.
- Use Loop Cut to refine the shape.
- Apply a silver material.
Here’s how the mesh looks. There’s a jagged pattern inside the spoon, but adding an inset on the face should make it smooth…
Difficulties/Reflections
When trying to create the shape of the coffee bean, I initially attempted to add the Subdivision Surface modifier after making the loop cuts, but the shape didn’t turn out as I expected.
After some trial and error, I settled on the method I described earlier 😅
AD
Summary
In addition to the tutorial, I created several other items, and through making each one, I was able to learn different modeling techniques.
While trial and error takes time, I believe it helps develop problem-solving skills 😅
In the future, I want to continue recreating everyday items in CG 😊
Reference Tutorials
Mdesign: 【Blender】Super Easy Modeling! Let’s Make a Coffee Mill
ModelingHappy: “How to Make a Coffee Cup from Scratch for Blender Beginners"
AD